

❤️ Would you like to save this?
The best beauty tricks are rarely the ones in the tutorials. They’re small, odd, almost embarrassing adjustments people stumble on after years at the same sink, fixing the same mistakes. Wet sleeves, smudged mascara, toothpaste on the chin. None of it is dramatic, and all of it is annoying. What follows fixes the parts of a morning nobody bothers to talk about — the ones that quietly eat your time and leave the counter messier than it needs to be. Simple, a little weird, and they actually work.
FYI, thanks to AI imagery software, we’re able to create very specific fashion and hairstyle examples to illustrate the points being made. In some cases, imagery is exaggerated to hammer home the point. Also, assume links that take you off the site are affiliate links such as links to Amazon. this means we may earn a commission if you buy something.
49. Wear Microfiber Wrist Cuffs to Stop Cleansing Water Running Down the Arms
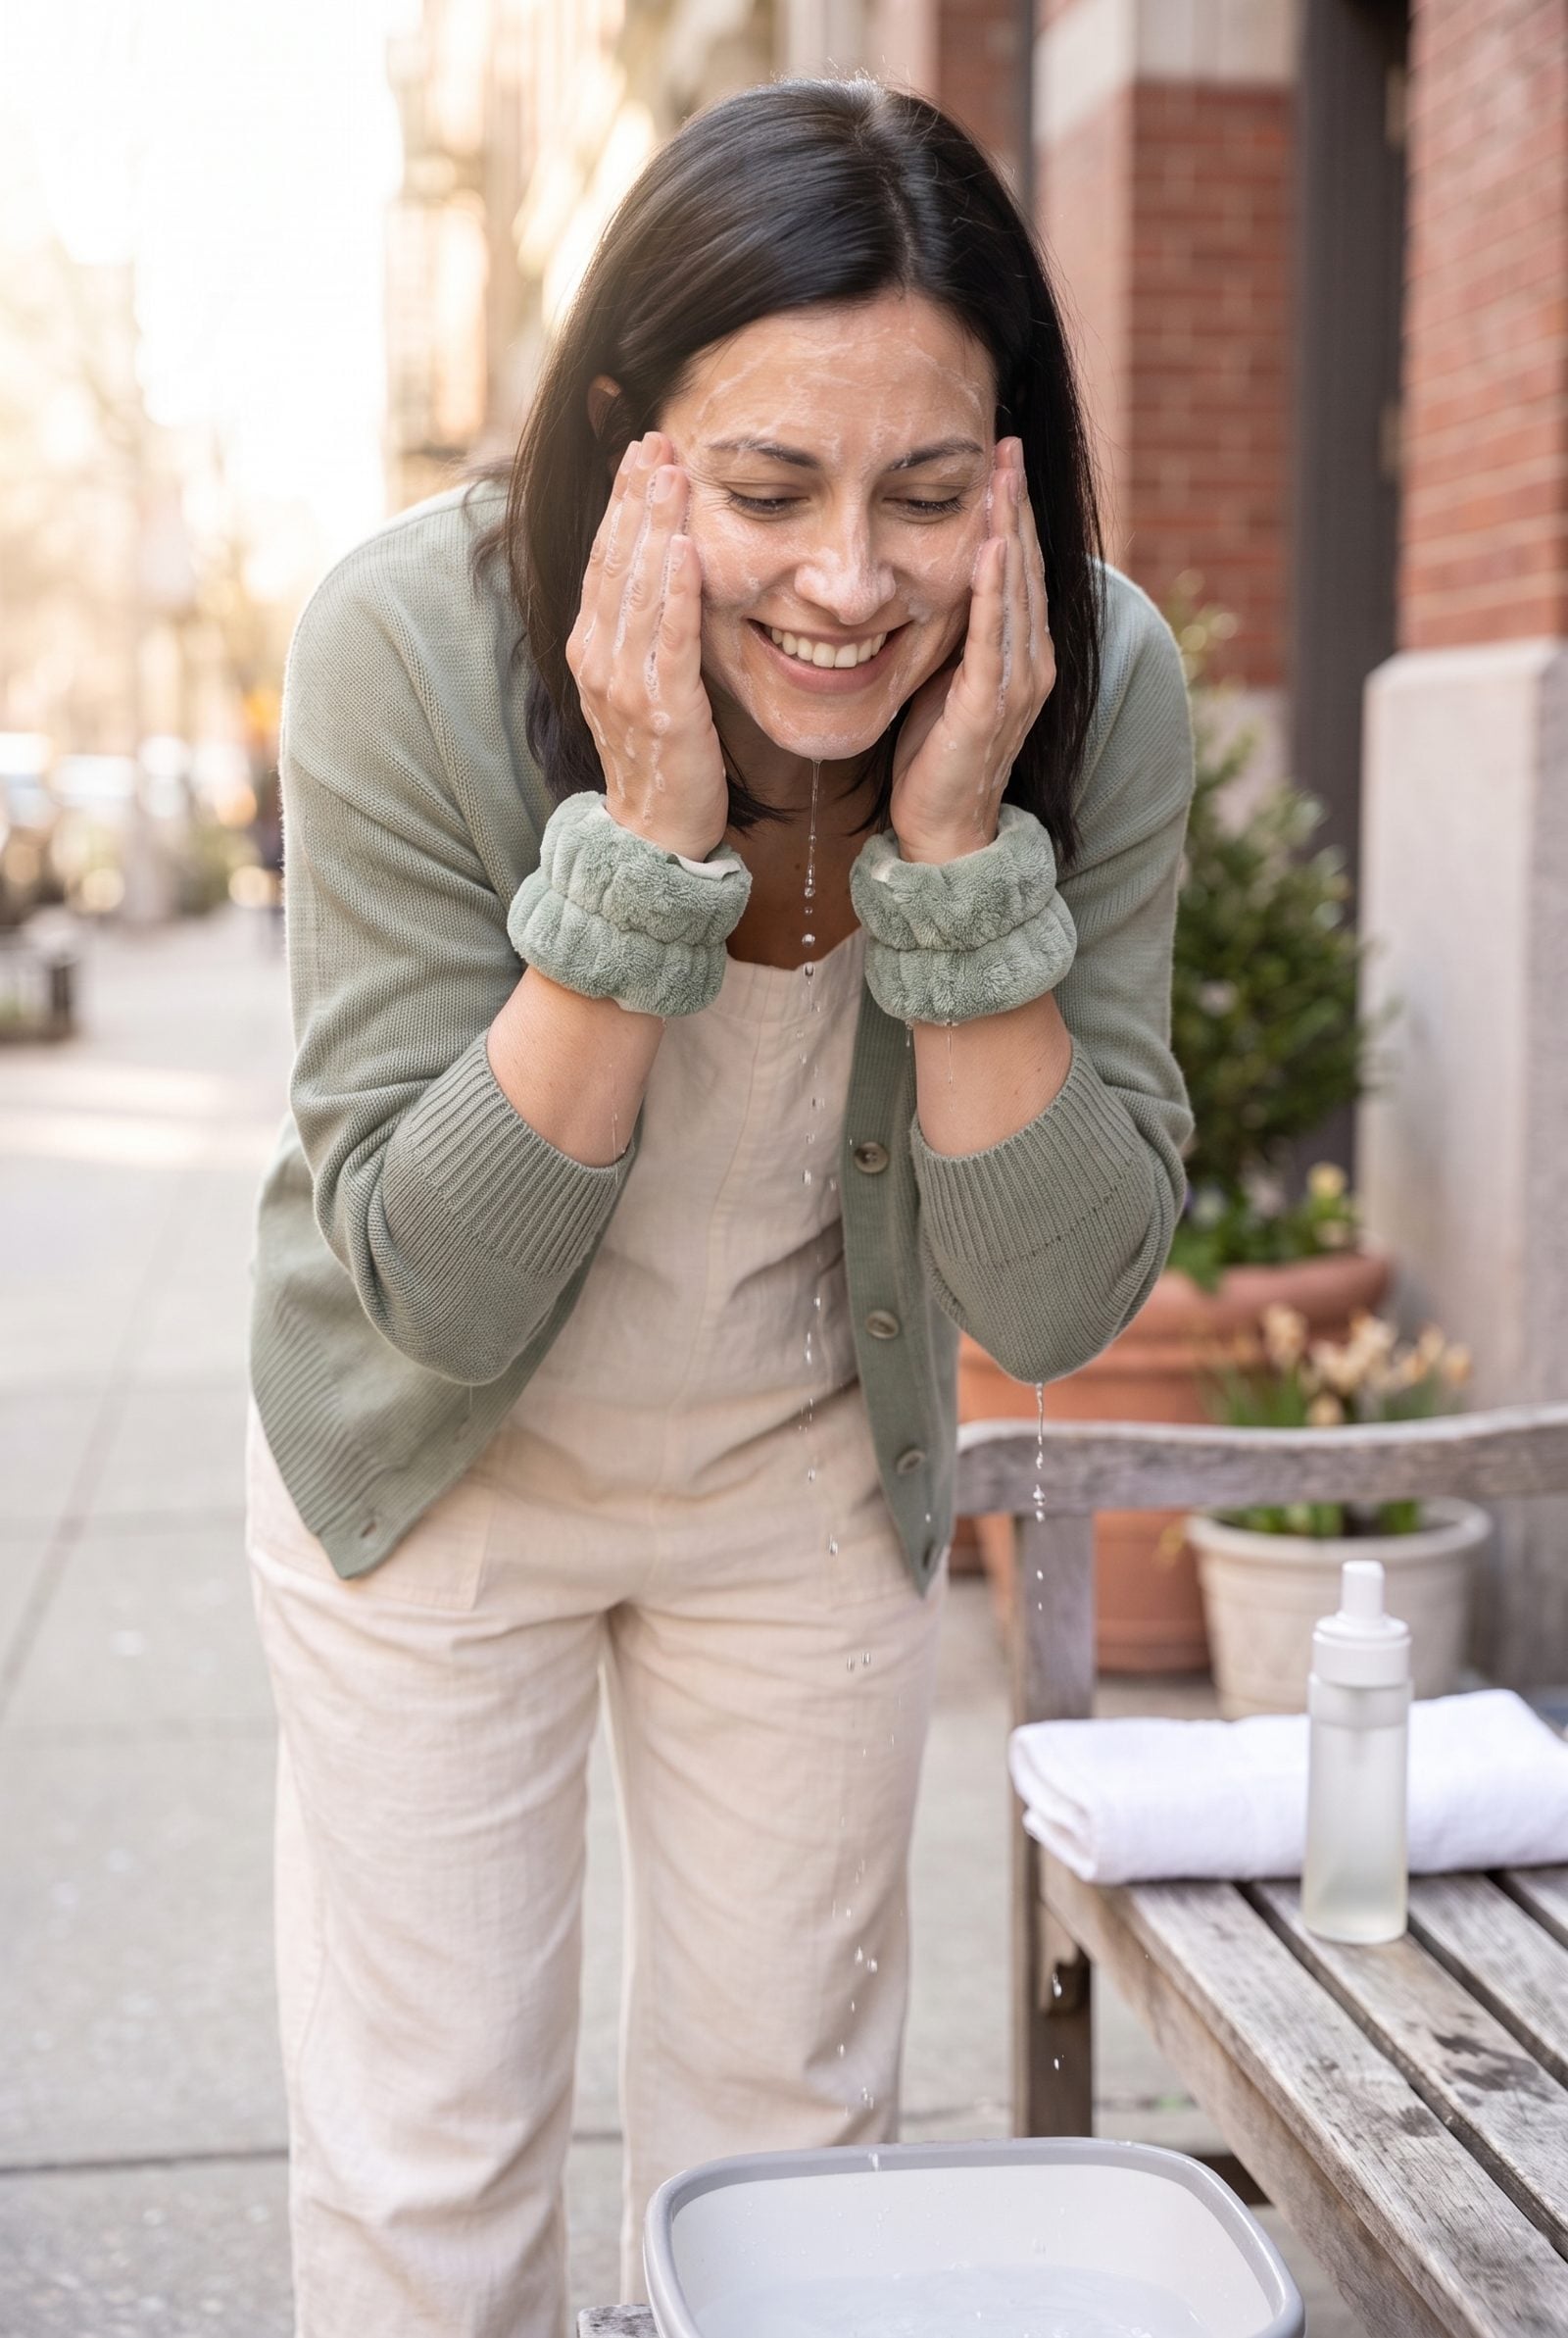
Anyone who’s washed their face with their head tipped forward knows that small cold betrayal — water trickling down to the elbow, then onto the sleeve. Microfiber wrist cuffs, the kind sold for exactly this, sit at the wrist and drink it up before it travels.
Sounds fussy. It isn’t. You stop hiking your sleeves, you stop discovering a wet patch on your cardigan ten minutes later, and you can finally lean into the cleanse instead of holding your arms at some cautious angle like you’re defusing a bomb.
48. Blot Skincare From Your Brows Before You Reach for the Pencil

Brow products have one enemy: the moisturizer you just slathered on. Skip the blot and your pencil skids, your pomade slides, and by noon your careful arches have wandered off somewhere.
Press a dry tissue over the brows for two seconds before you start. That thin layer of slip vanishes, the hairs grab the pigment, and everything holds through the day. The difference between brows that last and brows that quietly surrender by lunch.
47. Let Mascara Smudges Dry Completely Before You Flick Them Away

Every instinct says wipe the mascara smudge the second it lands. That’s exactly how one little dot becomes a long gray streak that forces you to redo the whole eye.
So wait. Finish your other eye, do your brows, let the speck dry for thirty seconds. Once it’s hard it flicks off dry with a fingertip and takes nothing with it — no concealer fix, no smeared liner, no starting over.
46. Brush Your Teeth Before You Cleanse, Not After
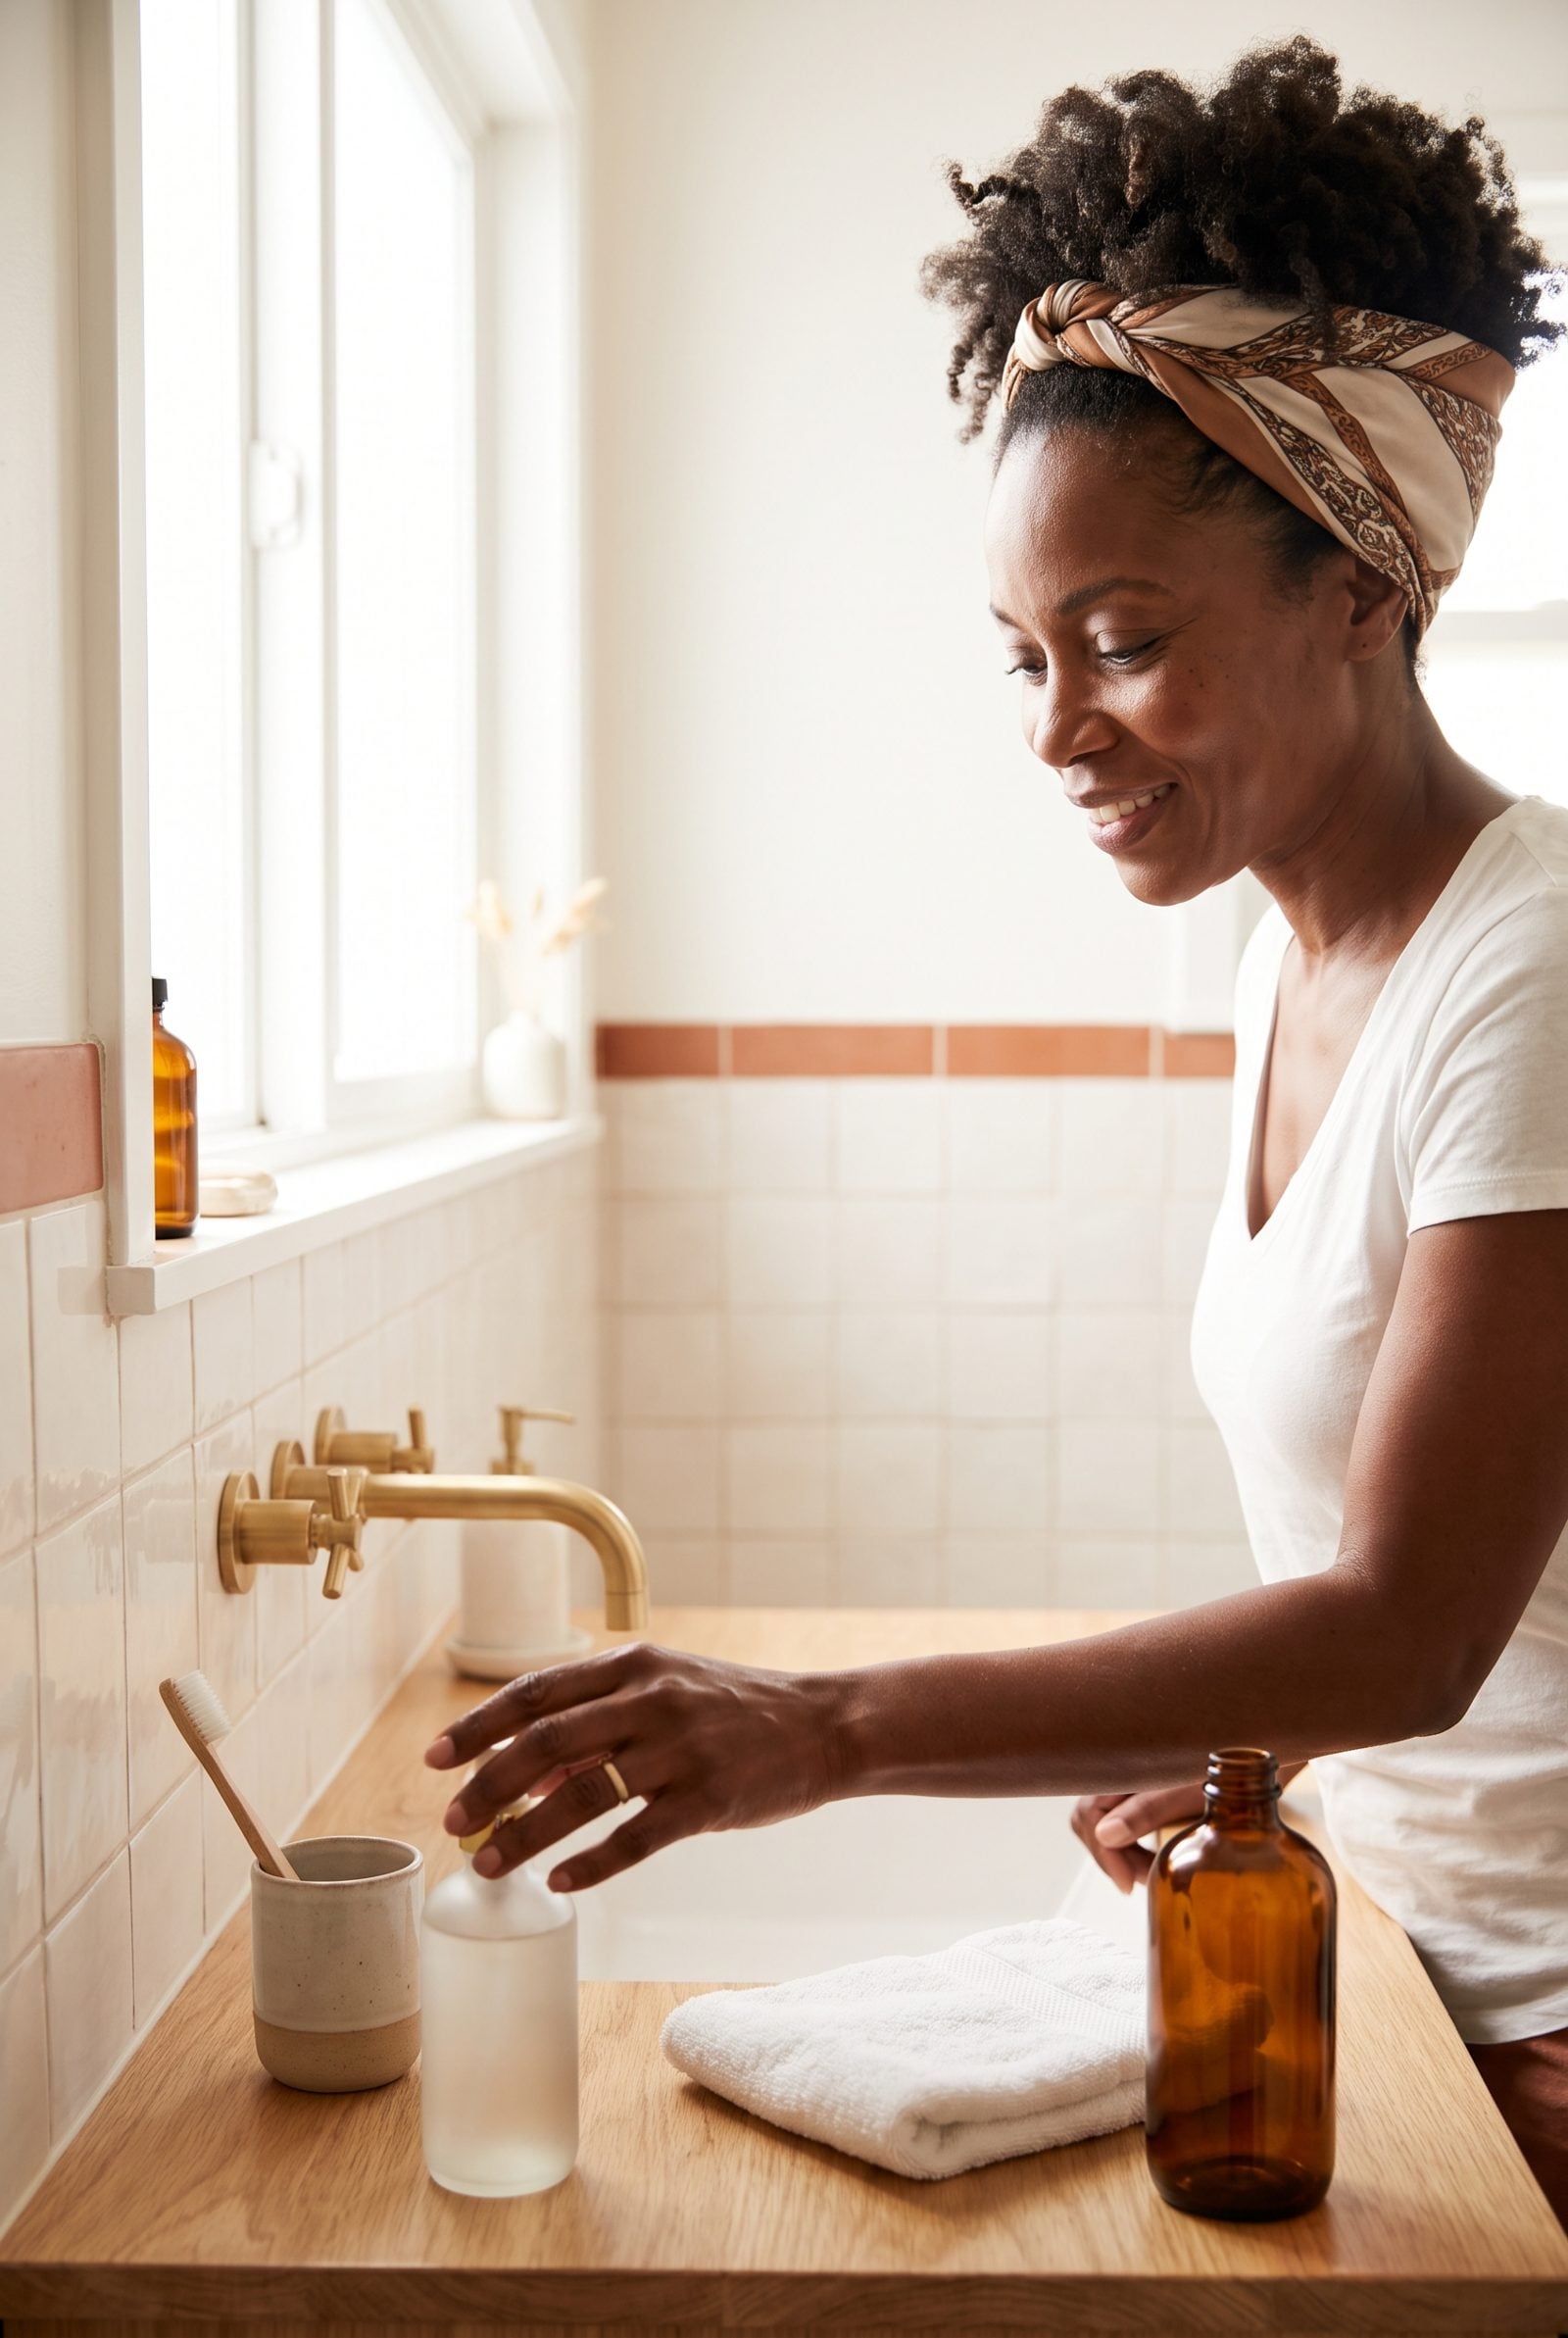
Toothpaste splatter is sneaky. It flecks the chin and jaw while you brush, so cleansing first just means scrubbing fresh foam right back onto skin you already cleaned a minute ago.
Flip the order. Teeth first, face second. Your cleanser catches every bit of stray toothpaste in one pass, and your skin heads into makeup genuinely clean instead of faintly minty and spotted. A tiny reorder for zero extra effort.
45. Part Your Hair on the Wrong Side During Makeup, Then Flip It Back
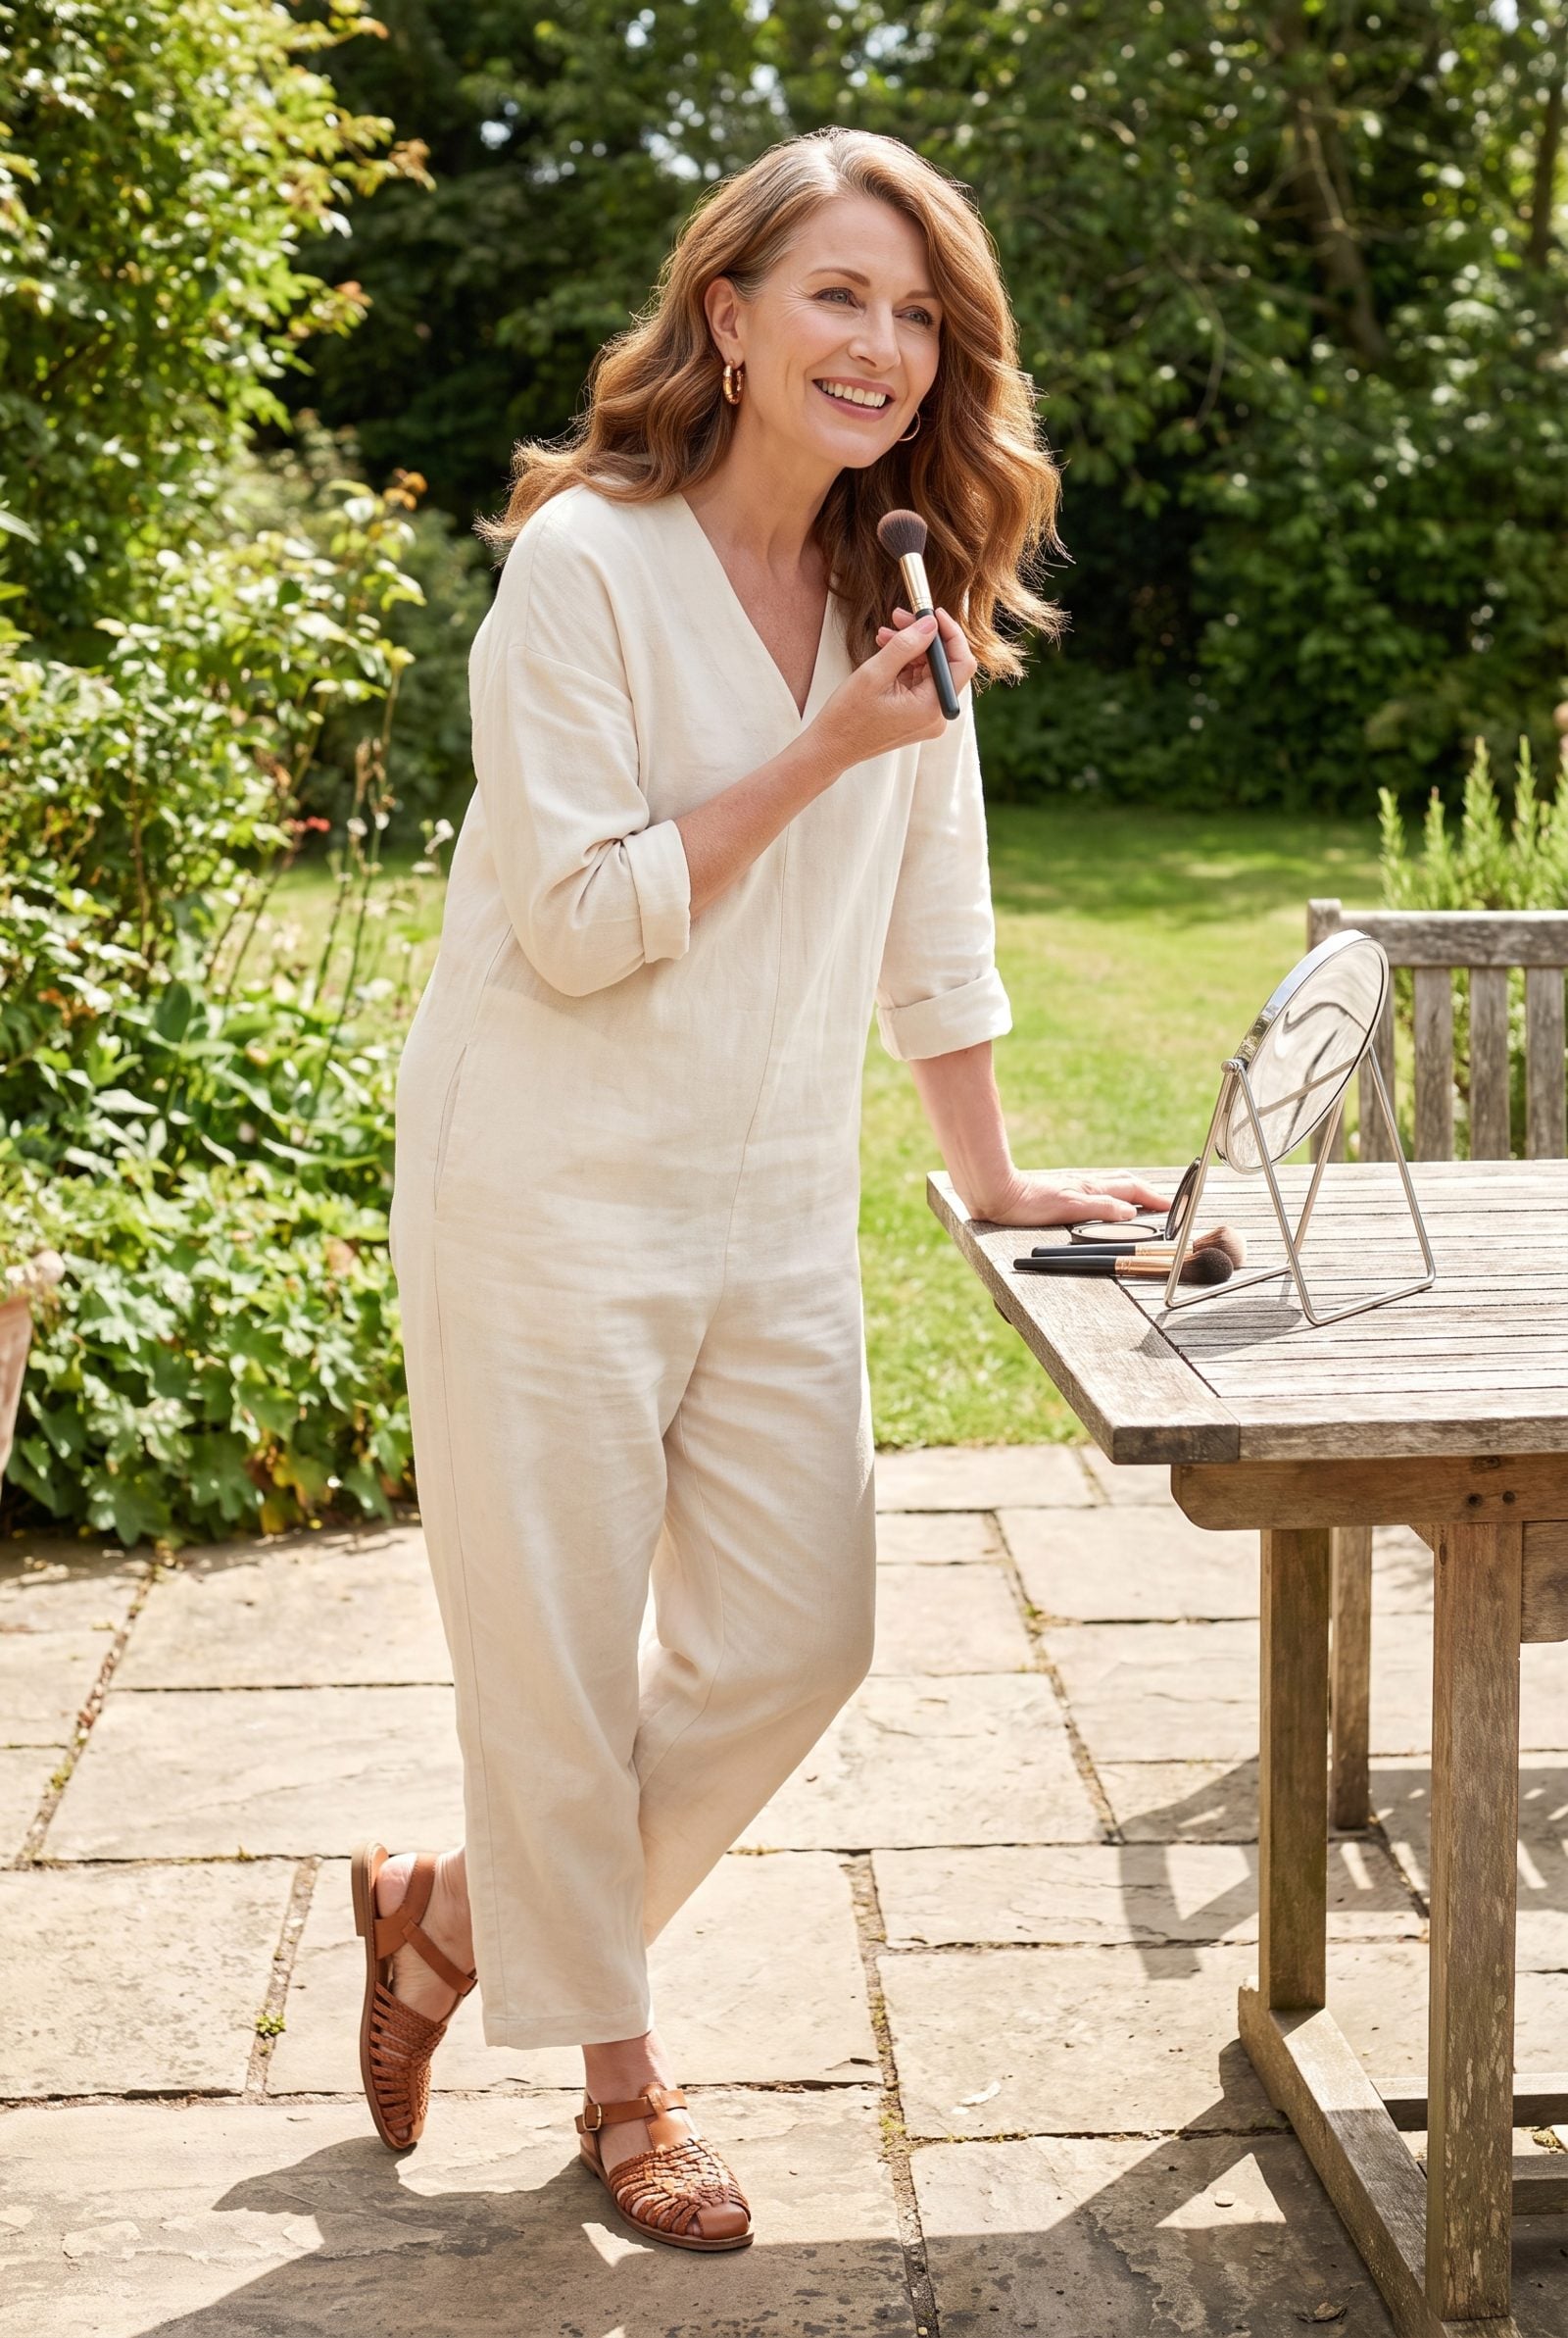
A trick stylists swear by, and it costs nothing. While you do your makeup, part your hair on the side opposite to how you normally wear it, and leave those roots trained the “wrong” way for ten or fifteen minutes.
Then flip the part back to its usual side. The roots lift away from the scalp instead of lying flat — volume at the crown with no teasing, no mousse, no heat. The hair just wants to stand up, because you spent your mascara minutes retraining it.
44. Clip Your Damp Roots Upright While They Cool

Teasing wrecks hair over time. This does the same job without the damage. Blow-dry the roots at the crown, grab a few sections, push them straight up, and clip them flat against the scalp while they finish cooling.
Then go about your business — skincare, makeup, coffee. Ten minutes later, unclip. The roots have set standing up, giving you real lift exactly where hair tends to fall flattest. No backcombing, no breakage, no crunchy texture.
43. Wash Only the Bangs When the Rest of Your Hair Still Looks Fine

Bangs go oily first. They’re pressed against your forehead all day, so they turn limp and separated while the length behind them still looks perfectly clean.
Skip the full wash. Lean over the sink and rinse only the fringe, blot, quick blast with the dryer — four minutes, done. Fresh-looking hair without the forty-minute production of washing, drying, and styling the whole head. This one rescues more mornings than any dry shampoo ever could.
42. Mist the Hairbrush, Not the Hair, to Beat Static

Spray water or anti-static mist straight onto your hair and you overshoot every single time, ending up with damp, flat strands that need re-drying. Mist the brush instead.
A couple of light spritzes onto the bristles, then brush through. The brush delivers just enough to calm flyaways and kill static without soaking a thing. You control the dose down to the droplet, and the finish stays smooth rather than wet. Works with water, leave-in, or a drop of oil.
41. Angle the Mirror Below Your Face When You Apply Mascara
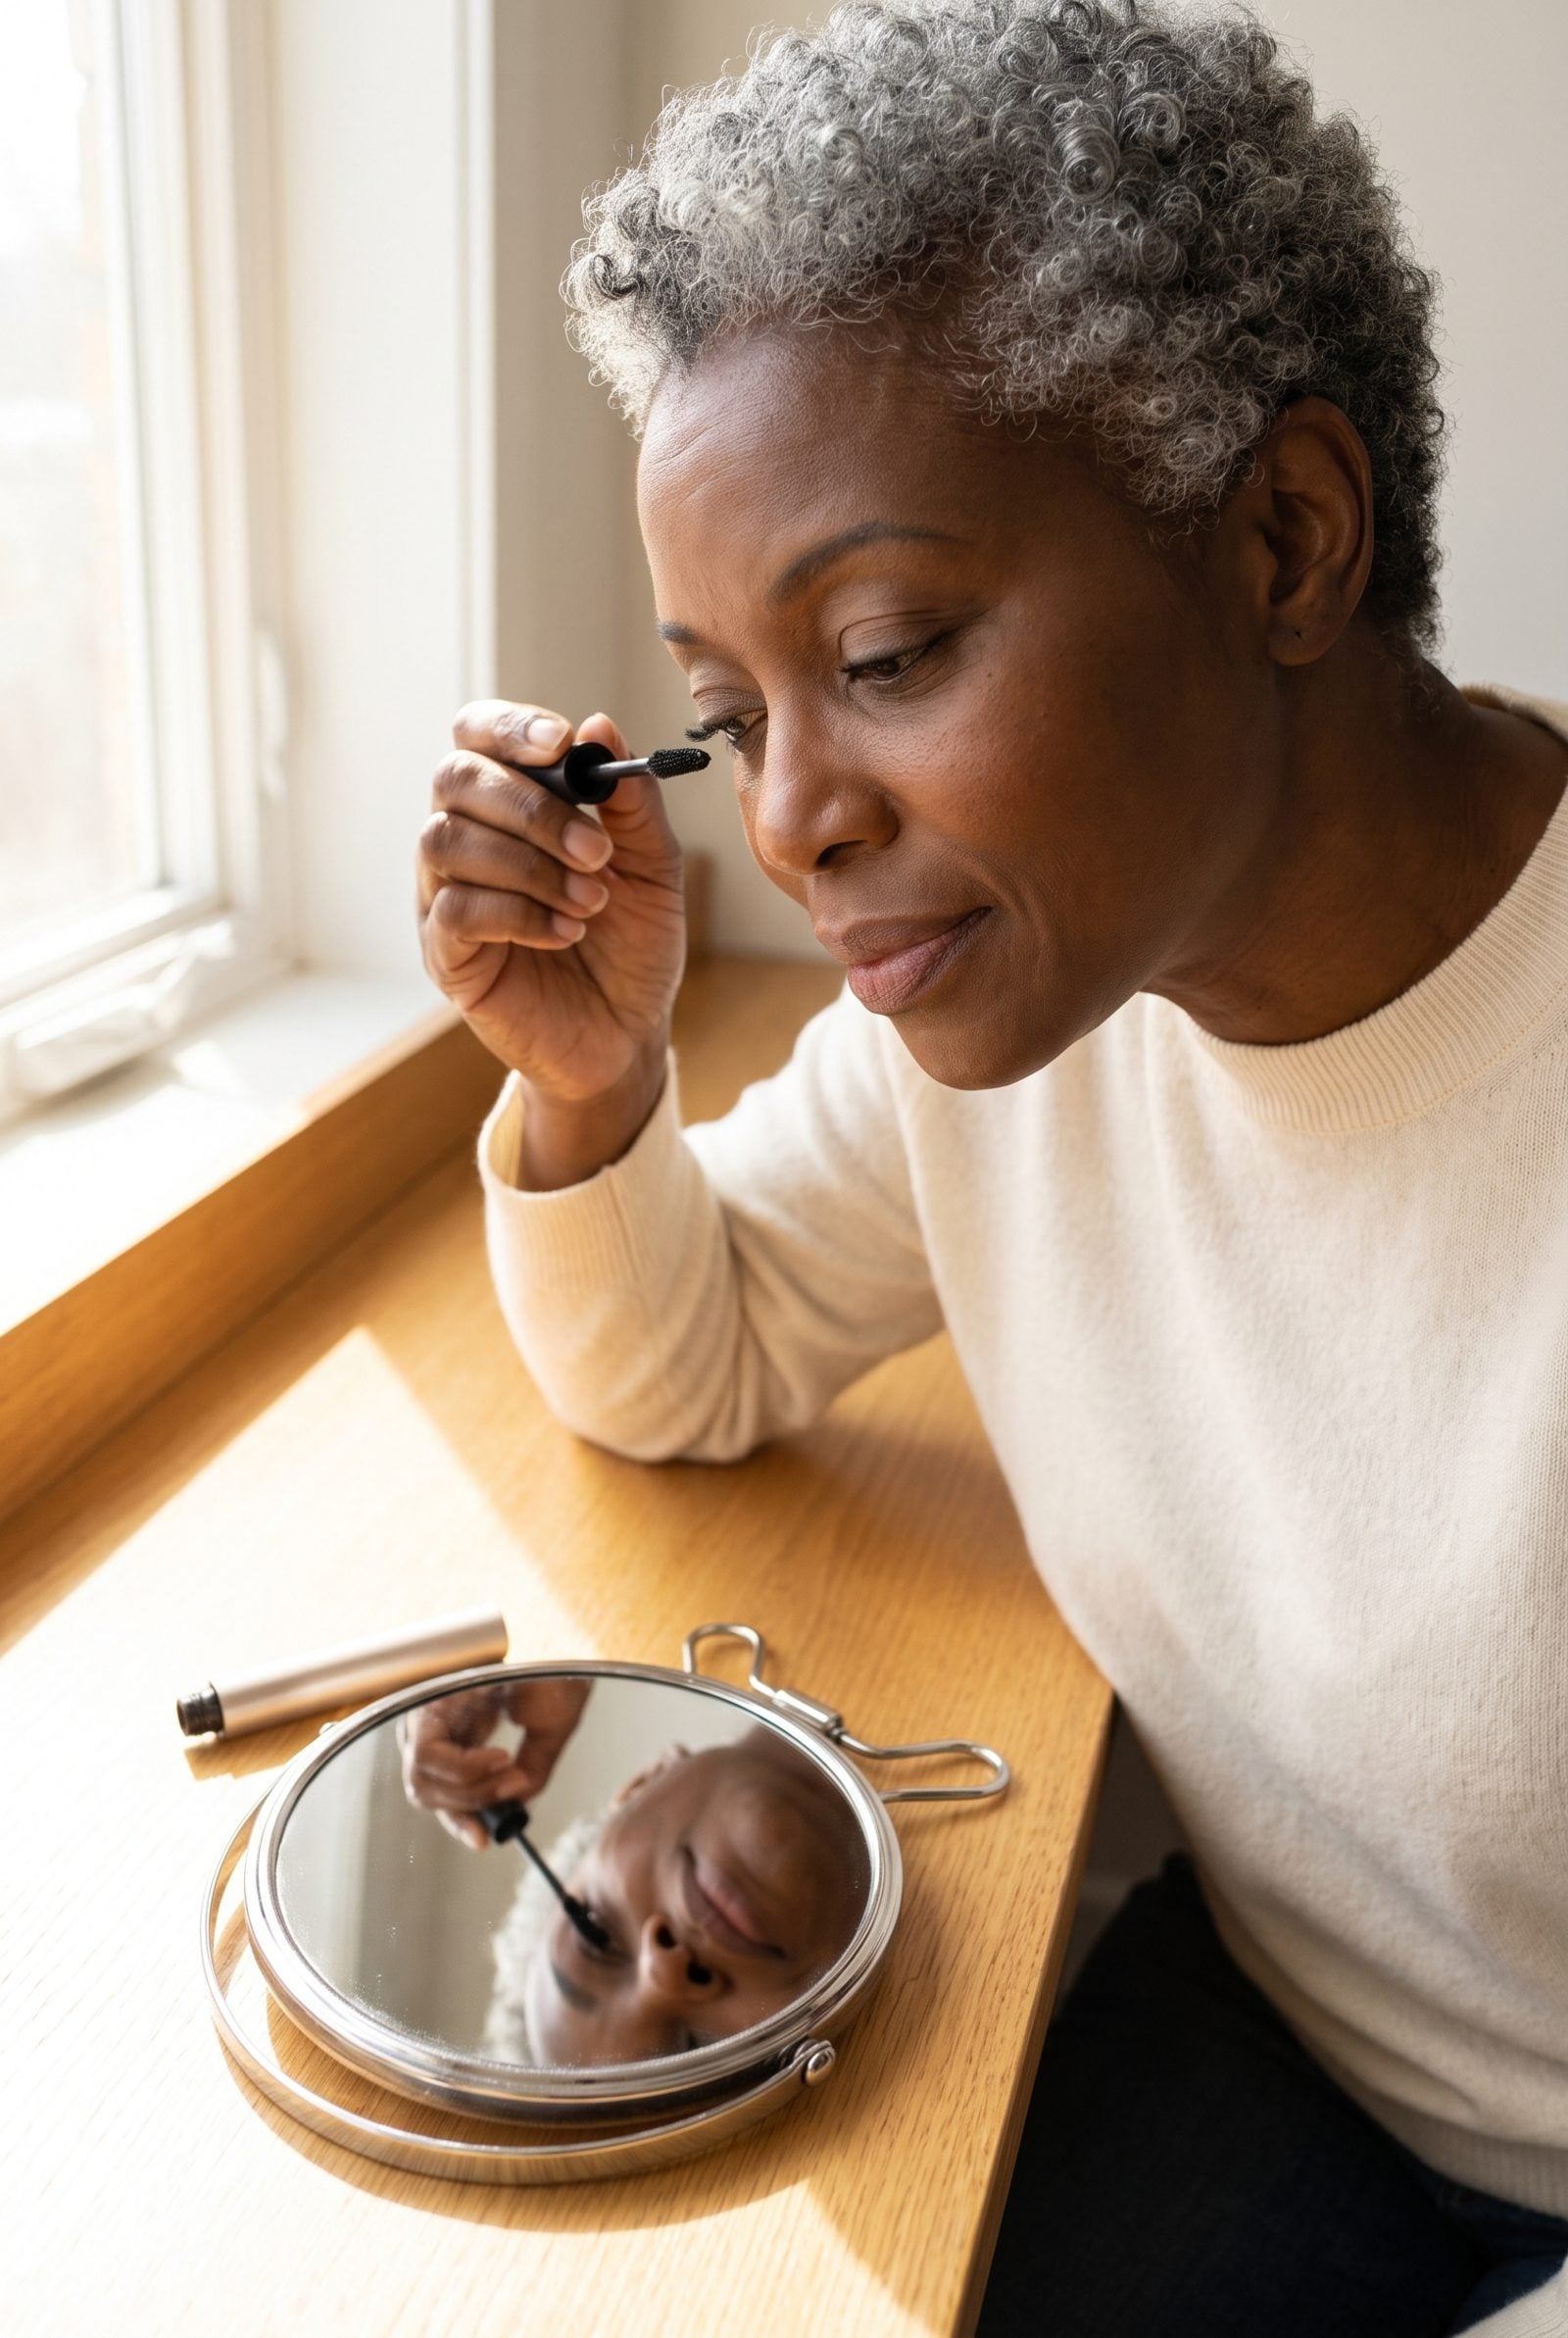
Most mascara mishaps come down to one thing: you’re staring straight ahead and your lashes keep blinking into the wand. Drop the mirror lower, lift your chin, look down into it.
With your eyes cast downward the lid stays open and still, the lashes fan out flat against the wand, and you can coat each one root to tip without poking yourself or stamping black dots across the upper lid. Fewer mistakes, fewer touch-ups, faster finish.
40. Lay a Clean Towel Over the Sink to Catch Everything You Drop
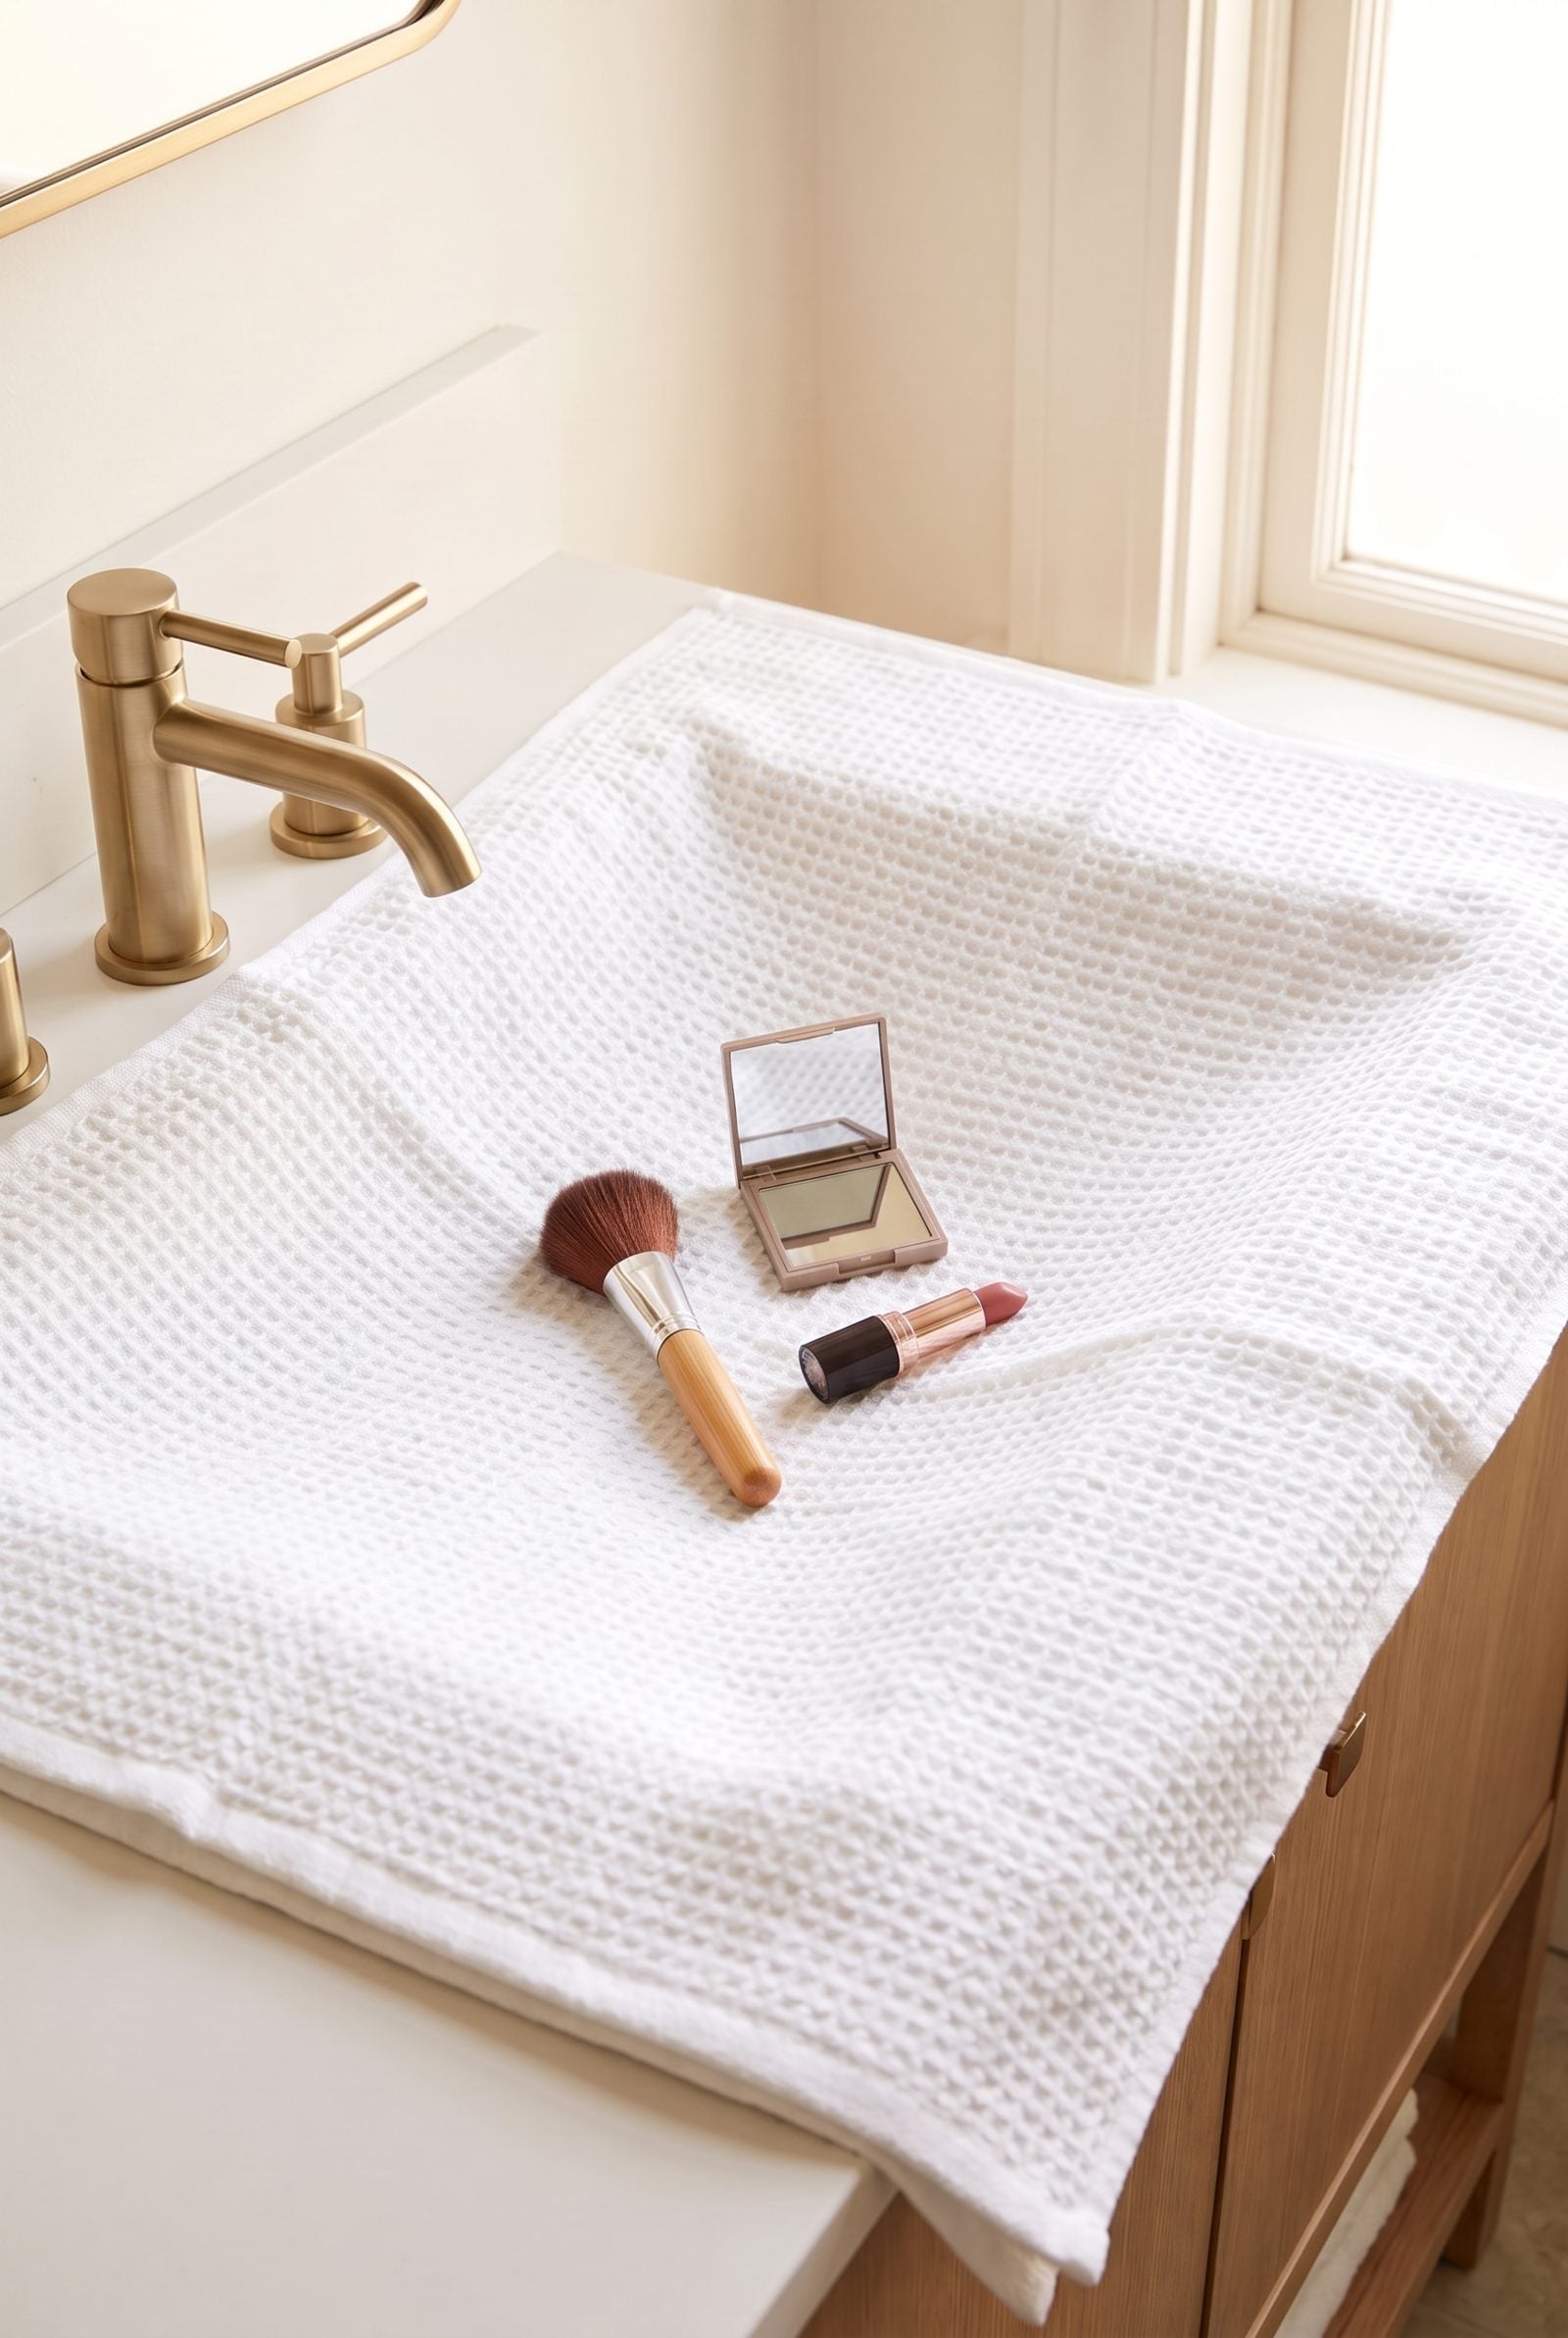
We’ve all juggled a makeup brush, an eyeshadow compact and a lipstick at the bathroom sink and watched one of them bounce once on the porcelain. Or heard that sickening crack of a compact mirror meeting stone.
Before you start your makeup, grab one roomy, soft white waffle-weave towel — it sits just as easily beside brushed-gold taps and a warm wood vanity. A handful of loose odds and ends lands on one soft surface. Lipsticks drop and stay put. Compacts survive. And when you’re done, you lift the towel and shake any stray powder into the sink — your counter ends tidier than it began.
39. Brush Brow Gel Backward First, Then Sweep the Hairs Upward
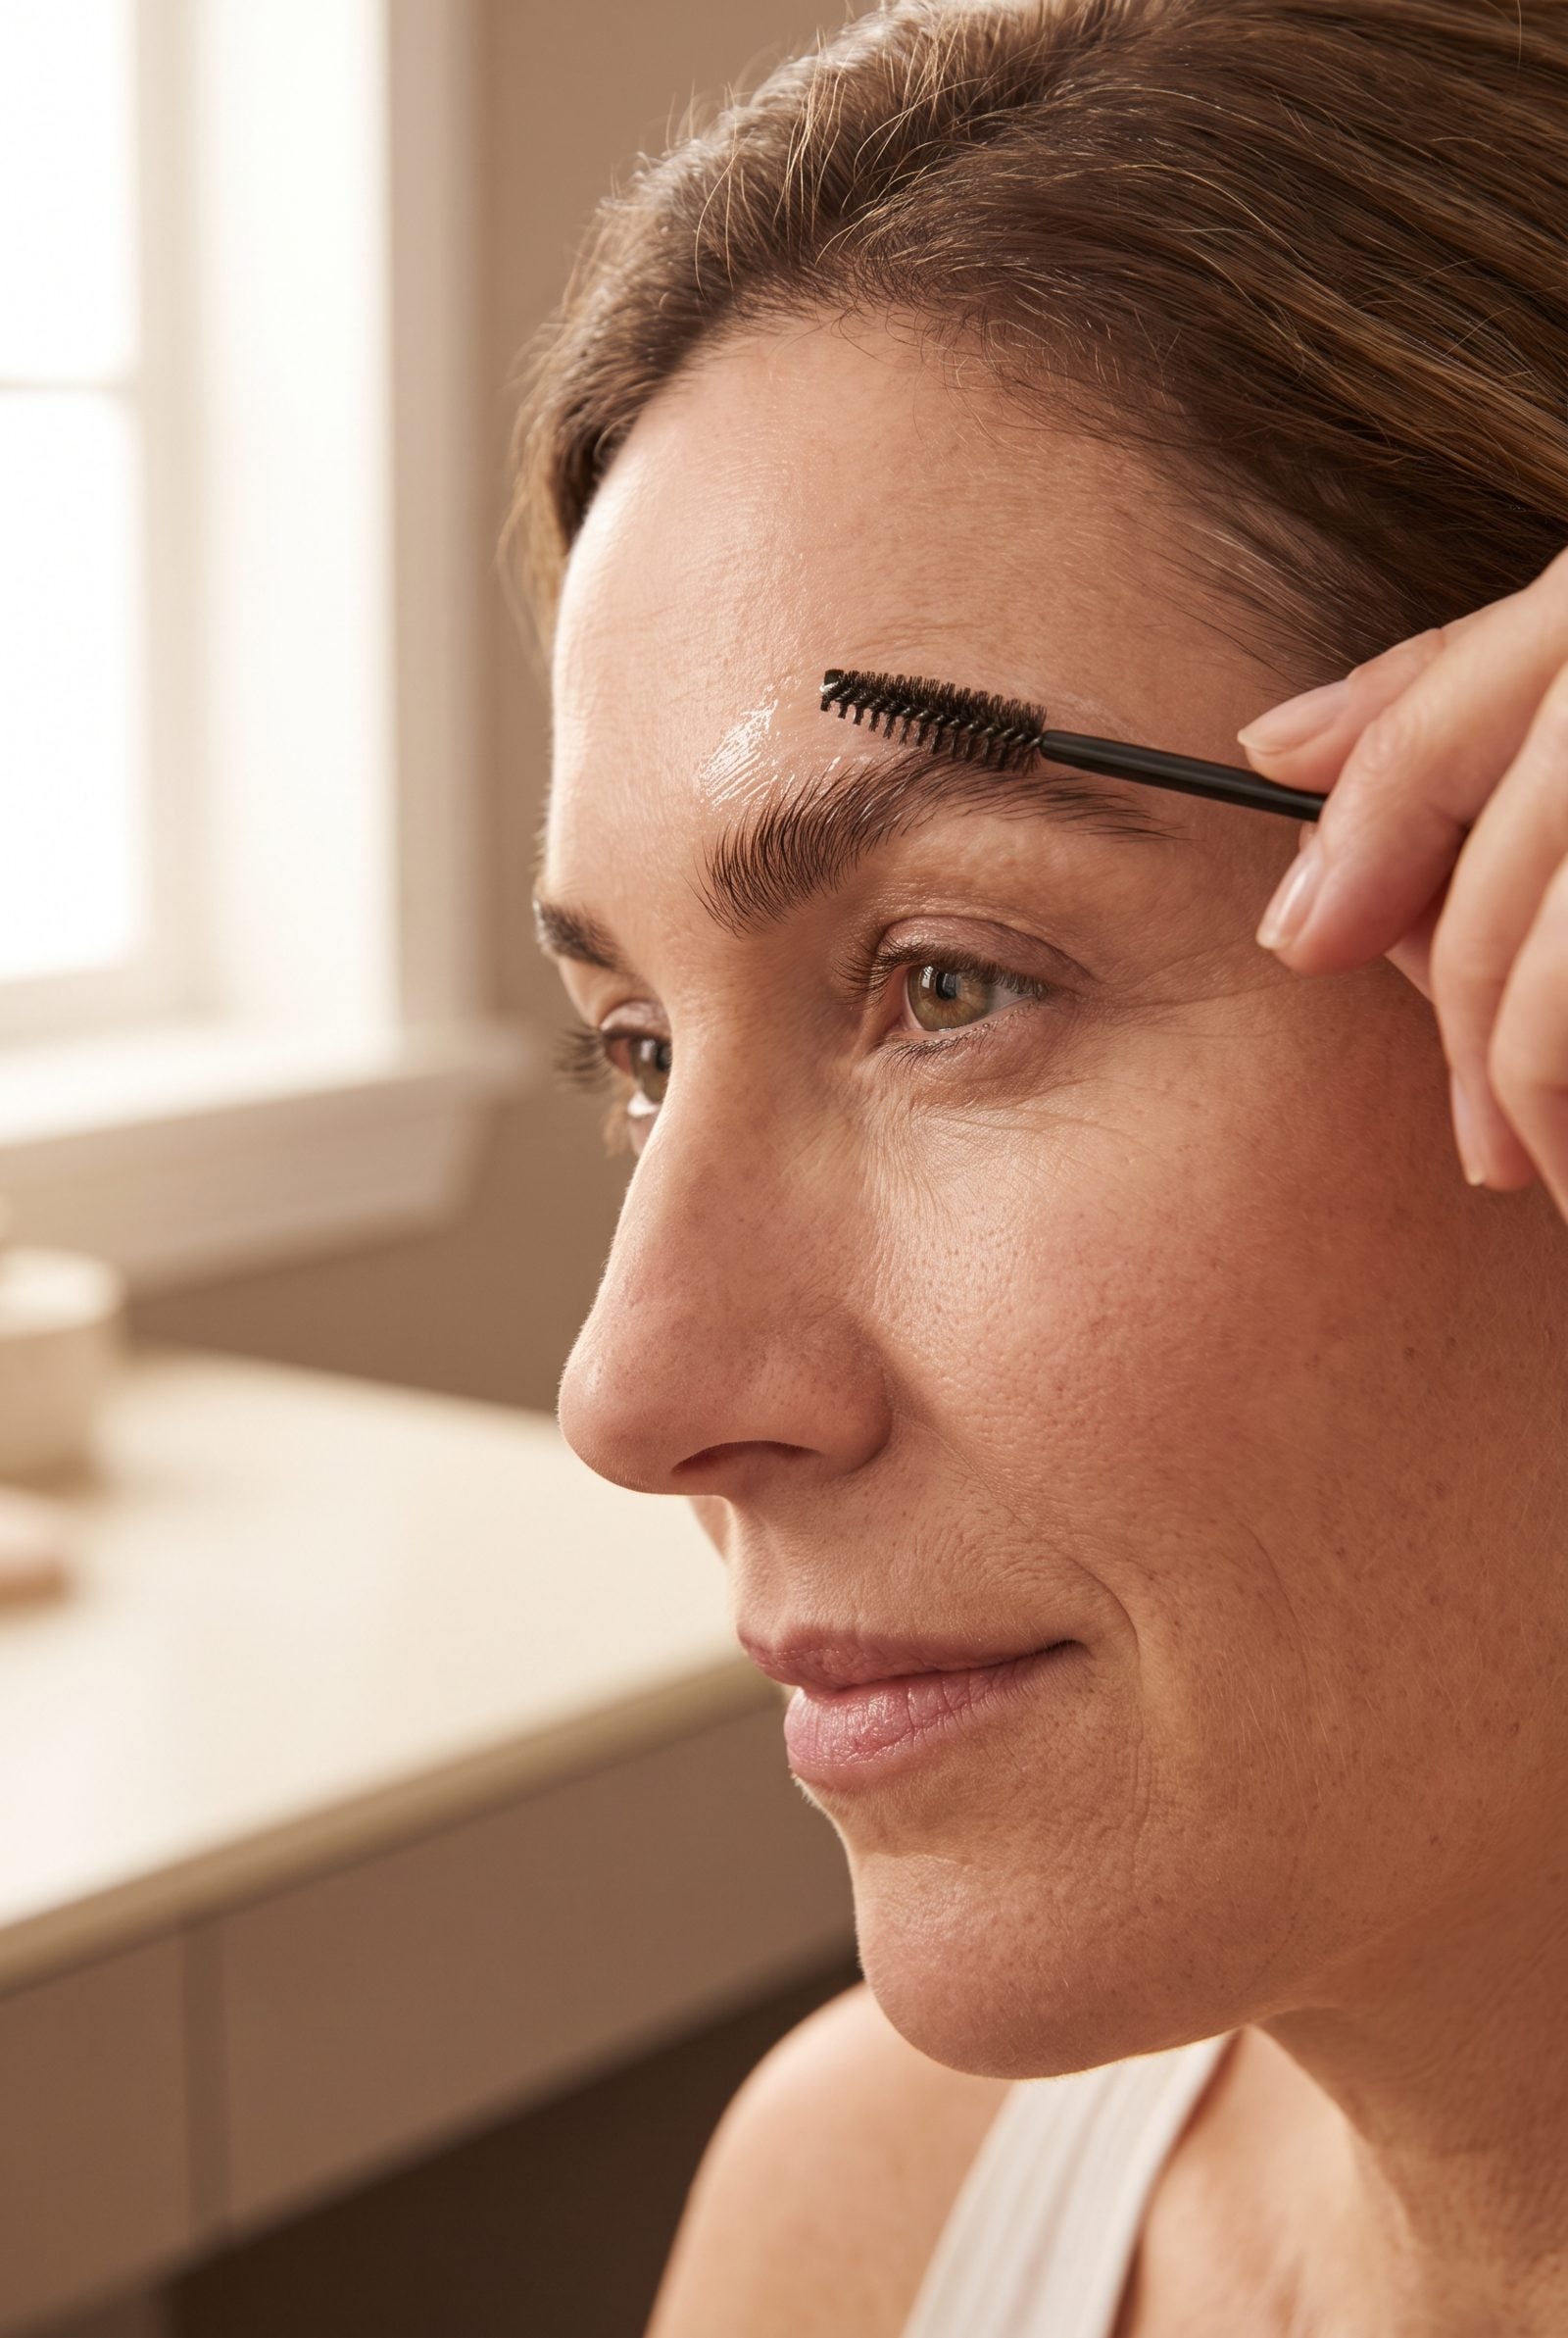
The backward sweep is the whole trick. Combing gel against the grain first coats the underside of every hair and lifts it right from the root, and only then do you brush upward, so the brow stacks taller and fuller with no sparse patches showing through.
Most people skip straight to the up-sweep and then wonder why half the brow stays stubbornly flat. Simple: you coated one side of the hair, not both. Thirty seconds, two directions, done for the day.
38. Pinch a Powder Puff Around the Nose for Precise Shine Control

A flat brush skates right over the nose and leaves the shiny bits shiny. Pinch a soft, round powder puff around the side of the nose and press it into the creases beside the nostrils, where oil actually pools.
Press, don’t sweep. The flat, round puff sets powder exactly where shine lives and nowhere it doesn’t, so the rest of the face keeps its natural light instead of going chalky.
37. Pull a Scarf Hood Over Finished Makeup When Dressing Through a Narrow Neckline

❤️ Would you like to save this?
You spend ten minutes on your face, then drag a turtleneck across it and wreck half of it at the collar. We’ve all smeared lipstick into a wool rib and just called it a loss.
So drape a silk scarf over your finished face first, like a loose hood, then pull the narrow neckline over the scarf. The fabric glides where your skin can’t, and everything underneath stays exactly where you put it. Bonus: a blush silk scarf becomes the accessory the moment you’re dressed.
36. Spray Setting Mist Onto a Sponge for Controlled Application
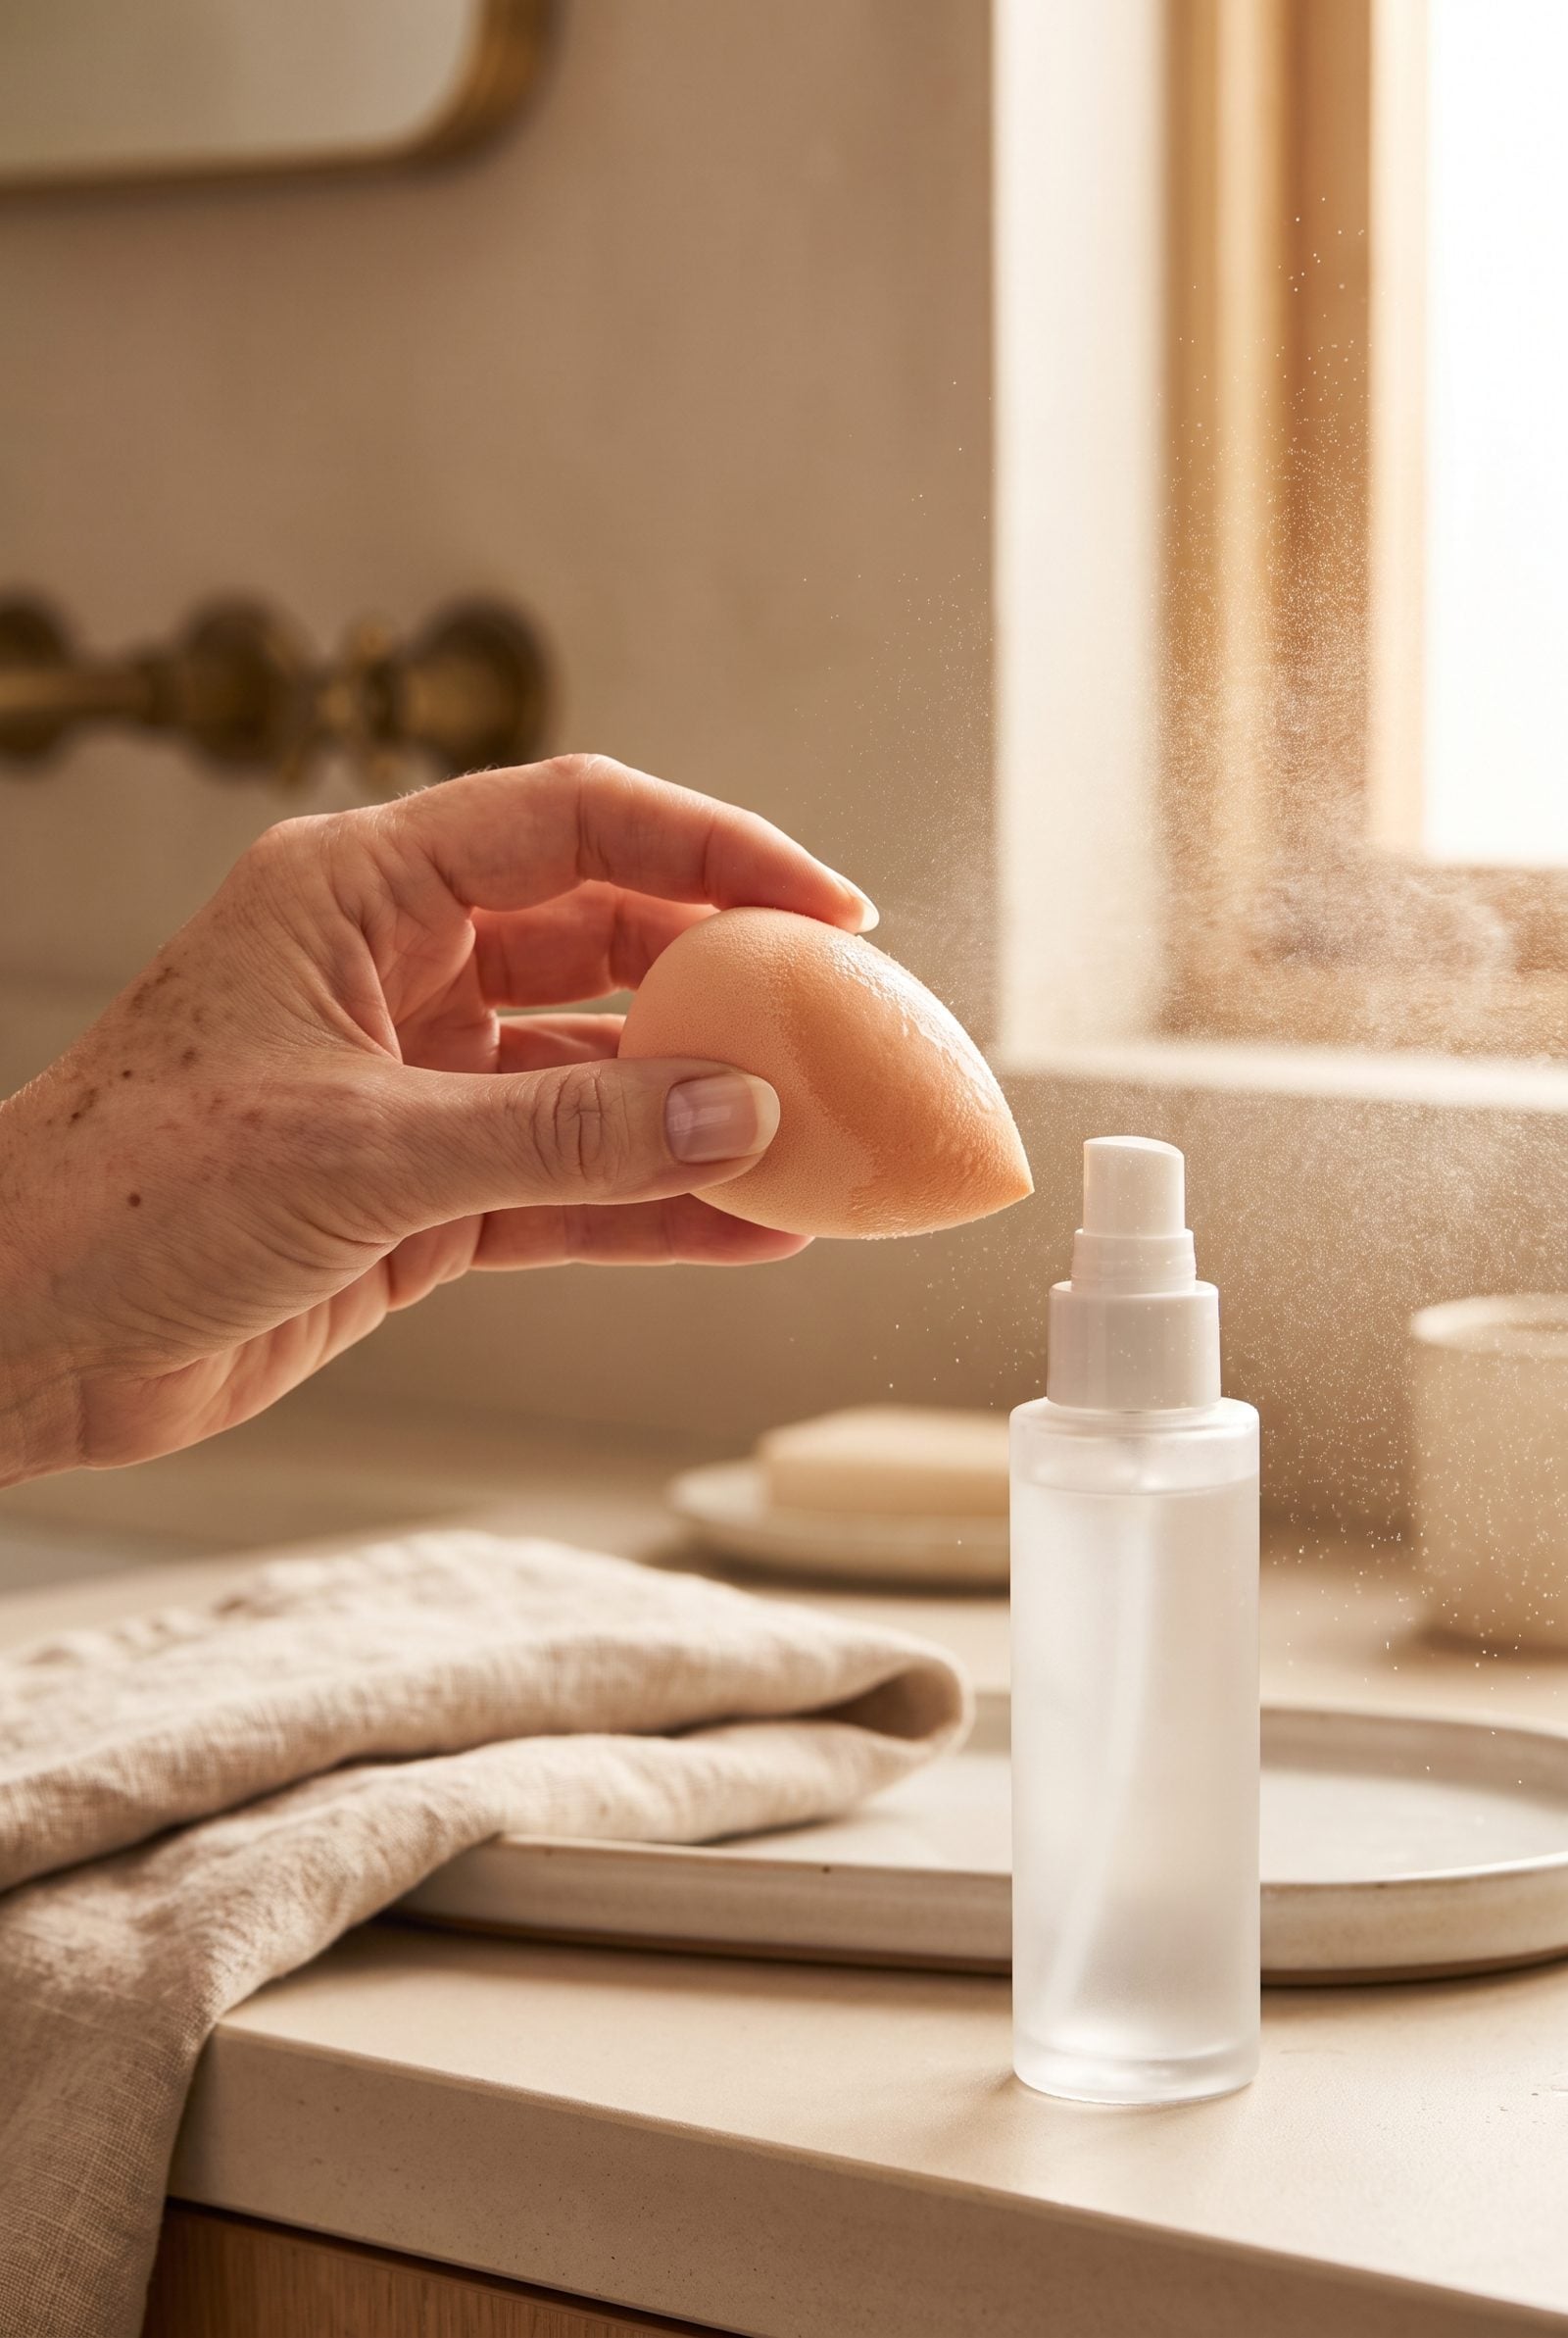
Spraying mist straight at the face gives you two outcomes: a soaked forehead or a dry patch nobody warned you about. Even coverage from an arm’s length away is a fantasy.
Spritz the mist onto a damp sponge instead, then press it across the skin. You control exactly where the moisture lands, you meld powder and base into something that actually looks like skin, and you burn through far less product. The finish reads lit-from-within rather than sprayed-on.
35. Relax the Face Before Placing Blush So It Does Not Sit Too Low

Here’s the mistake almost everyone makes. You smile to find the apples of your cheeks, apply blush there, and then your face relaxes and the color slides south, dragging the whole look down with it.
Keep your face neutral and still while you apply, then break into a big smile and press a fingertip to your cheek to check the placement. Place the blush a touch higher than feels right, along the top of the cheekbone, and when you stop posing it settles exactly where a youthful flush lives naturally. A relaxed face is the only honest map your blush has.
34. Brighten Only the Downturned Corners of the Mouth With Concealer

The corners of the mouth pull downward a little as we live our lives, and shadow quietly collects there. Caking full-face concealer over the whole area just settles into the lines and ages you.
Instead, dot a brightening shade into those two corners only, then tap with a warm fingertip. The shadow lifts, the mouth reads lighter and faintly upturned, and you’ve used a pinhead of product instead of a full pass. Small and surgical wins over broad coverage every time.
33. Hold a Reusable Makeup Shield Behind the Lashes to Protect the Eyelids
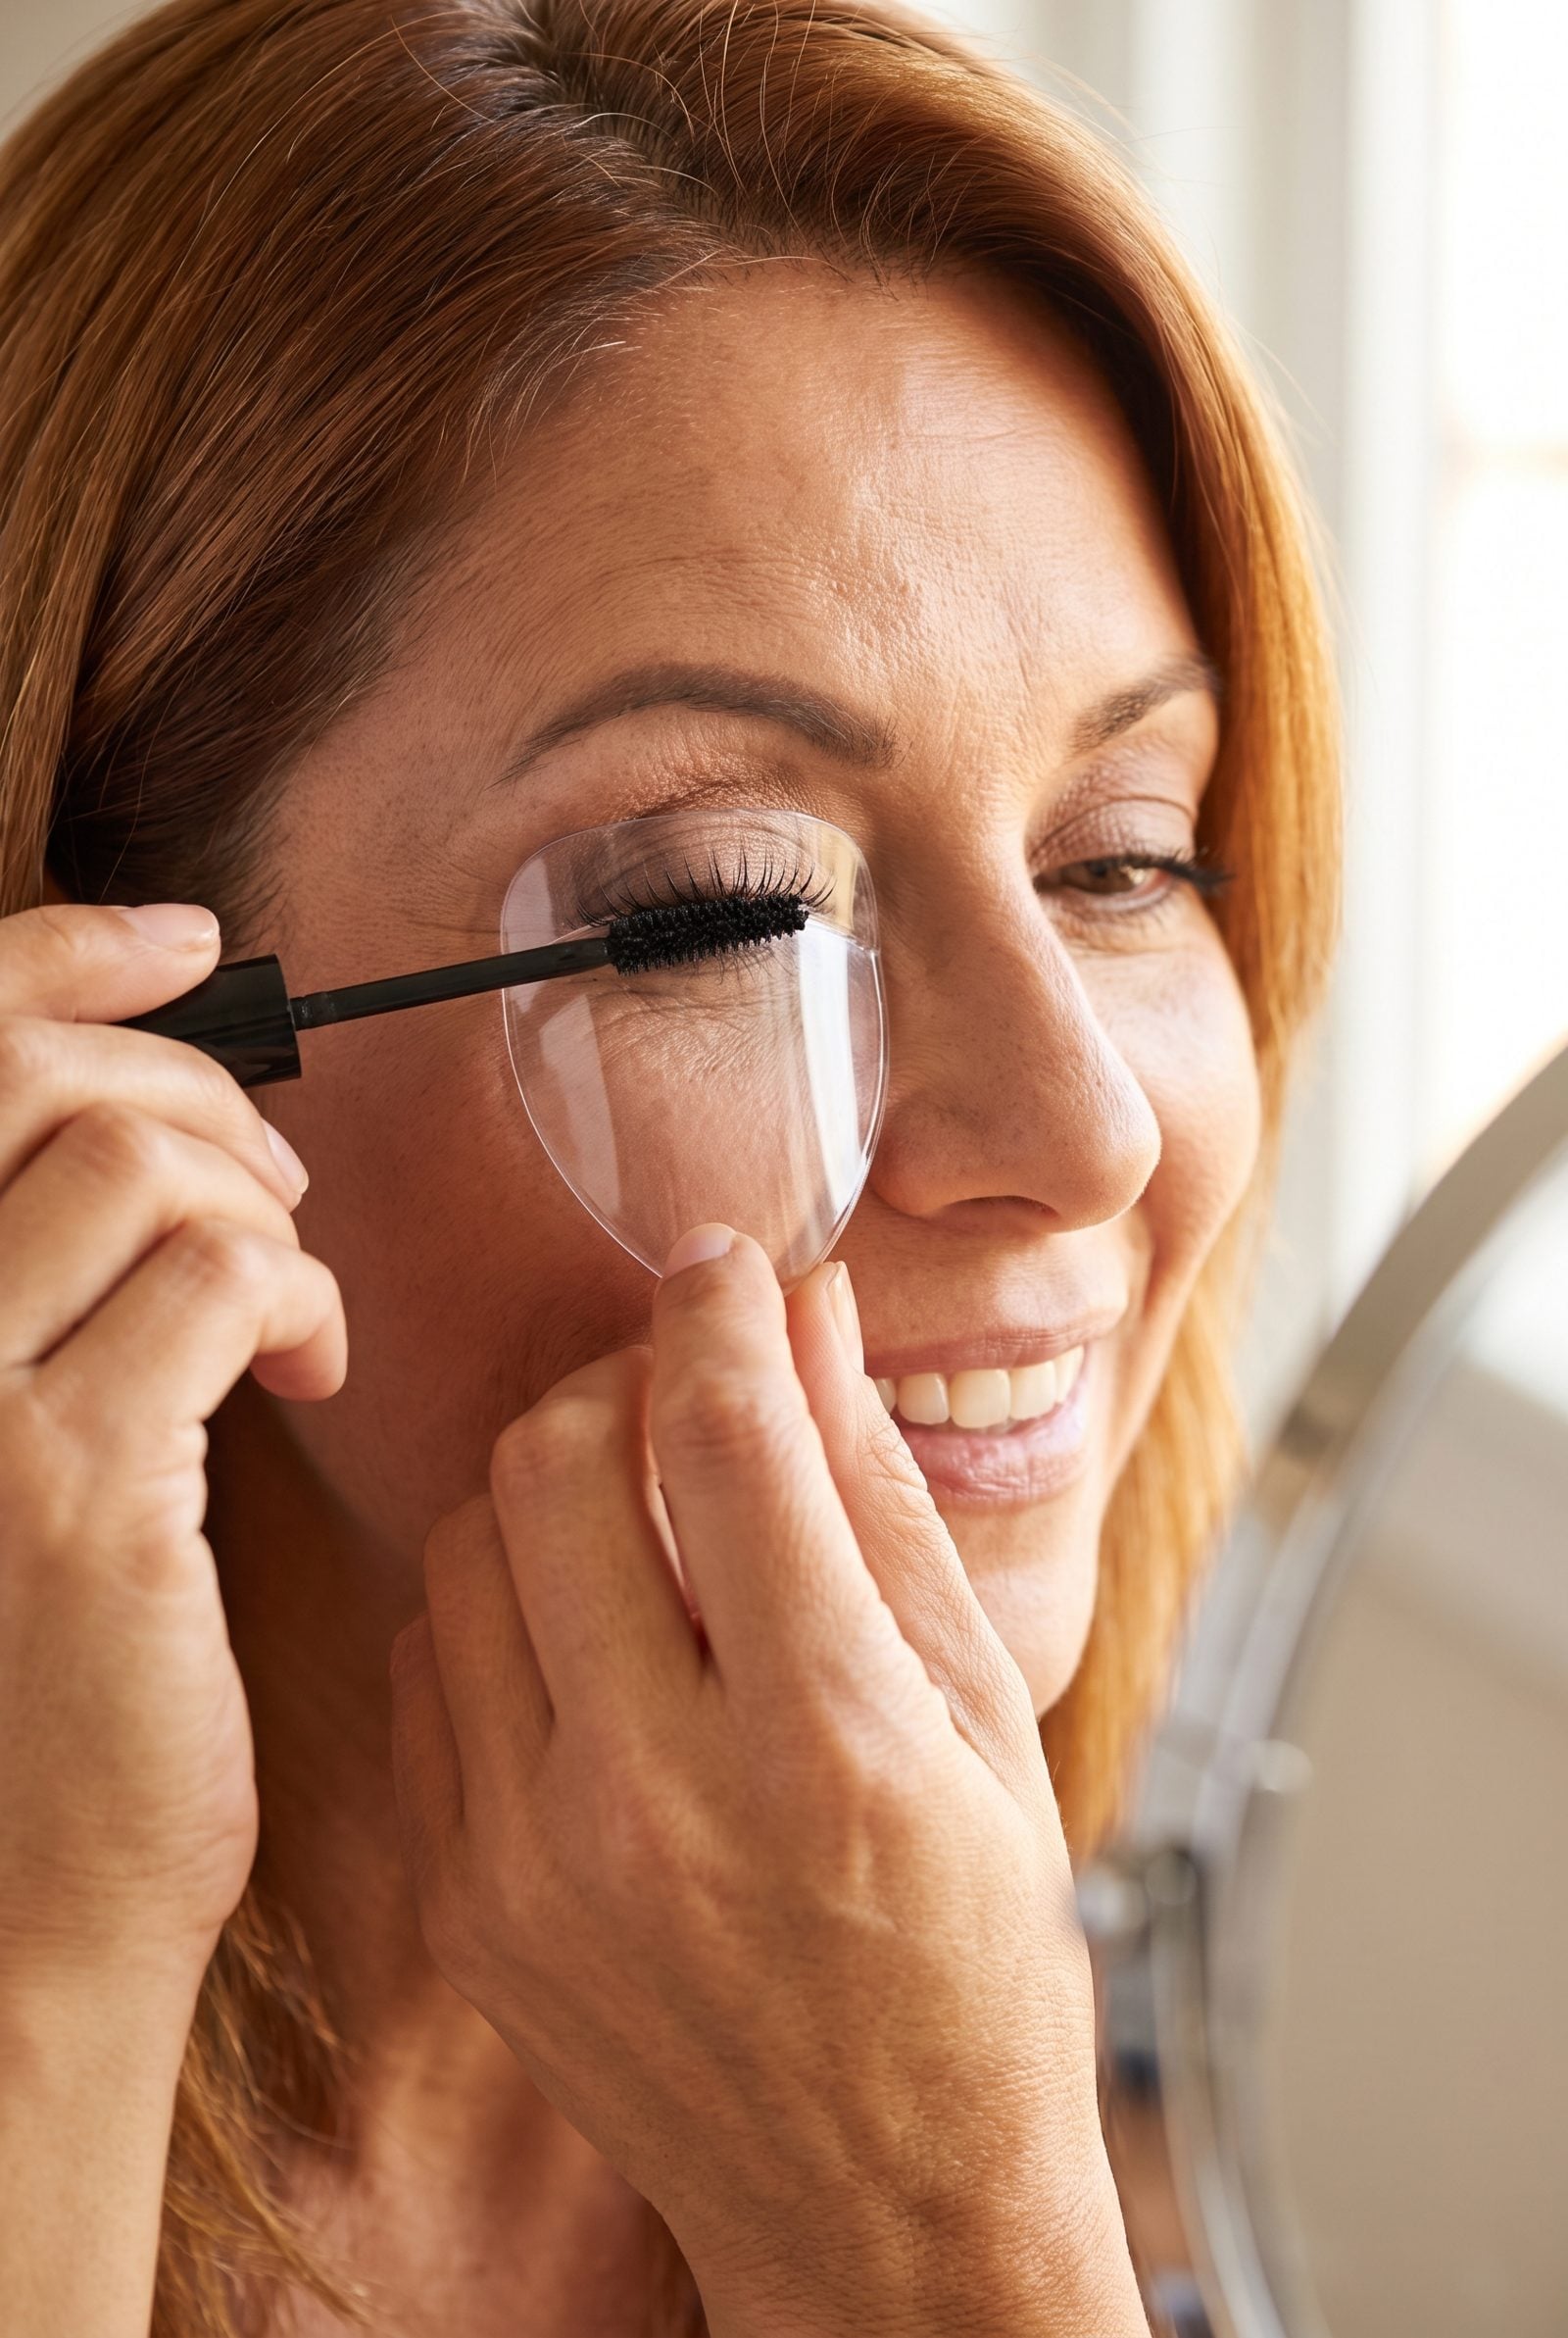
Mascara flecks on the eyelid are the oldest tax in beauty. You blink, you smudge, you redo the whole eye, and the clock keeps running.
Hold a thin reusable shield against the lid, just behind the lashes, before you reach for the wand, and sweep the mascara along its edge. It catches every stray deposit so not a single mark lands on the lid. Clean coat, no cleanup, no do-over.
32. Let Concealer Sit Briefly Before Blending High-Coverage Spots

Patience is the unglamorous secret here. Dot high-coverage concealer over a spot, then just wait a beat before you touch it. The formula tacks up, grips the skin, and quits sliding the instant you press.
Blend too soon and you’ll wipe half of it off, then spend the next minute chasing the coverage you just erased. Let it set. Press gently with a damp sponge, and the pigment stays put, right over the thing you meant to hide.
31. Apply Cream Blush Under a Thin Base for a Natural Flush
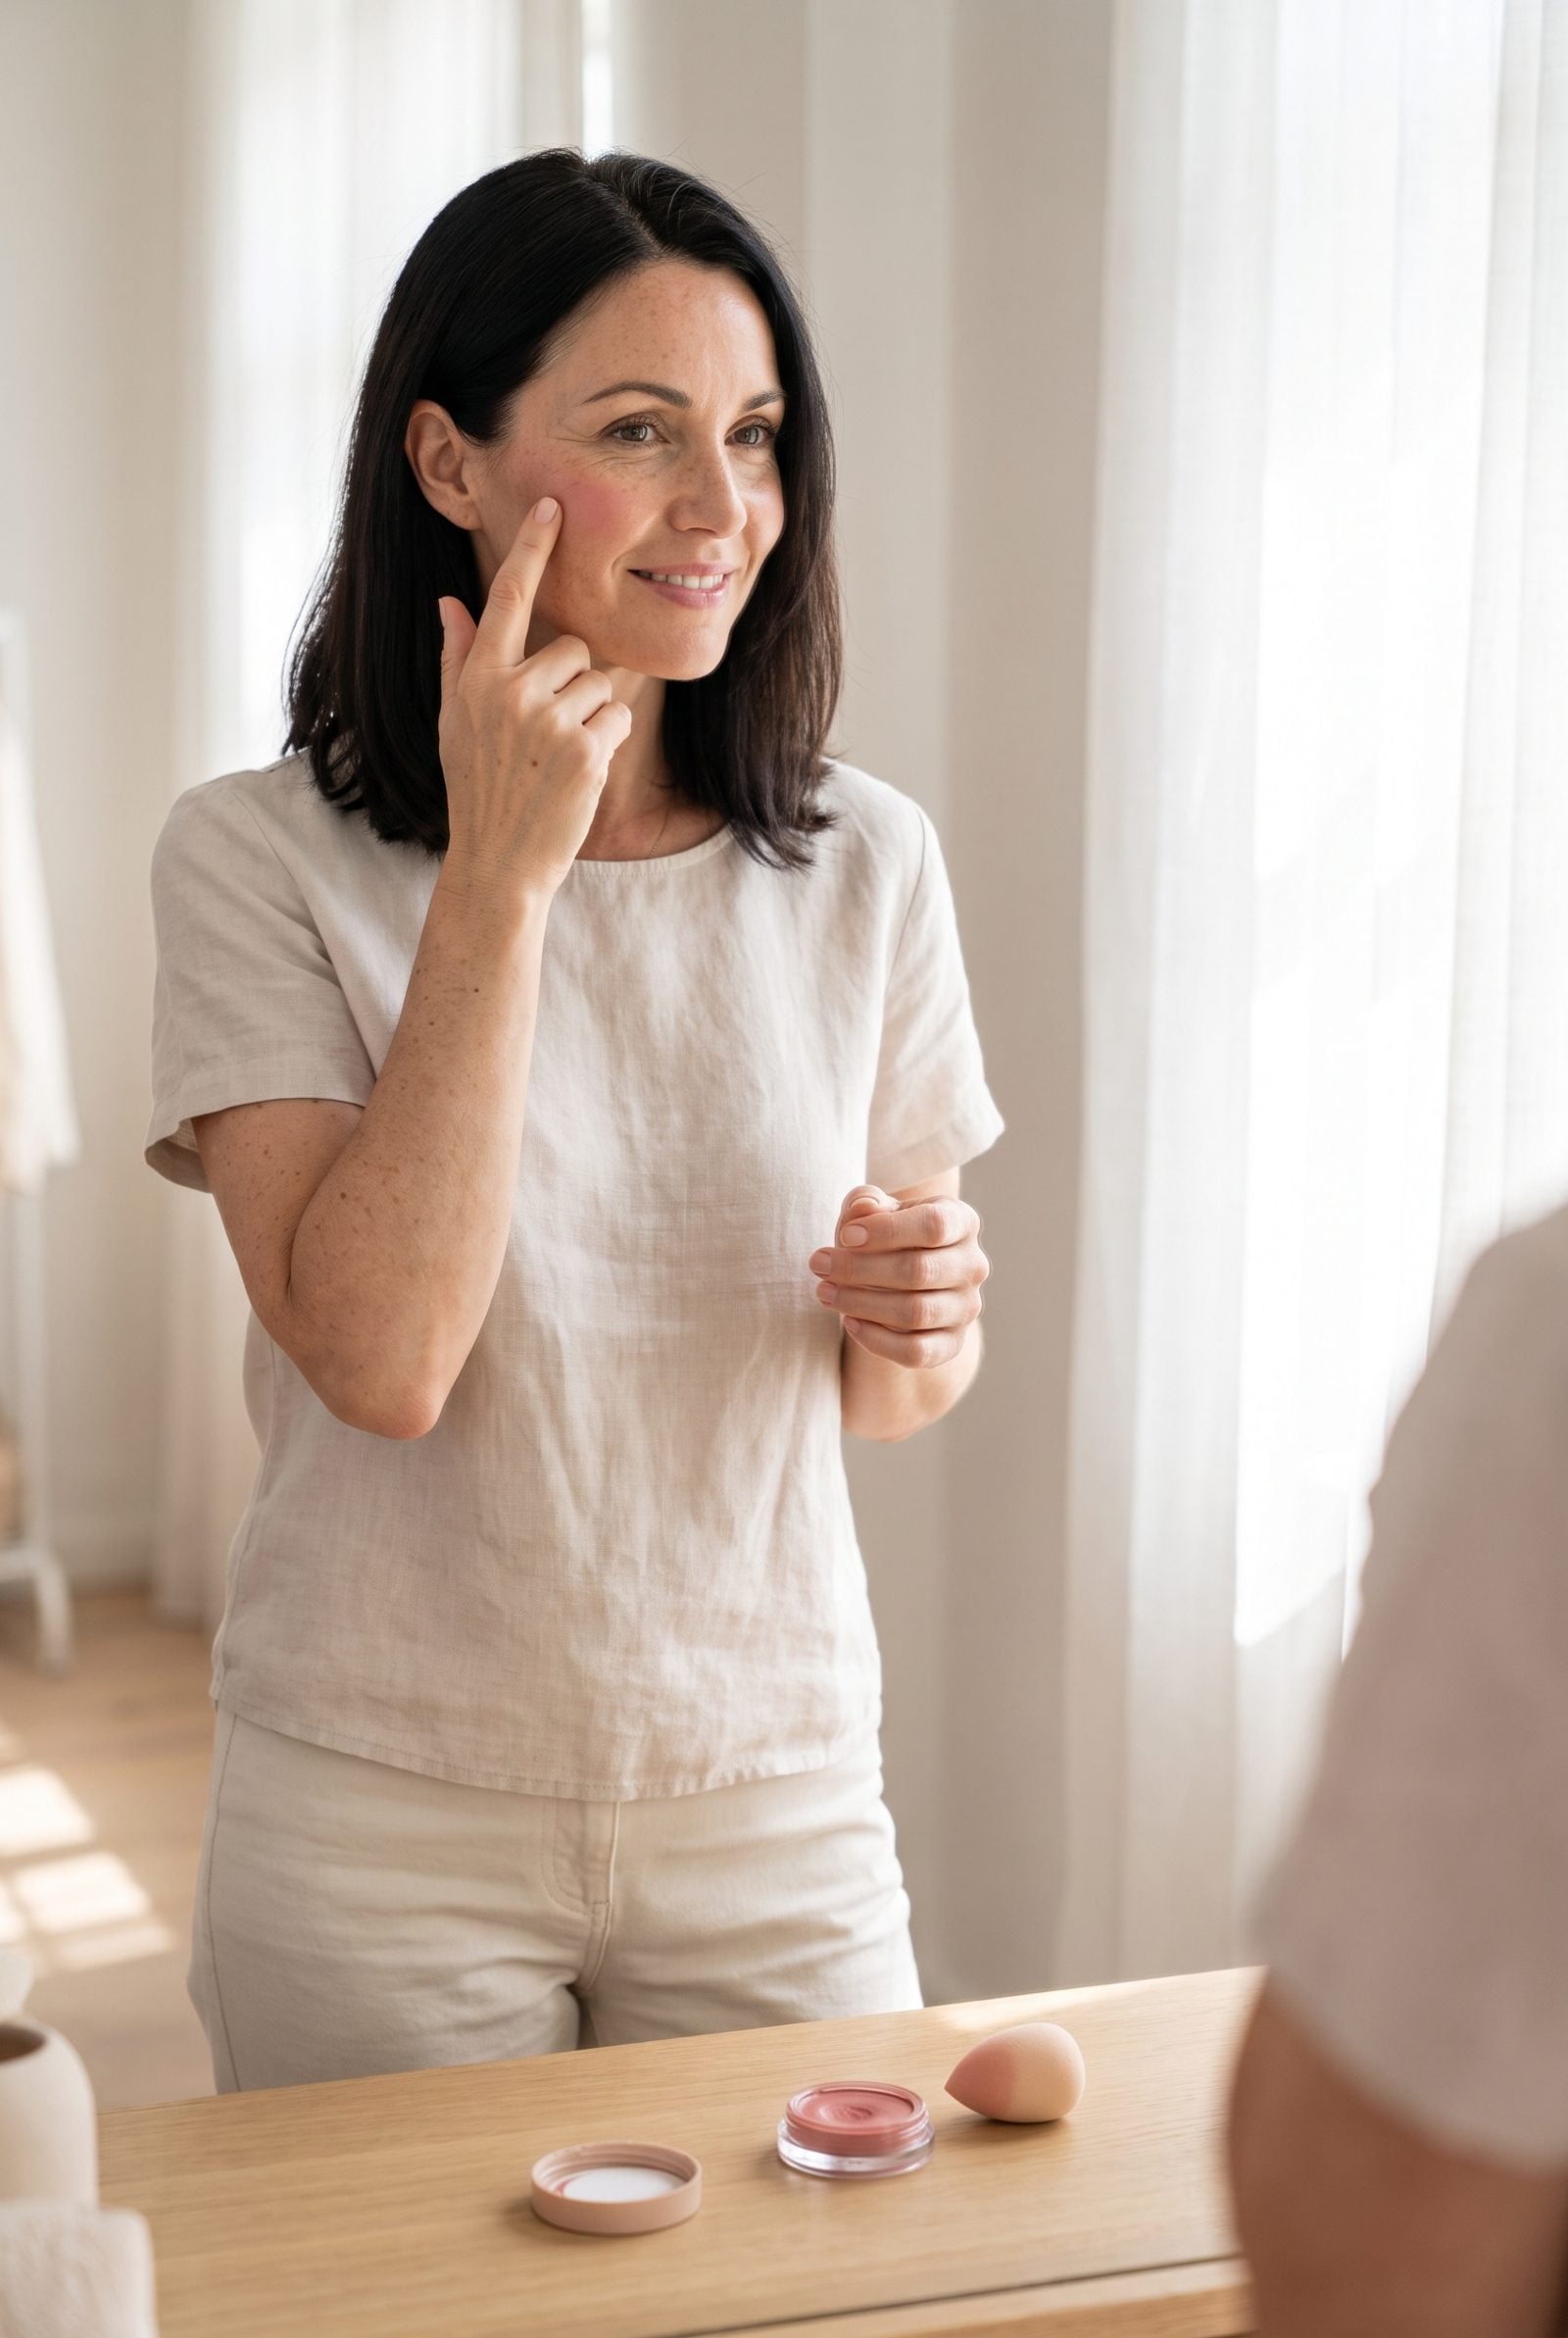
Blush over foundation sits on the surface and announces itself. Flip the order and the whole thing changes.
Tap cream blush onto bare skin first, then float a thin base over the top. The color reads like it’s rising from inside the cheek, the way real warmth does after a brisk walk in the cold. The base softens the edges, so there’s no line to blend and no harsh disc of pigment hovering on your face, just a flush that looks like it’s yours. Honestly, it’s the single easiest way to look rested when you absolutely are not.
30. Apply Pimple Patches to Clean, Fully Dry Skin Before Other Products

Order is everything with these. The patch only grips if the skin is clean and bone-dry, no serum, no moisturizer, no residue, and it has to go on before any other step, never after.
Slap one over damp or lotioned skin and it’ll slide off within the hour. On clean dry skin? It seals tight, pulls the gunk out while you finish getting ready, and sits flat enough to vanish under makeup if you need it to. First step, every single time.
29. Reverse-Wash Fine Hair to Condition Without Flattening It

Condition first, shampoo second. Fine hair goes limp when conditioner sits at the roots, so flip the order: coat the mid-lengths and ends, then shampoo over the top and rinse everything at once. The conditioner still softens and detangles while the shampoo sweeps away the residue that would otherwise weigh you down.
You get body at the crown and slip at the ends, with no greasy flatness by noon. It feels backwards at first. Try it for one flat-at-3pm week and you won’t look back.
28. Use Dry Shampoo at Bedtime So It Absorbs Oil While You Sleep
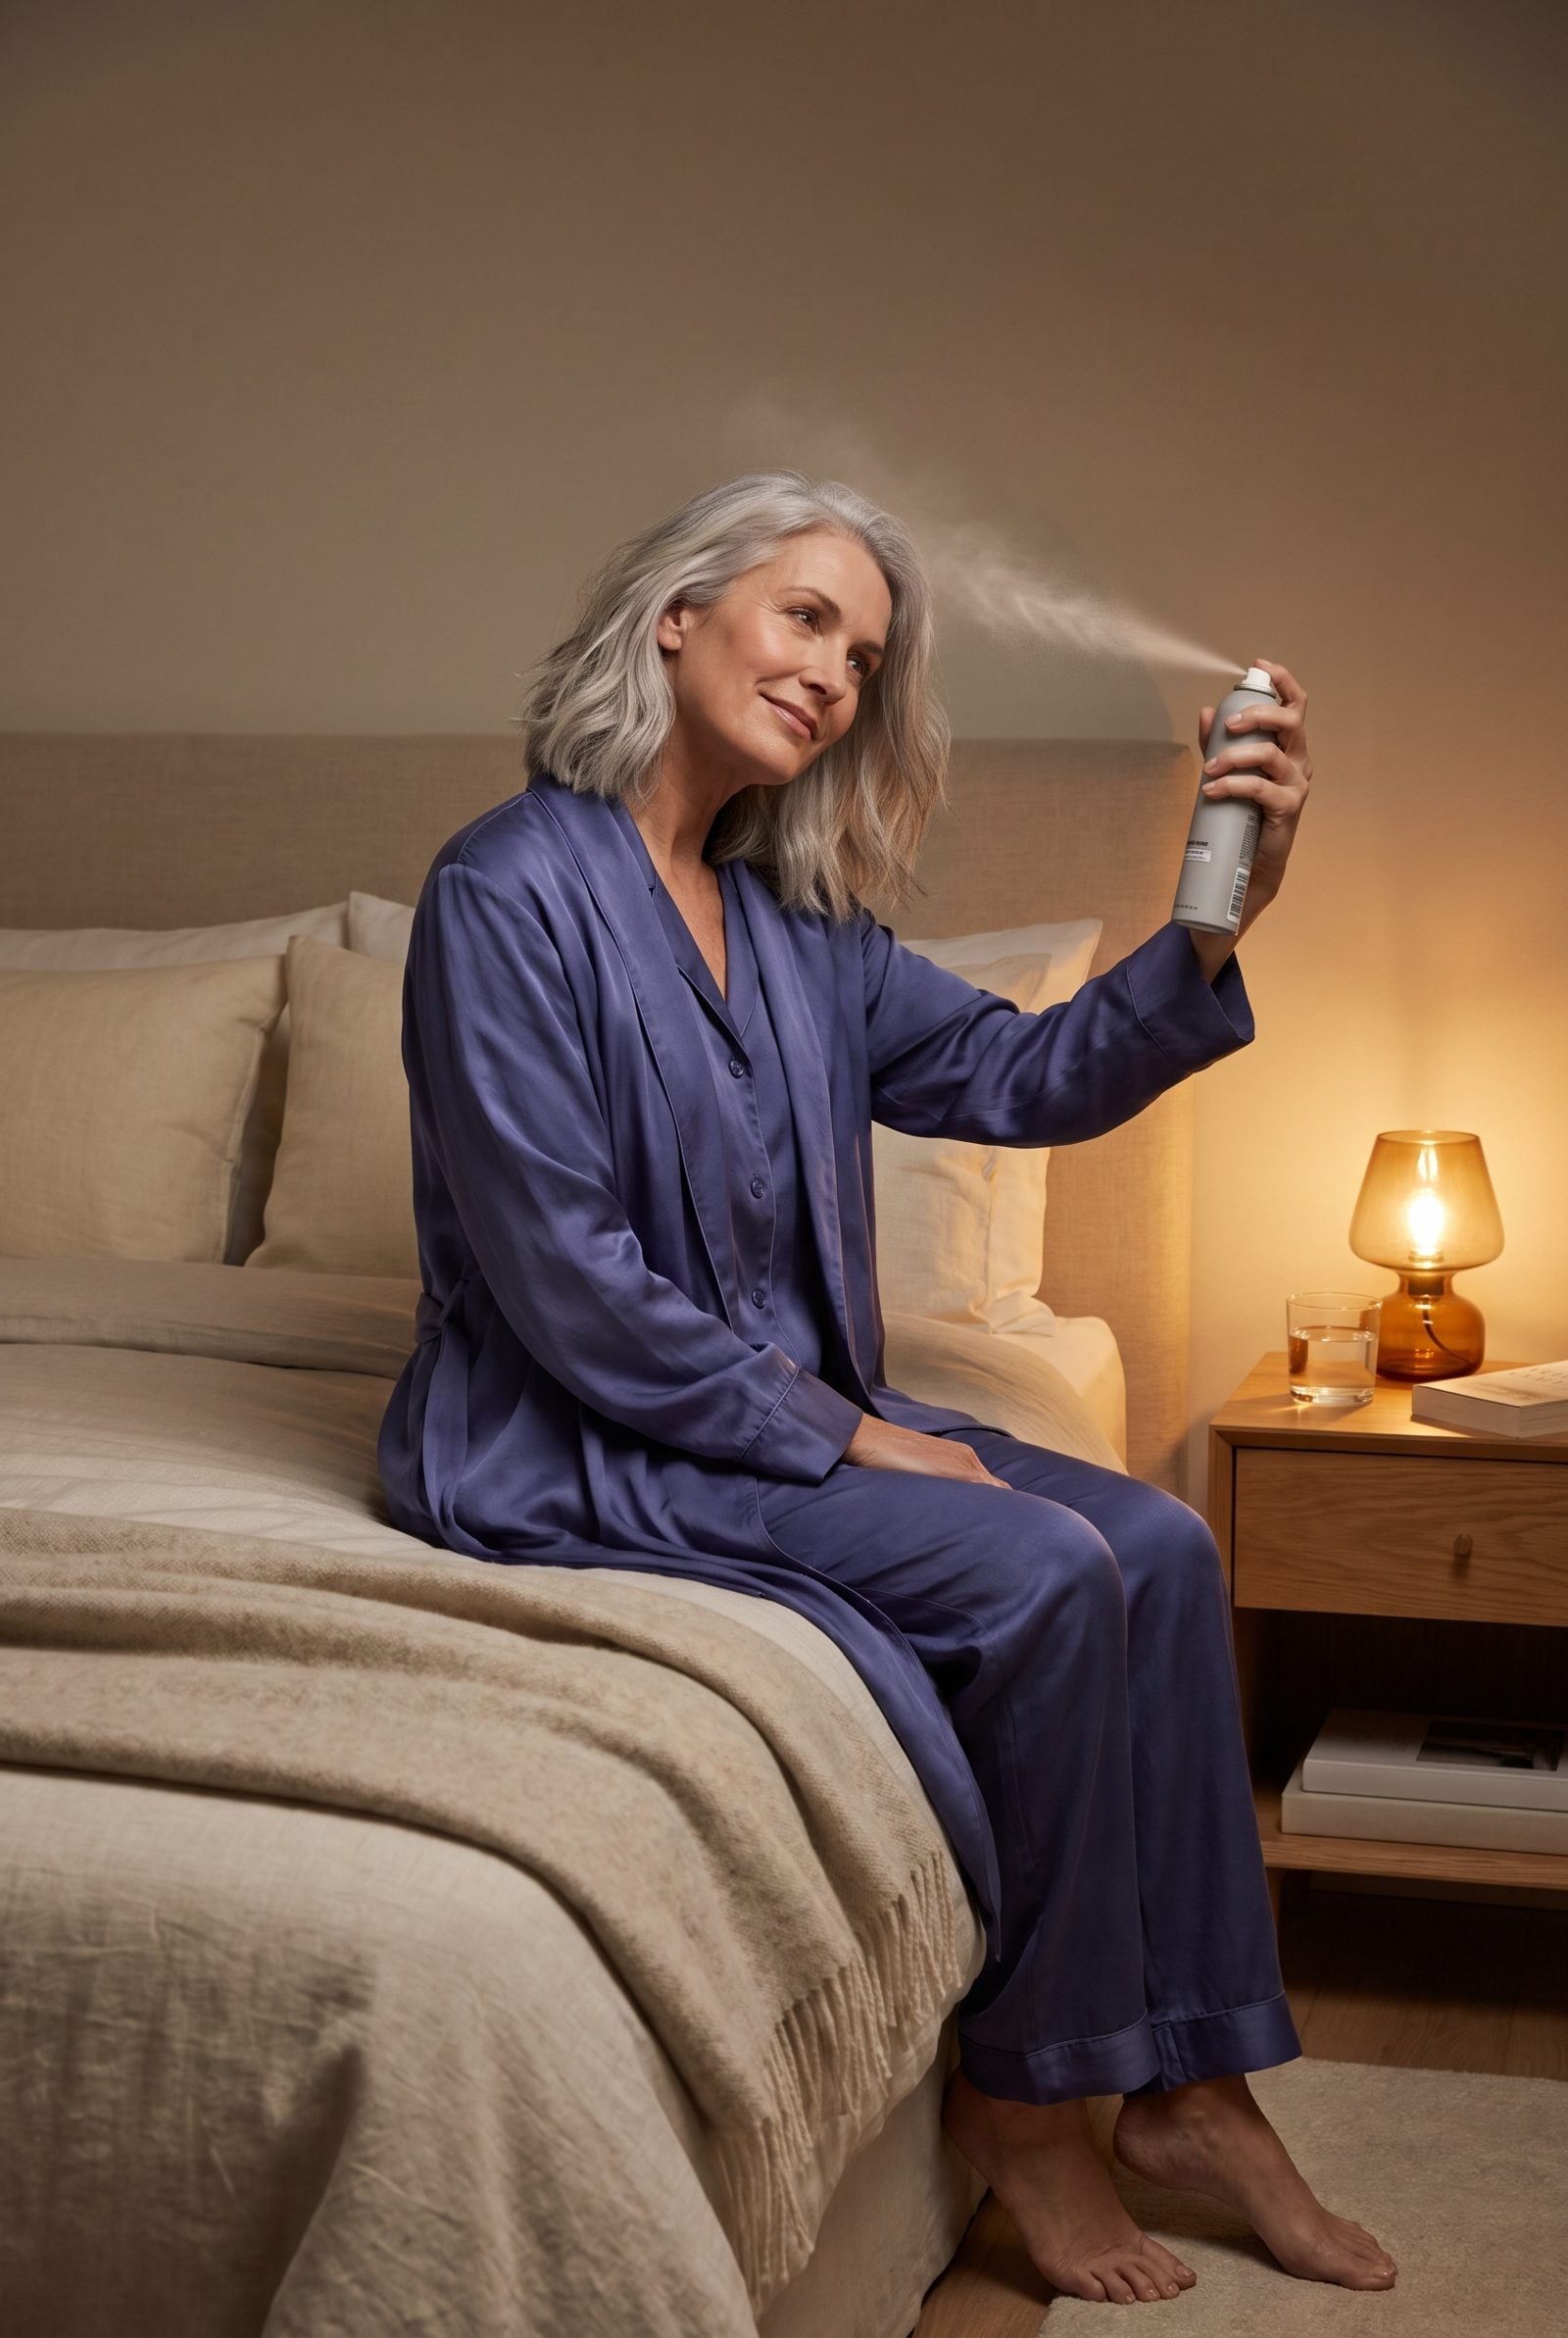
Dry shampoo works best as an overnight investment, not a morning rescue. Spray it into your roots before bed and it spends the whole night quietly soaking up the oil your scalp produces while you sleep. By morning the powder has done its job, and a quick brush leaves you with clean-looking, textured roots and full, bouncy waves ready for a day out in the city, instead of that chalky grey cast you get when you panic-spray at 7am.
Fewer washes, more volume, no white residue showing up when you’re photographed out in broad daylight. One habit, and your blowout lasts twice as long.
27. Apply Antiperspirant at Night So It Works Before Morning Begins
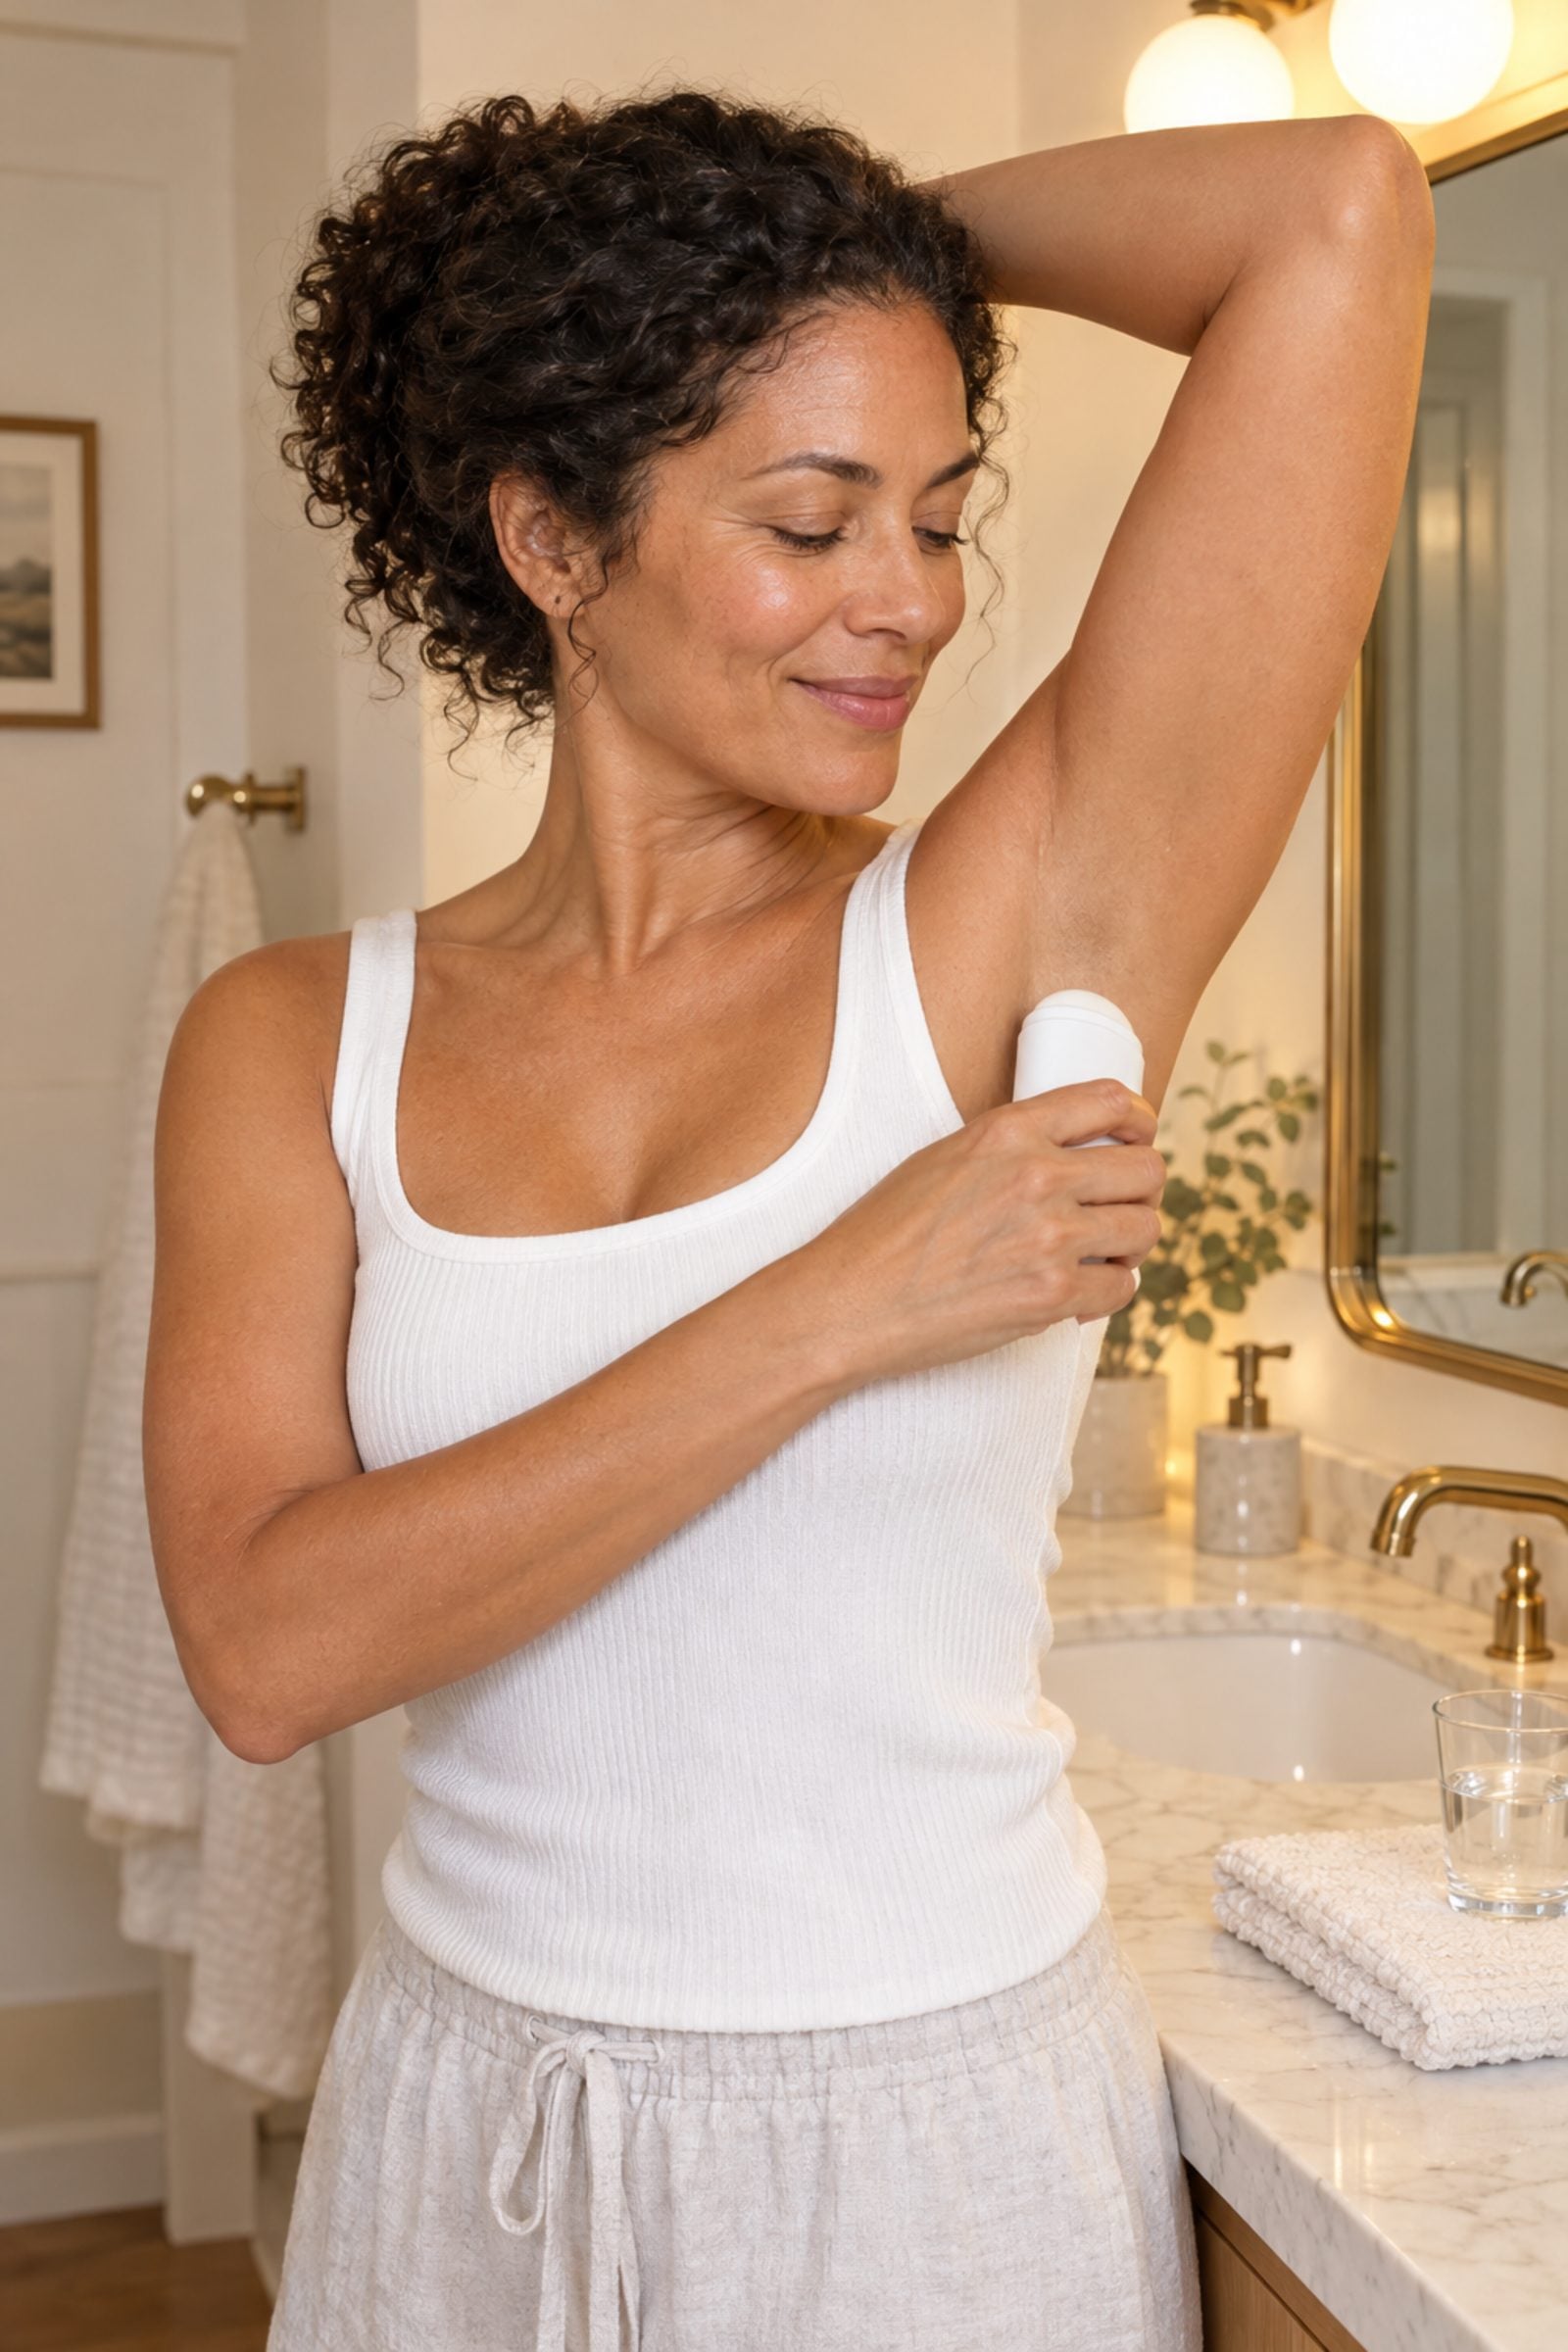
Antiperspirant needs time to plug sweat ducts, and that happens best overnight when your underarms are dry and cool. Swipe it on at night and by morning the active ingredient has settled in and started working, with no slippery film fighting your freshly showered skin.
A quick swipe while you’re out on a sunny sidewalk is fine as a top-up, but relying on daytime application on damp or warm skin means it often just slides right off. That’s why dermatologists quietly push the bedtime swap, and why plenty of people who swear they “sweat through everything” actually just applied it at the wrong hour.
26. Put Contact Lenses In Before You Open Any Makeup
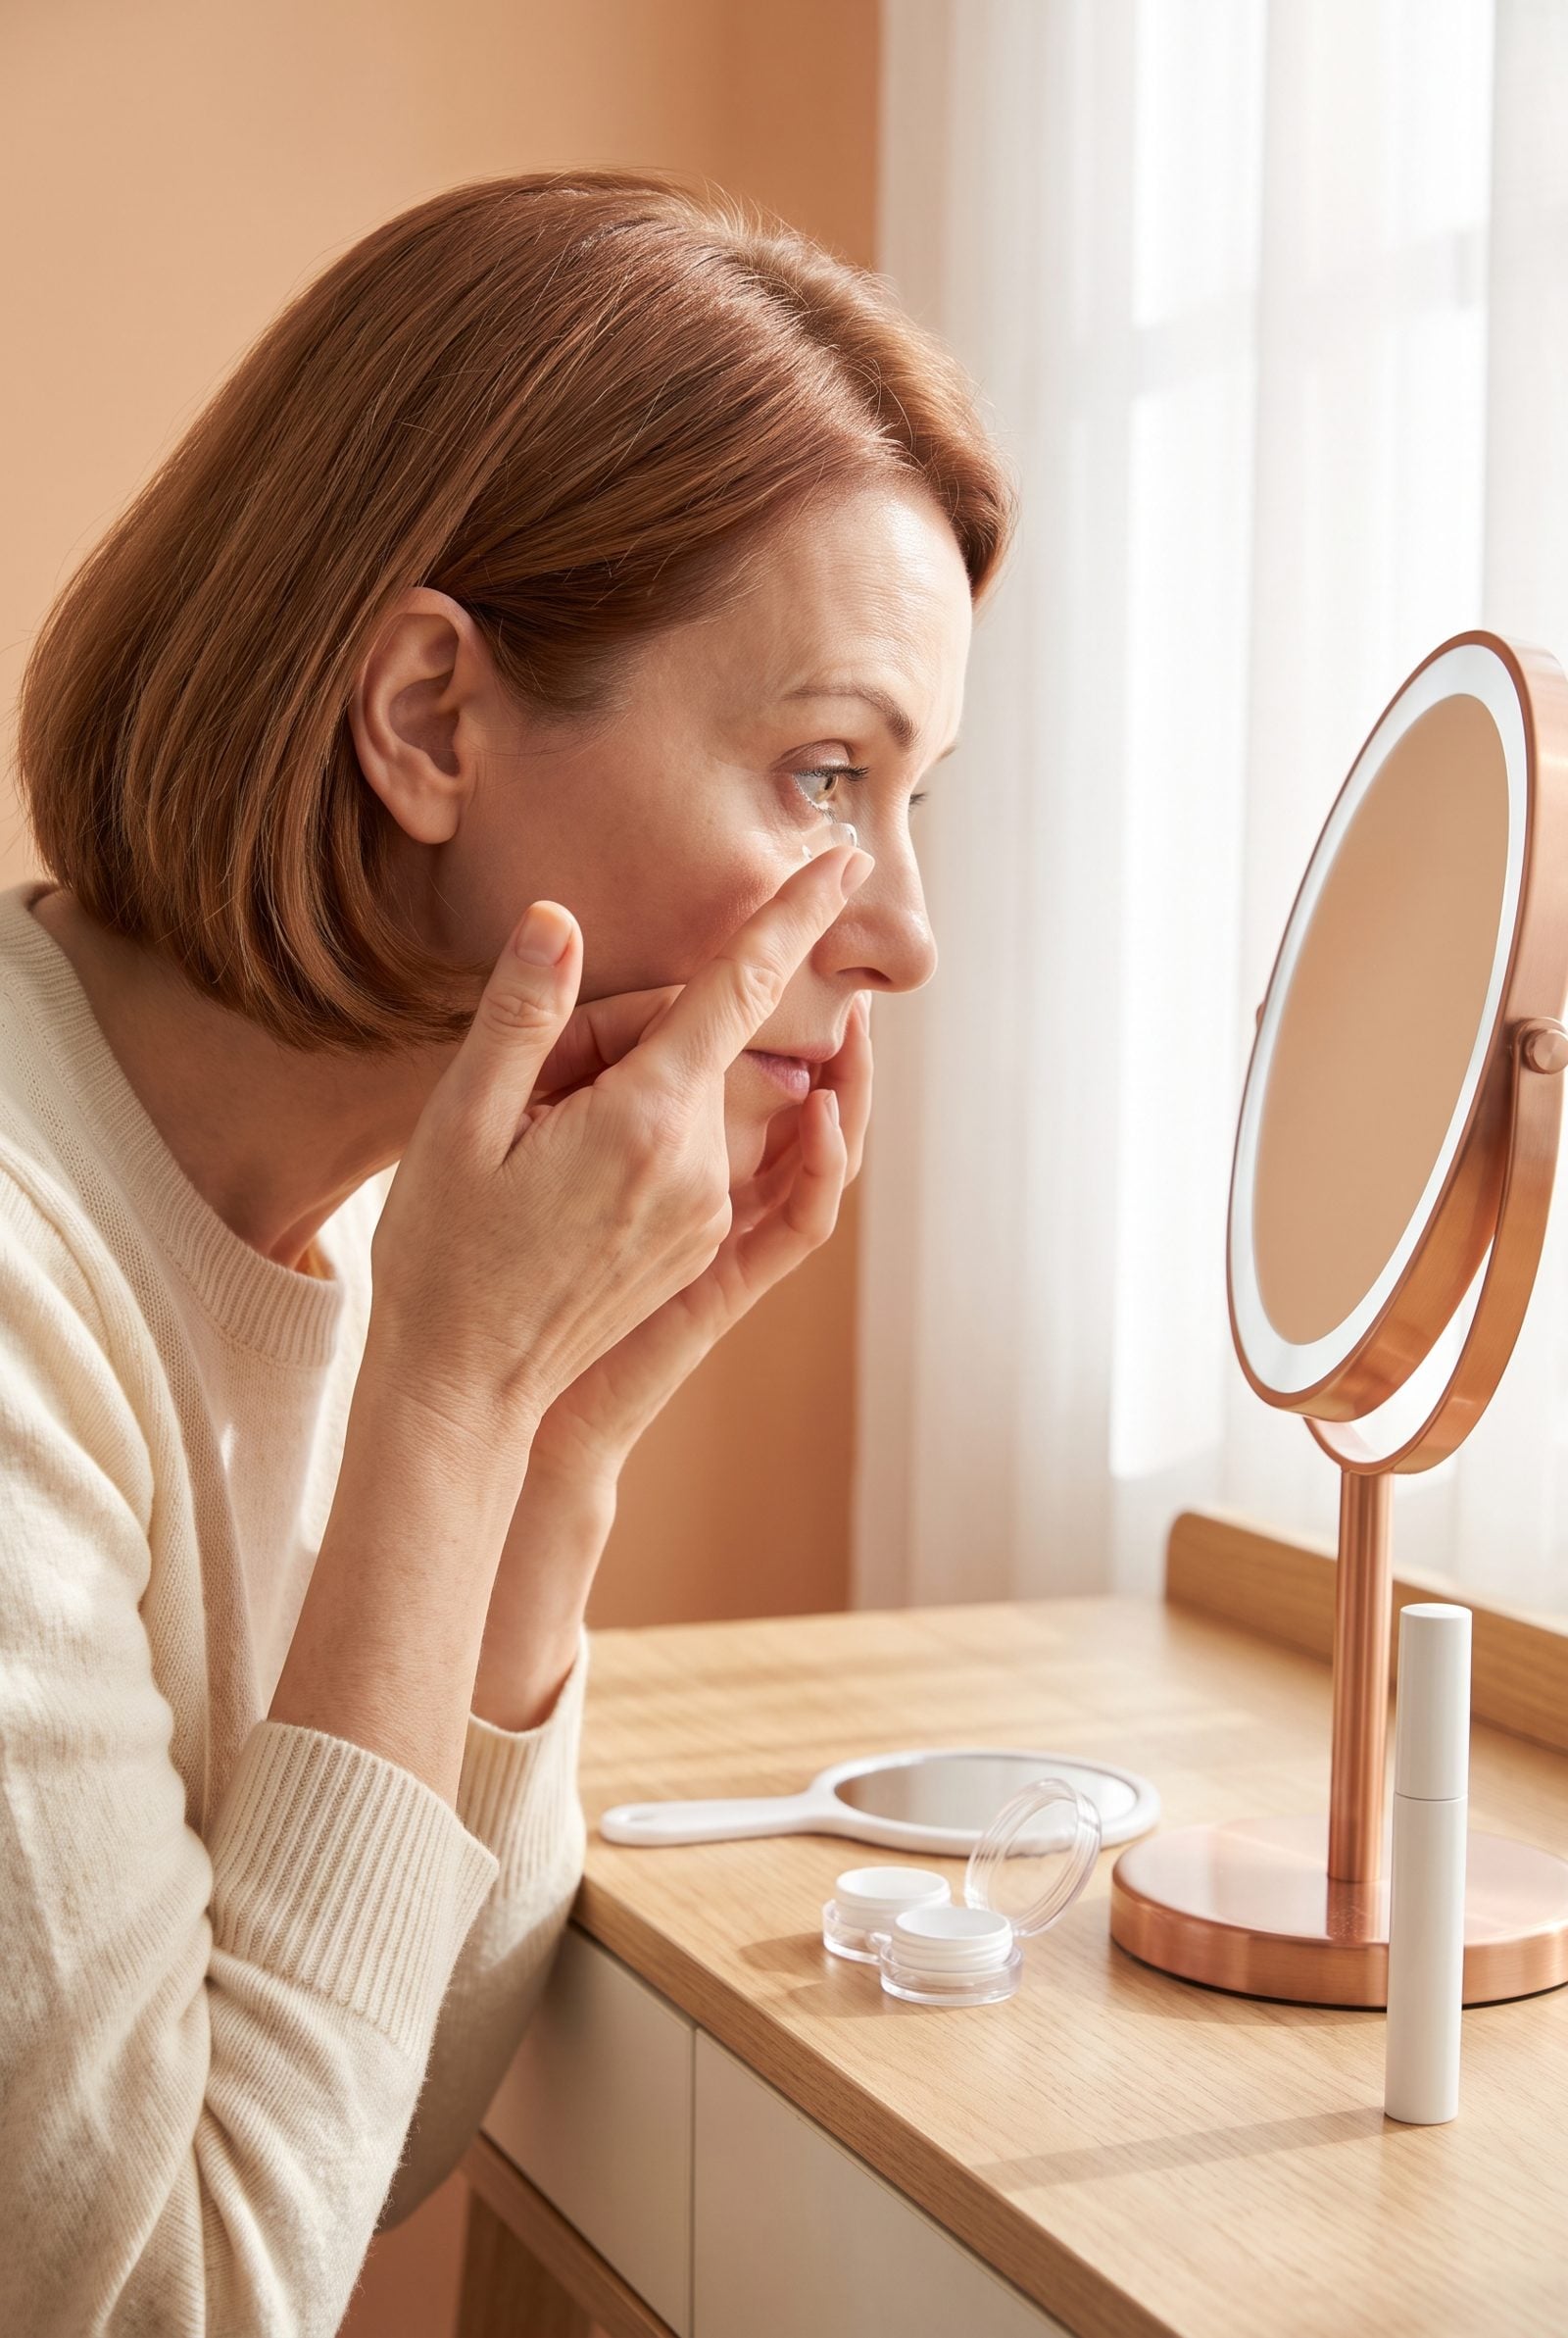
Lenses first, always. Put them in after your eye makeup and you risk smearing freshly applied liner, transferring mascara flakes onto the lens, and spending ten minutes blinking out a smudge. Do it first, with clean dry hands, and the rest of your face is yours to paint without interruption.
It also means any watering settles before foundation goes on, so you’re not working around a teary eye. Small sequence change, big neatness payoff.
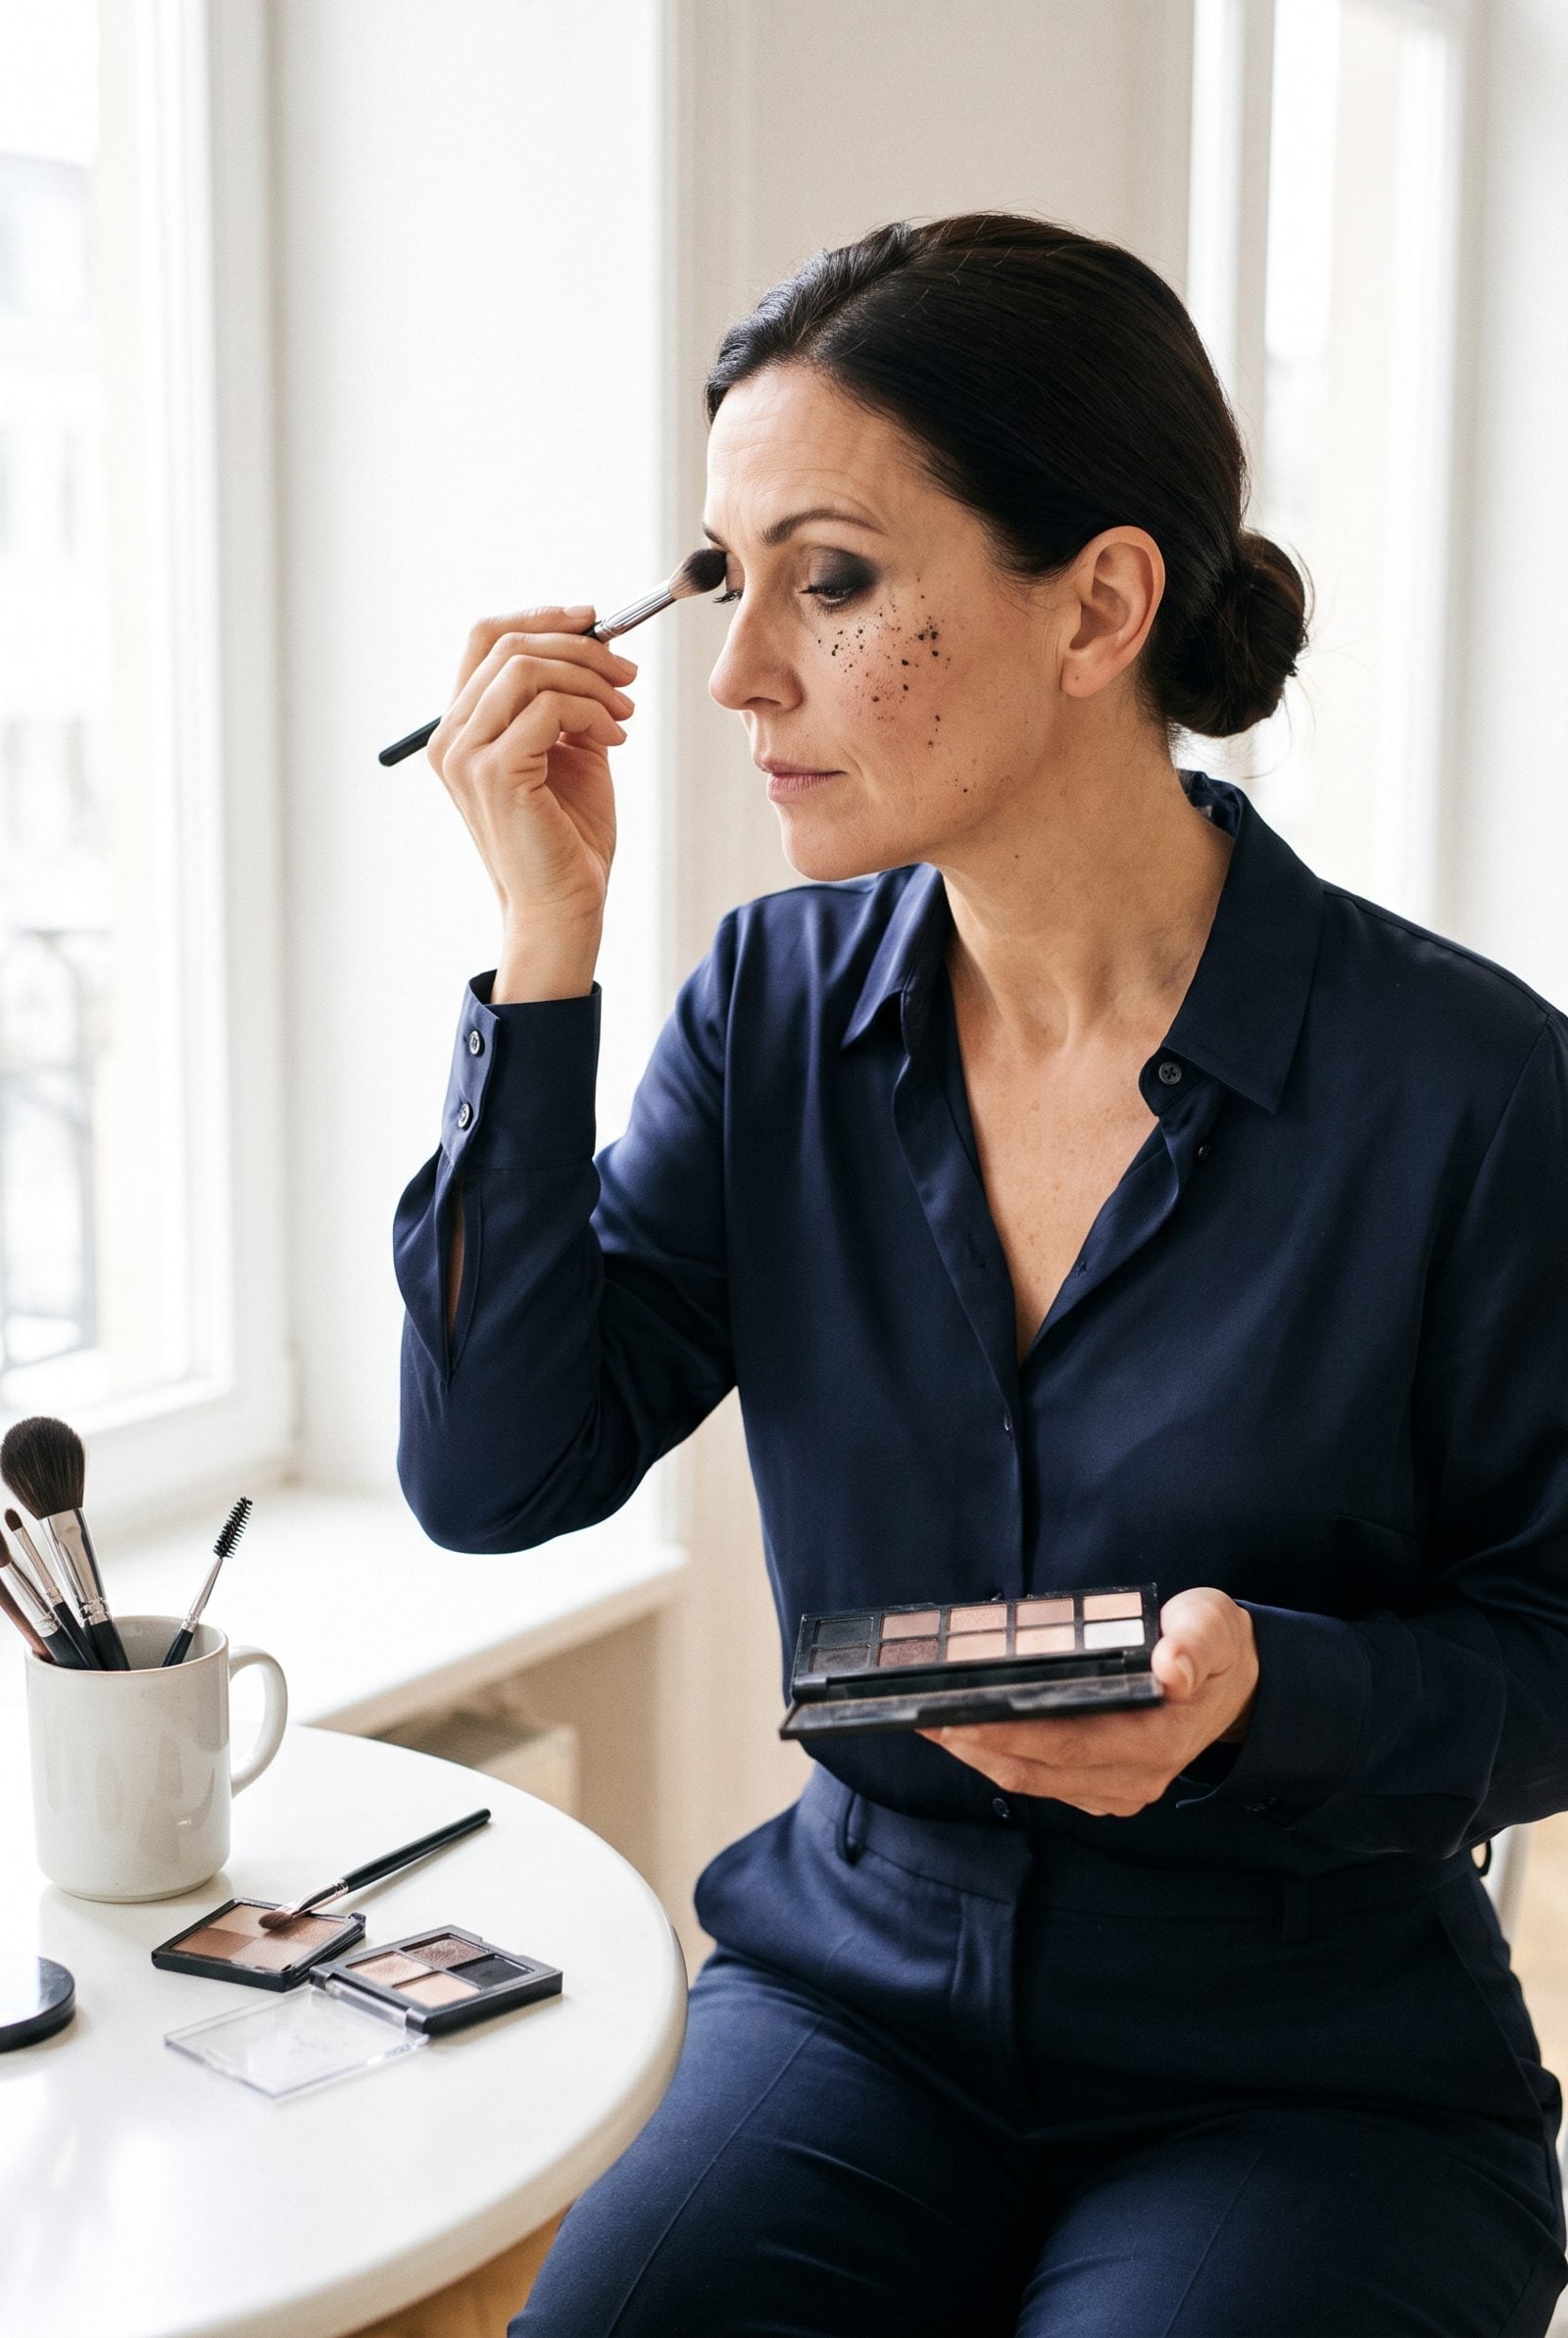
25. Do Your Eye Makeup Before Foundation So Fallout Sweeps Away Clean
❤️ Would you like to save this?
The dark flecks that drop under your eye during shadow application are the whole reason to do eyes first. On bare skin you can wipe that fallout away with a single swipe and carry on. Do foundation first, and those same flecks smear into your base, forcing you to patch and blend over a mess you created yourself.
Finish the eyes, clean up the undereye, then lay foundation and concealer over a fresh canvas. Your base stays even, your undereye stays bright, and you stop fighting your own mascara. Makeup artists have worked this way forever for a reason.
24. Set a Timer to Let Sunscreen Form an Even Film Before Makeup

Sunscreen needs a few minutes to settle into a continuous film before anything goes over it. Pile foundation on too fast and you pill, patch, and disturb the protective layer you just applied.
So give it a couple of minutes. Apply your sunscreen, set a timer, make coffee or pack your bag while it sets, then start your makeup. The base glides on instead of balling up, and your SPF actually stays where it’s supposed to.
23. Apply Sunscreen Before You Dress to Reach Straps and Necklines
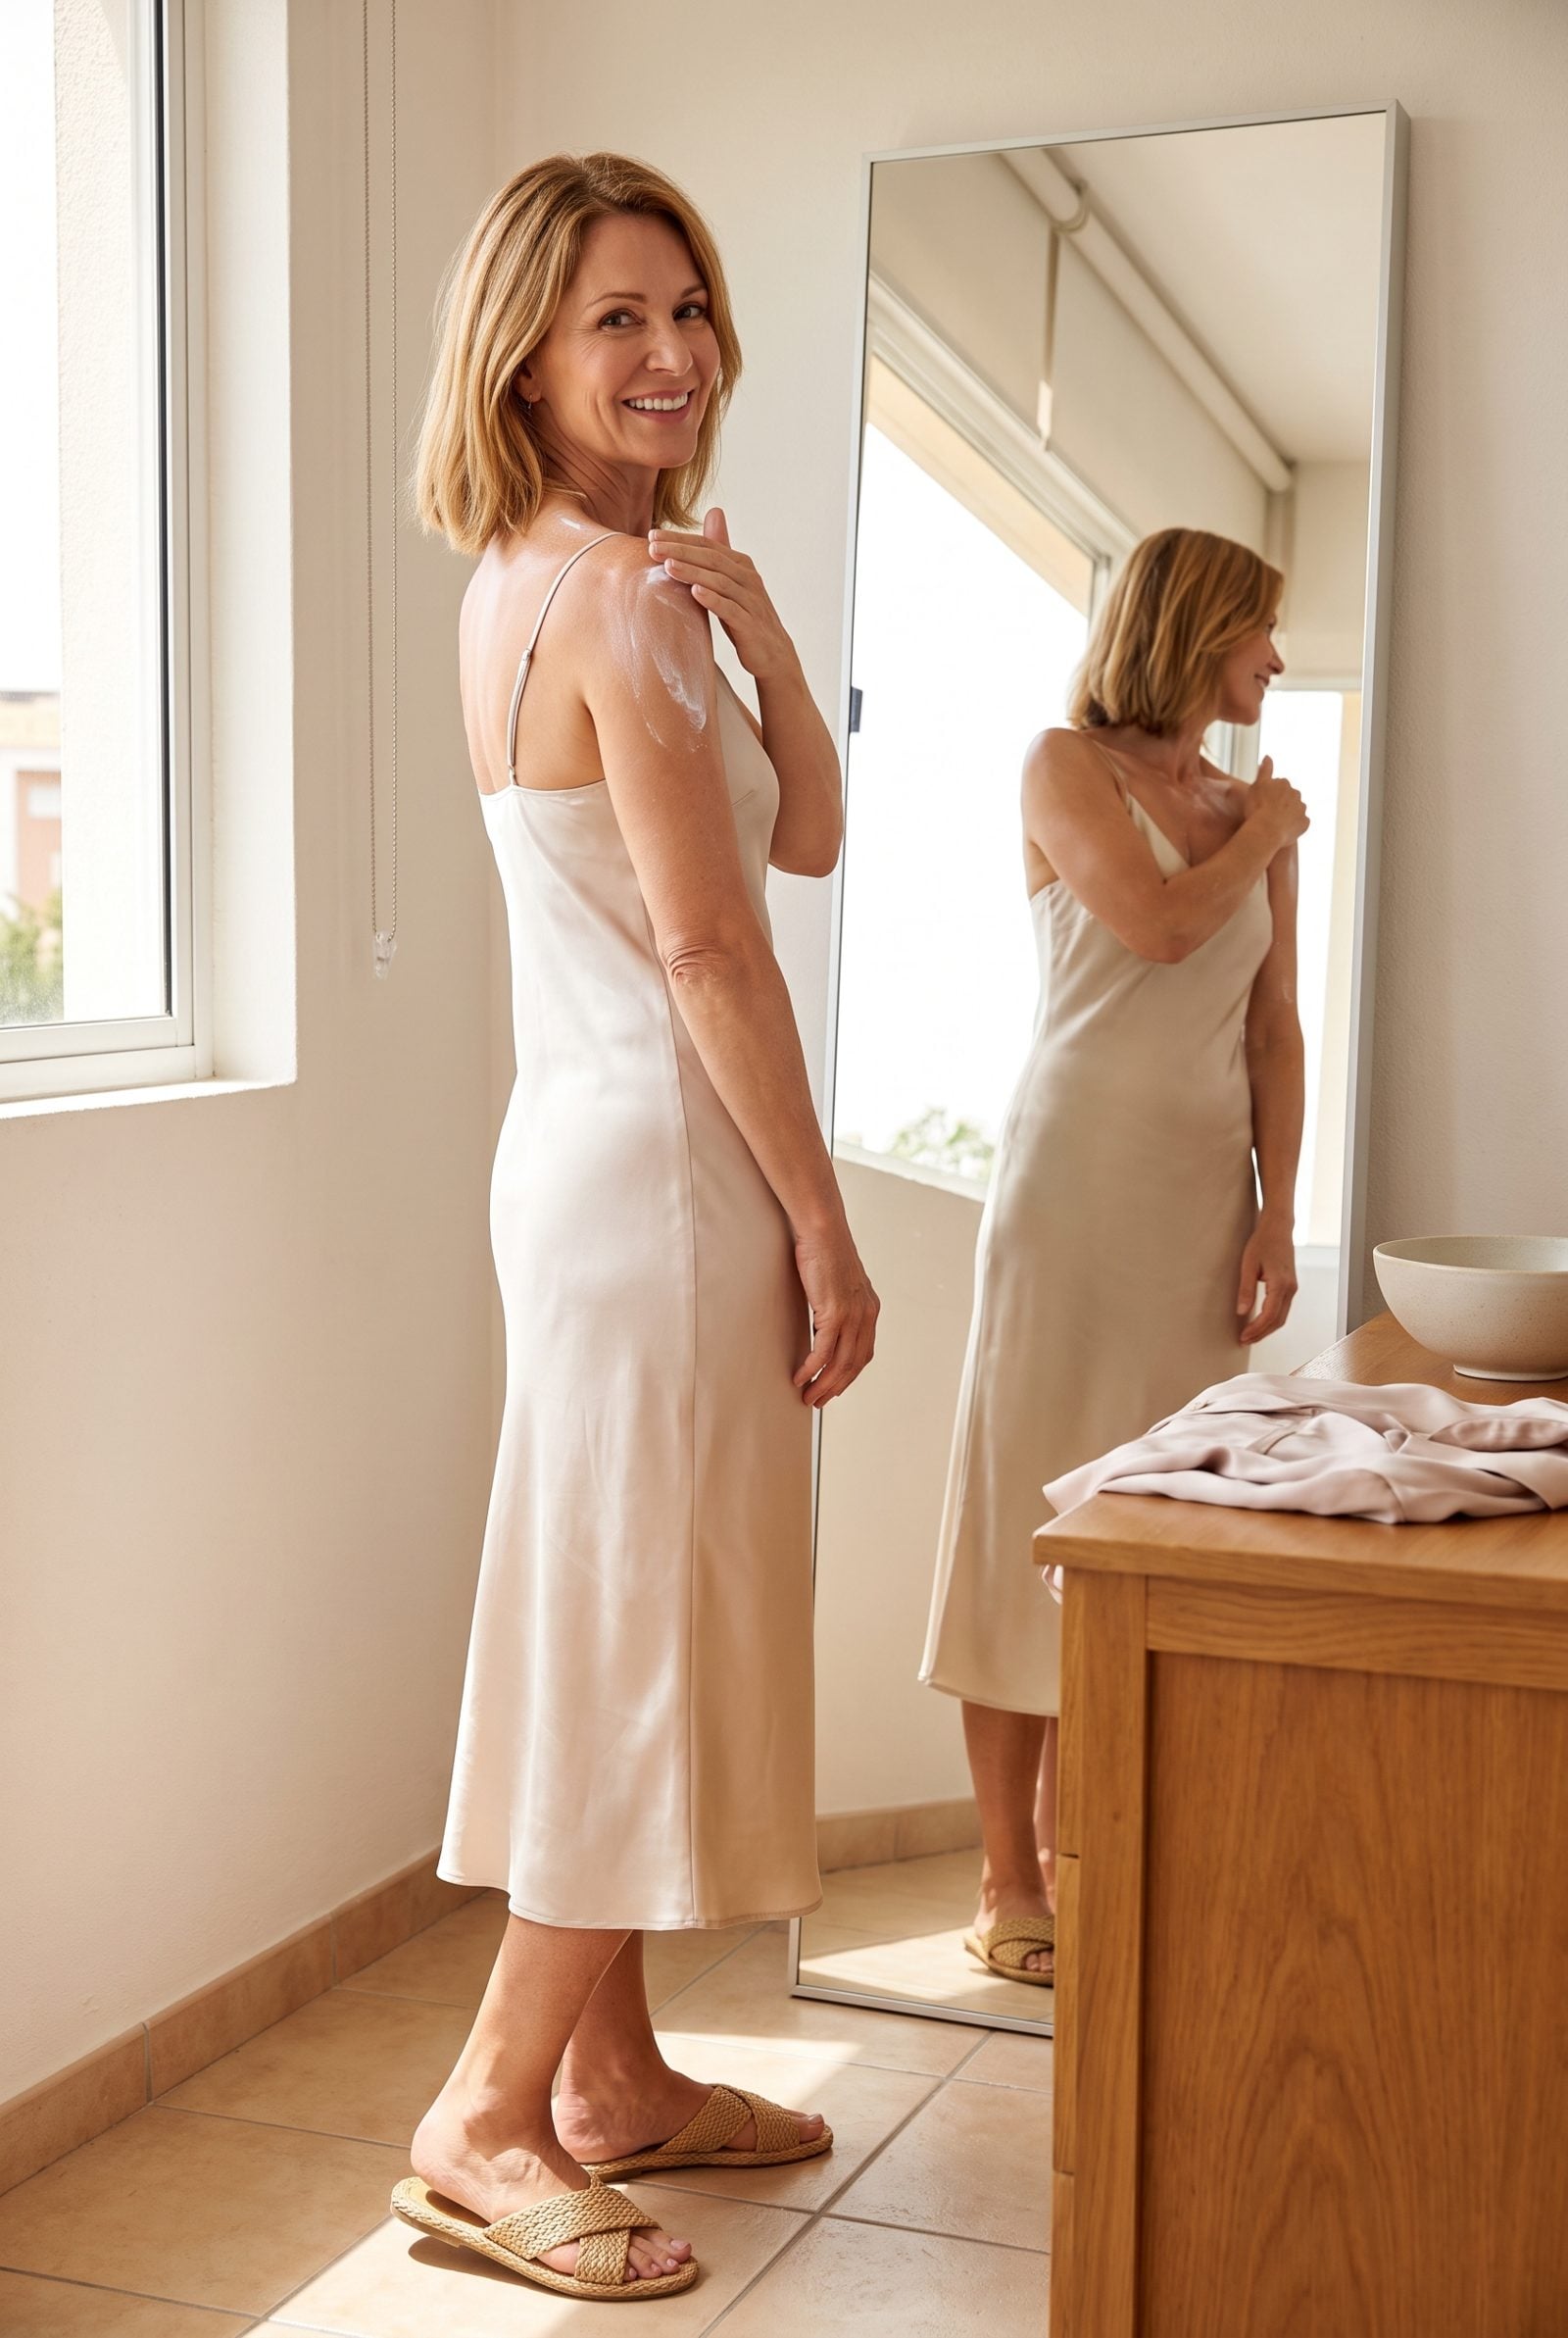
Dress first and you’ll miss the exact spots that burn: the sides of the neck, the collarbone, the shoulders a strappy top leaves bare. Apply sunscreen in your slip or robe and you can reach every edge your neckline will later expose.
Here’s the thing most people overlook. The chest and neck age faster than the face, and they’re precisely where people forget to protect. Covering them while you’re undressed takes thirty seconds and spares you the mottled sun damage that creeps up over decades.
22. Measure Facial Sunscreen With the Two-Finger Method

Most people use a fraction of the sunscreen they need, which means a fraction of the protection they think they’re getting. The fix is almost embarrassingly simple: squeeze a line along your index and middle finger, tip to base, and that’s your face-and-neck dose.
Two fingers’ worth. Every time. No eyeballing a pea-size blob that leaves half your forehead bare.
21. Rub Leftover Facial Sunscreen Into the Backs of Your Hands

Hands give away more years than the face, and they almost never see sunscreen. Fix both at once: whatever’s left on your fingers after doing your face, rub straight into the backs of your hands.
No extra product, no extra step, no extra time. Your hands sit in the sun all day, on the steering wheel, on the desk, catching every bit of UV while nobody thinks to protect them. This closes that gap for free.
20. Apply Body Lotion Before You Towel Off Completely
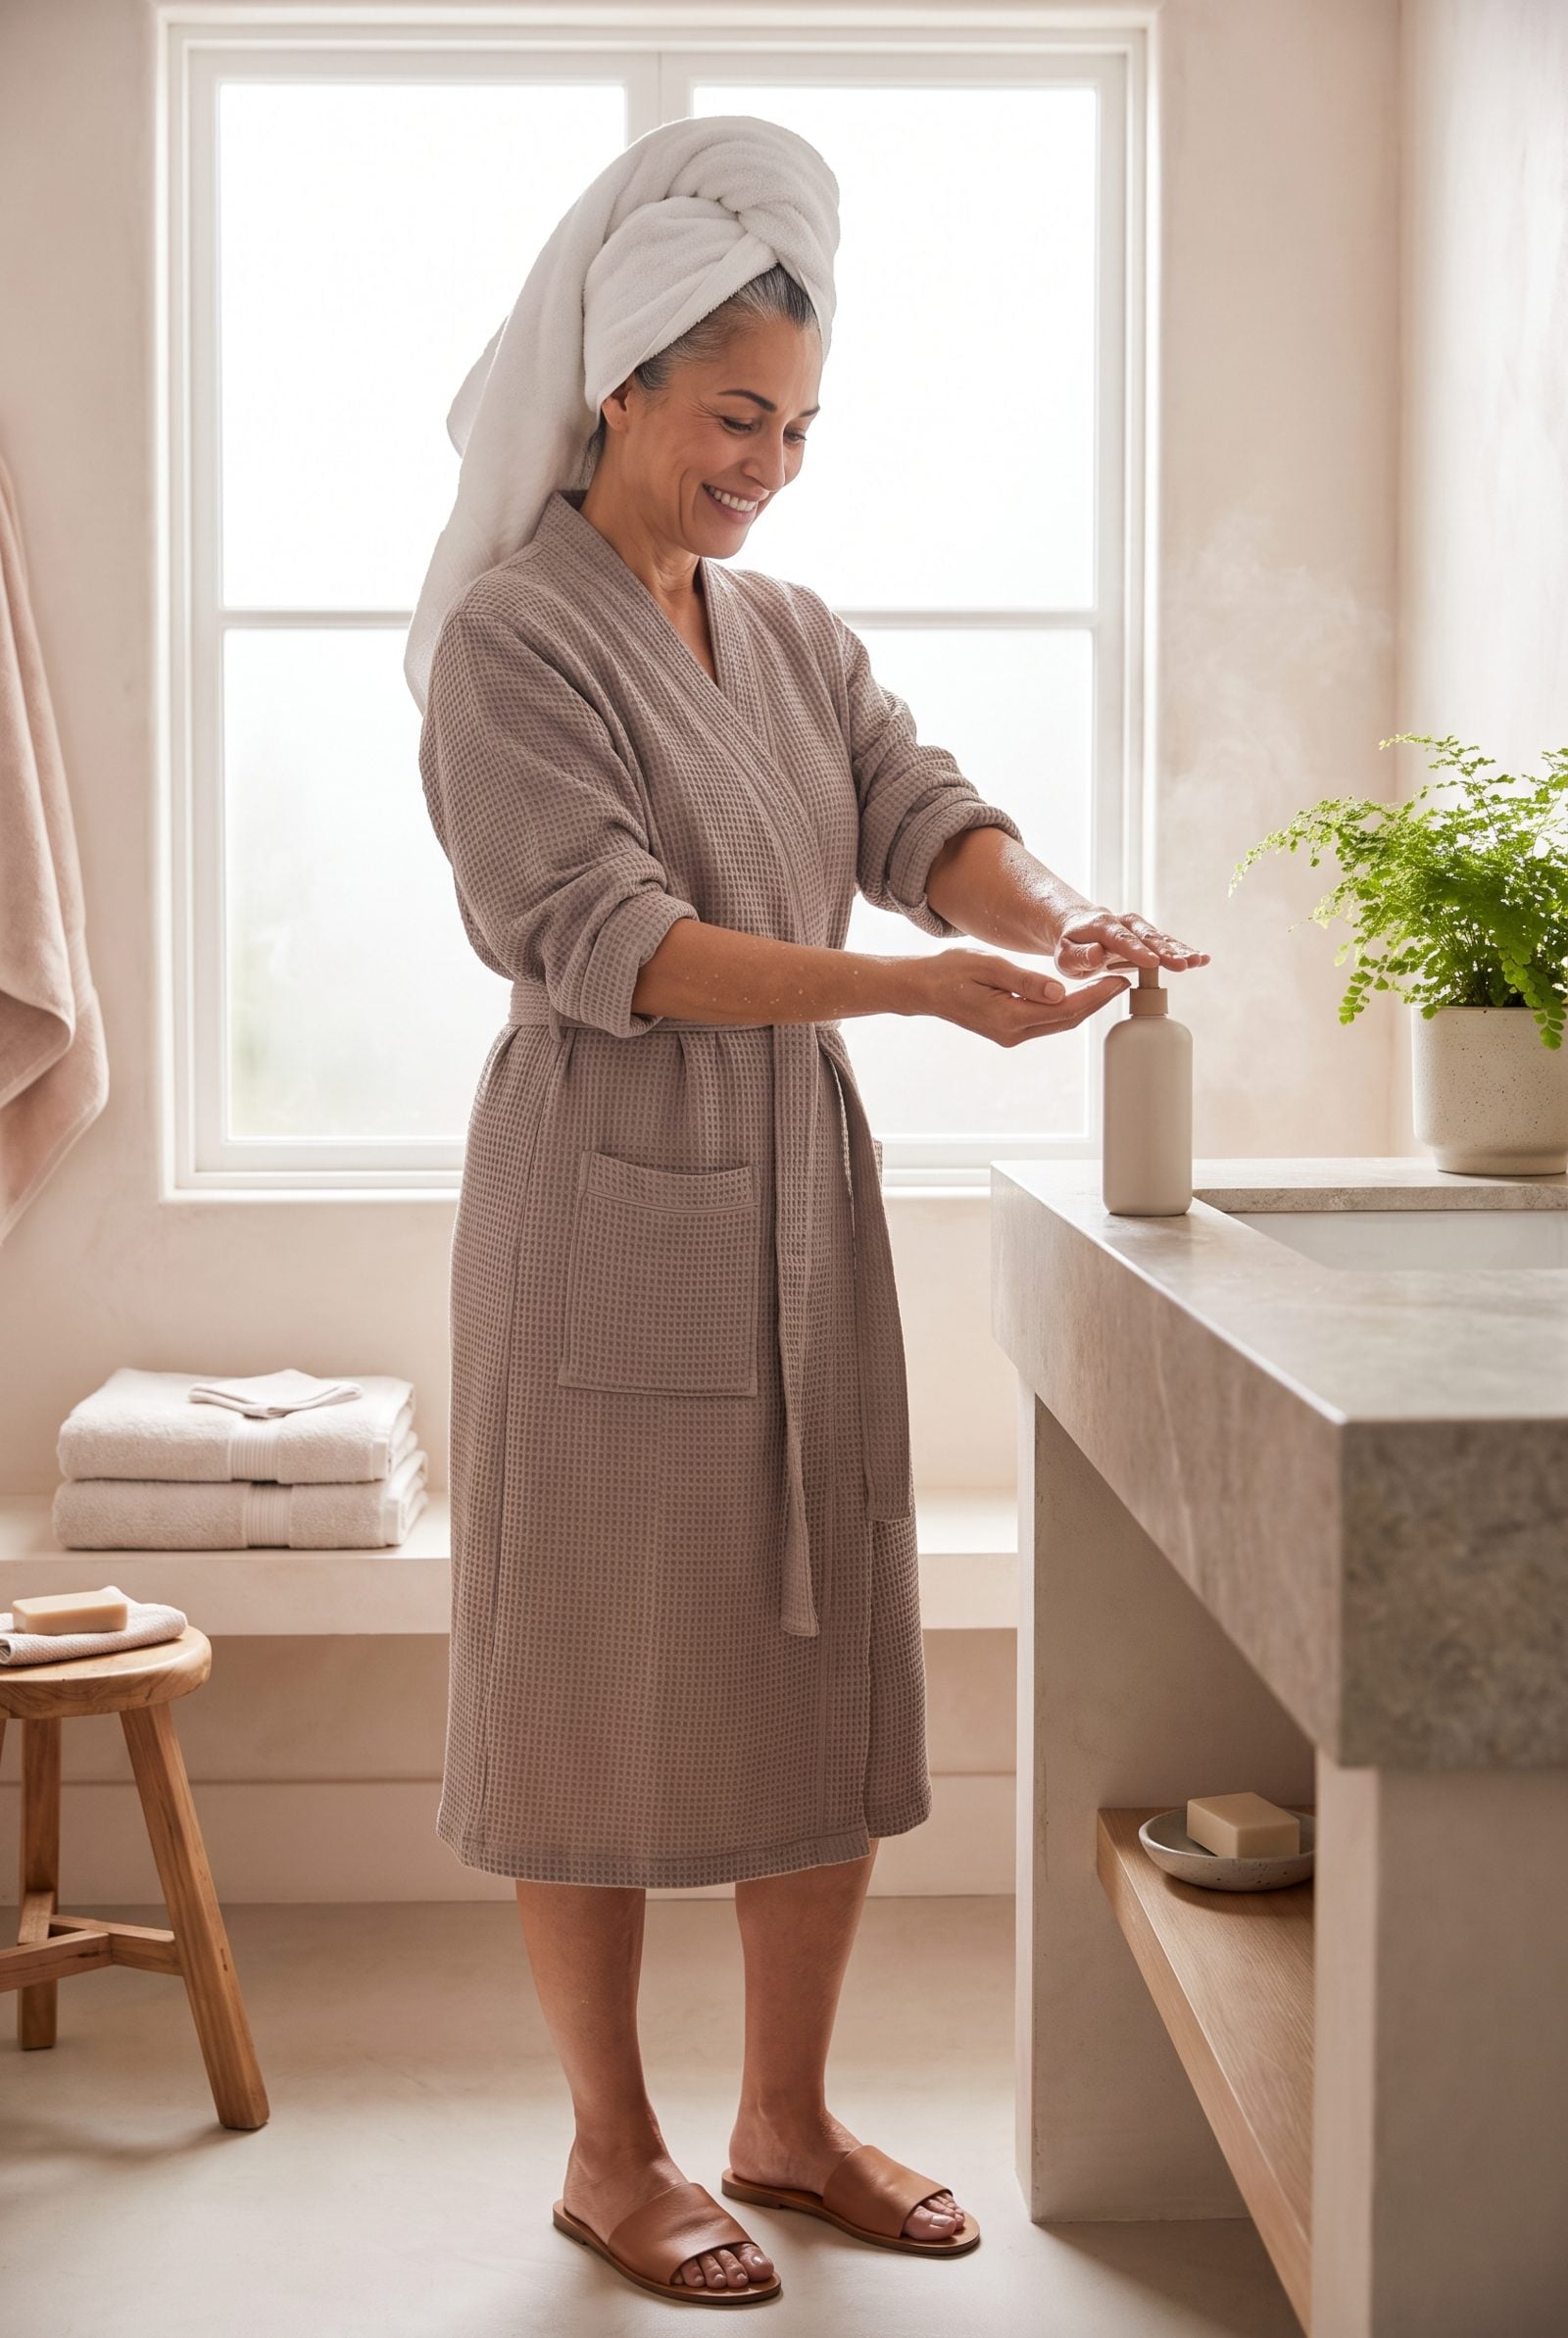
Dry skin doesn’t drink in lotion the way damp skin does. Pat yourself most of the way dry, leave a little moisture on, then apply lotion while your skin is still slightly wet. It traps the water in and spreads with half the effort.
The lotion sinks in instead of sitting on top, so you use less to get softer results. No extra time, just a tweak in sequence. And honestly? Skin that stays supple through a brutal dry winter owes more to this one habit than to any pricey cream on the shelf.
19. Start With Lip Balm, Then Blot It Off Before Lip Color

Balm first, then blot. That second step is the one everybody skips. Slather balm on, let it sink for a minute, then press it off with a tissue so you keep the softened, hydrated lip without the slippery film that drags lipstick into the corners by noon.
Skip the blot and your color never stands a chance. It’s floating on balm, not gripping the lip.
18. Use a Tiny Detail Brush to Place Concealer Only Where Needed
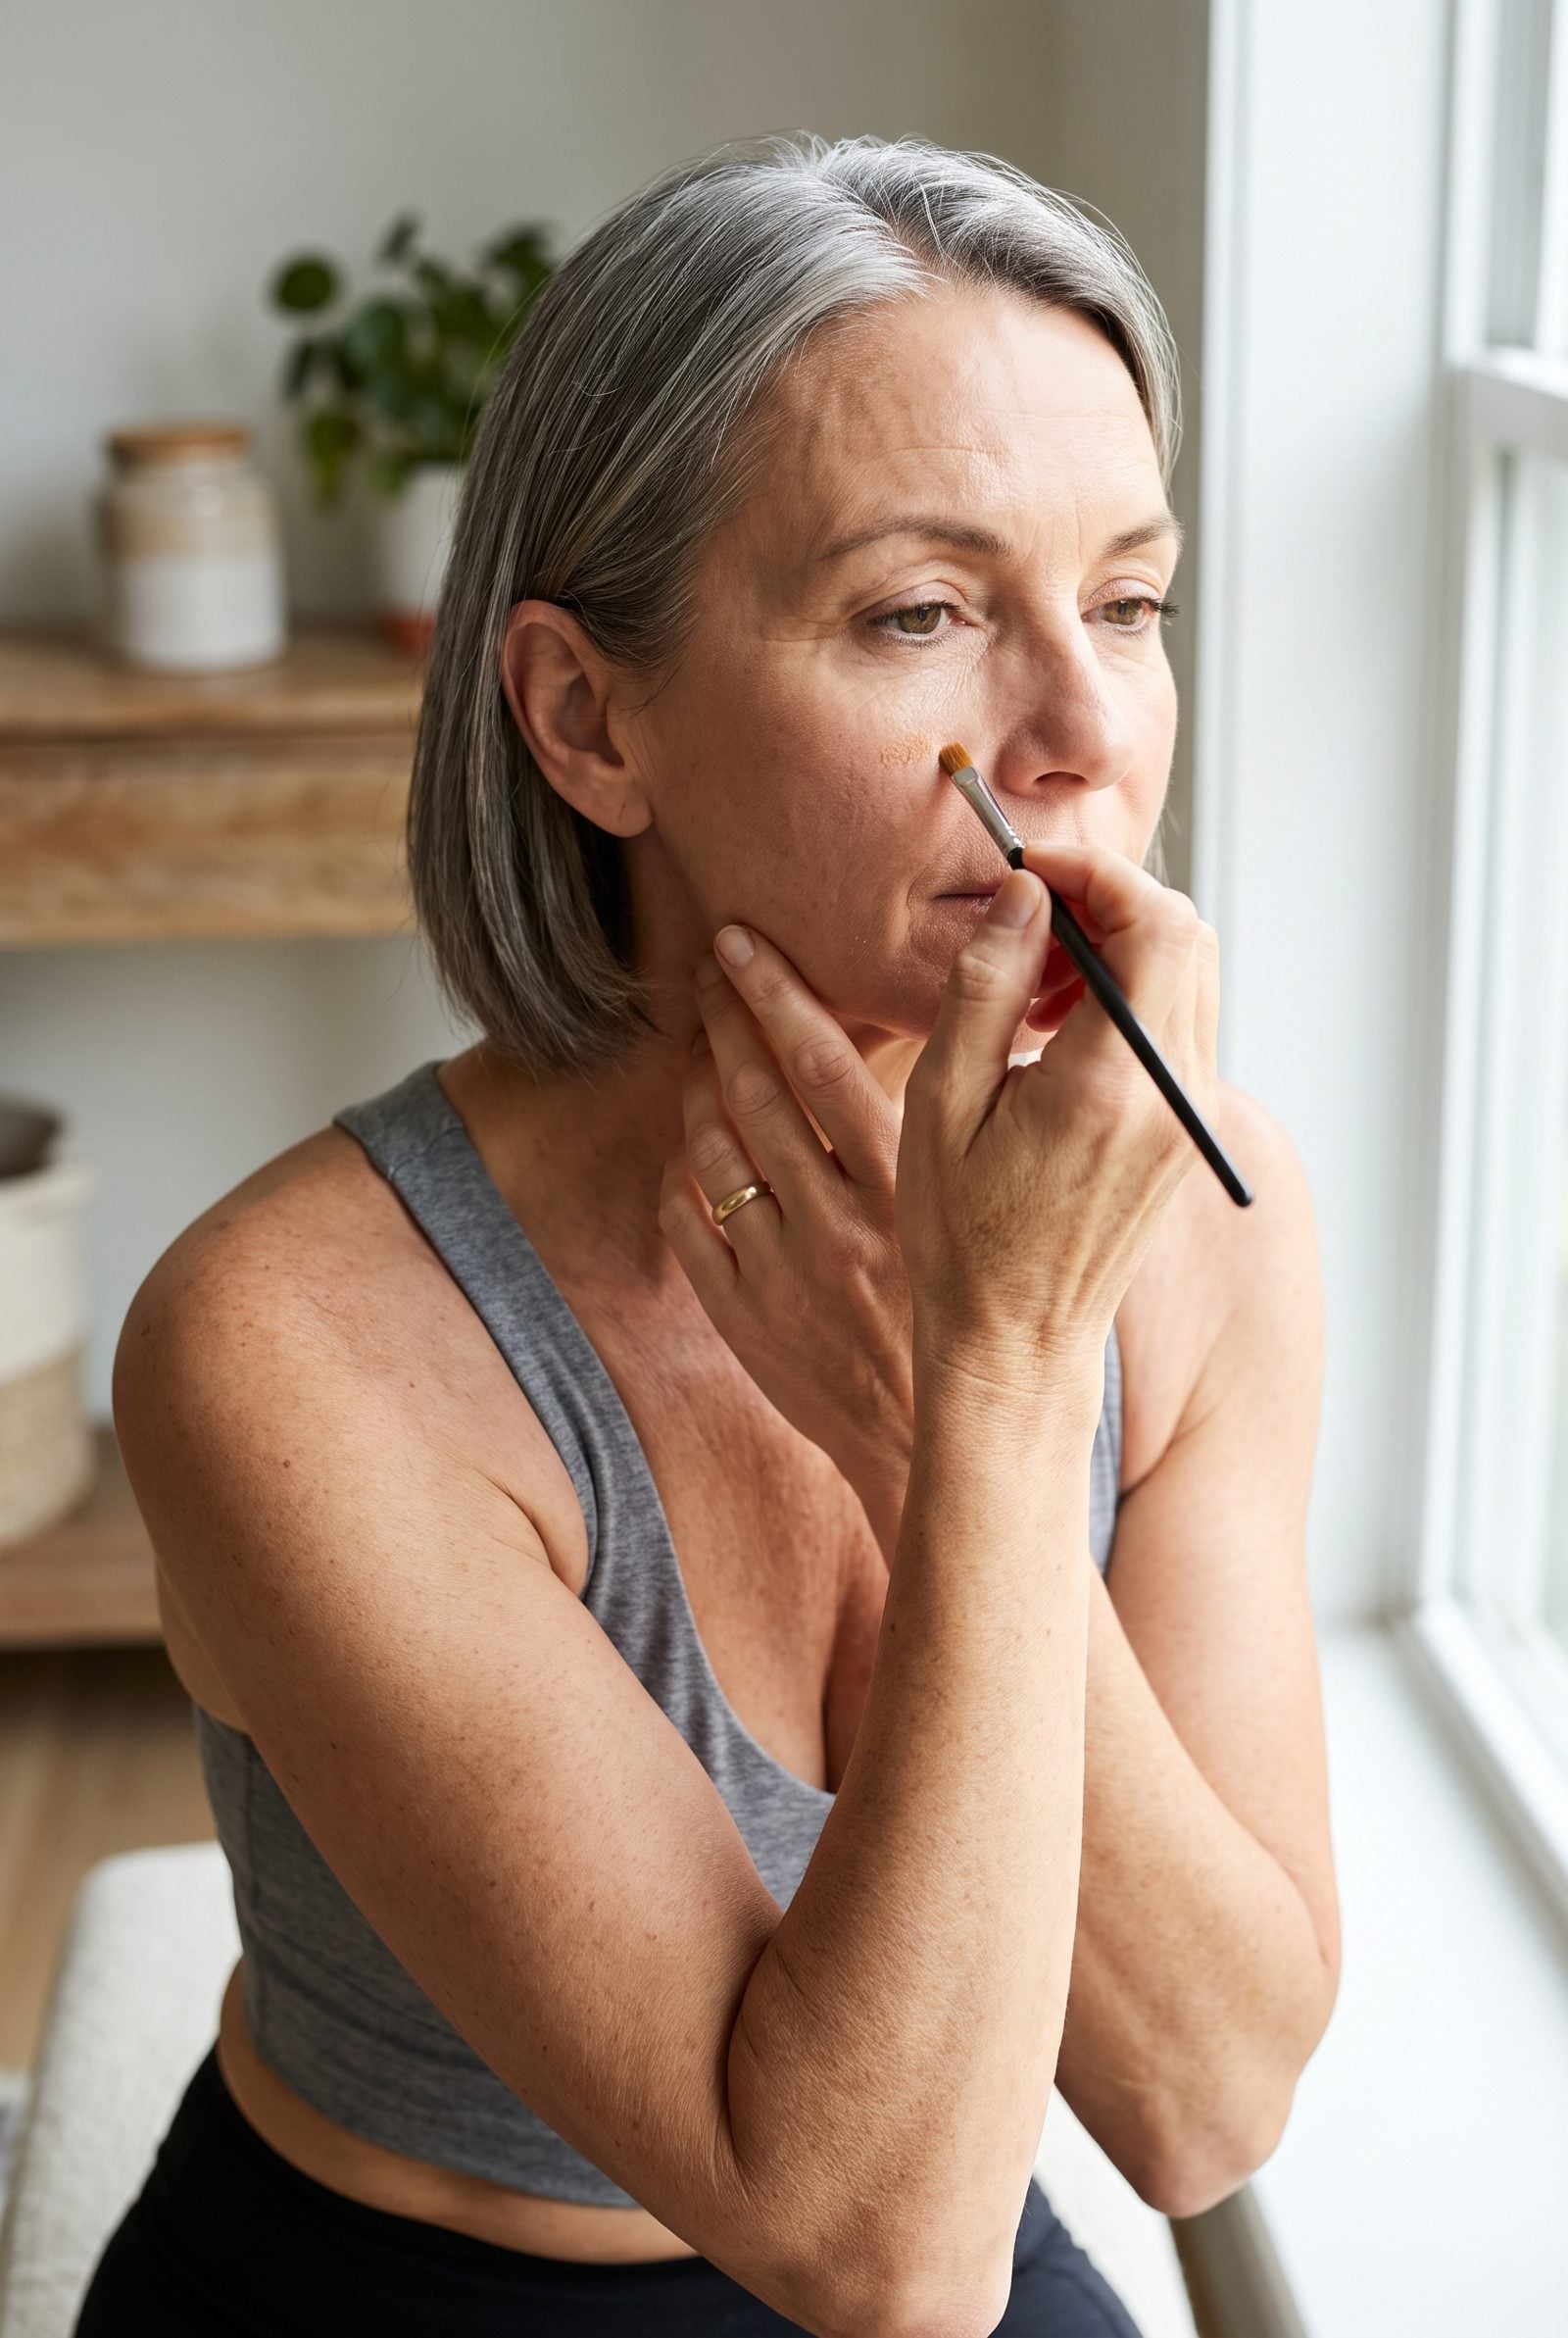
A fingertip smears concealer across a whole thumbprint of skin you never needed to cover, and that’s where the heavy, cakey look is born. Switch to a tiny detail brush — the kind sold for lip liner or fine eyeliner — and you control exactly where each dot lands, so aim it squarely on the blemish itself, not on the clear skin just beside it.
Less product, less blending, less creasing by lunch. The corners of the nose, the inner eye, one stubborn mark. Dot, tap, done. Your face reads like skin instead of a patch job.
17. Tap Leftover Blush Across the Eyelids for a More Cohesive Face

Whatever blush is still clinging to your brush is plenty for your lids. Sweep the leftover across the mobile eyelid, light and quick, and suddenly your cheeks and eyes belong to the same face instead of looking like two separate decisions made on two separate mornings.
16. Use a Damp Sponge After Powder to Remove a Chalky Finish

❤️ Would you like to save this?
Powder holds your makeup in place, and then — on skin past forty — it settles into every fine line and goes flat and chalky. Here’s the fix nobody mentions: once you’ve powdered, press a barely damp sponge over the whole face.
It melts the top layer back into the skin. The oil control stays. The dusty finish goes. You walk out looking like you have good skin, not good powder.
15. Run a Clean Spoolie Through Heavy Brow Pencil to Soften It

Drawn-on brows age a face faster than almost anything else. The pencil goes on, you end up with two solid blocks, and the whole thing reads harsh. Enter the clean spoolie. Right after you fill, brush firmly through the brow in the direction of growth.
It drags pigment off the skin and onto the hairs, blurs the edges, and leaves you with brows that look grown rather than installed.
14. Put Hairspray on a Spoolie to Tame Hairline Flyaways

Spraying hairspray near your face is how you earn a crunchy forehead and stinging eyes. Spritz a touch onto a spoolie instead, then run it along the hairline — the flyaways lie down and nothing else in the room gets lacquered.
Same logic as a brow spoolie, just aimed at the baby hairs. Controlled, precise, no sticky halo.
13. Apply Leave-In Conditioner While Hair Is Still Very Wet

Most people towel-dry first, then reach for the leave-in. Backwards. The stuff works by sealing moisture into the strand, so the strand needs to be soaking wet when it goes on. Soaking — not damp.
Apply to dripping hair and the product spreads evenly and traps the water as everything dries. Apply to towel-dried hair and congratulations, you’ve just sealed in dryness. By afternoon the frizz difference is anything but subtle.
12. Wear a Shower Cap on Non-Wash Days to Protect Hair From Steam

Steam undoes a blowout. It swells the strand, lifts the frizz, flattens yesterday’s style. Pull on a shower cap on non-wash days and the humidity stays off your hair, so a smooth, sleek bob like this one still looks freshly done when you head outside a day or two later.
11. Warm an Eyelash Curler With Body Heat, Then Test It on Your Wrist

A warm lash curler holds a curl the way a warm iron presses a crease. Tuck the metal curler into your palm or against your neck for a few seconds first. Then — and this part matters — test it on the inside of your wrist before it goes anywhere near your eye.
Warm, not hot. Skip the test and you risk a nasty surprise on skin far more delicate than your wrist. The curl lasts a lot longer, and not a single heated gadget required.
10. Stamp Eyeliner Between the Lashes Instead of Drawing One Heavy Line

A hard liner line on any lid with a bit of crepey texture is unforgiving — it drags, it skips, it looks severe. Tightlining fixes all of it. Rather than drawing a line across the lid, stamp the pencil straight down into the gaps between the lash roots.
You get fuller-looking lashes and a defined eye without the harshness. Nobody can tell you’re wearing liner. They just assume your lashes are putting in overtime.
9. Apply Eyeliner With Your Eyes Open to See Its Real Resting Shape
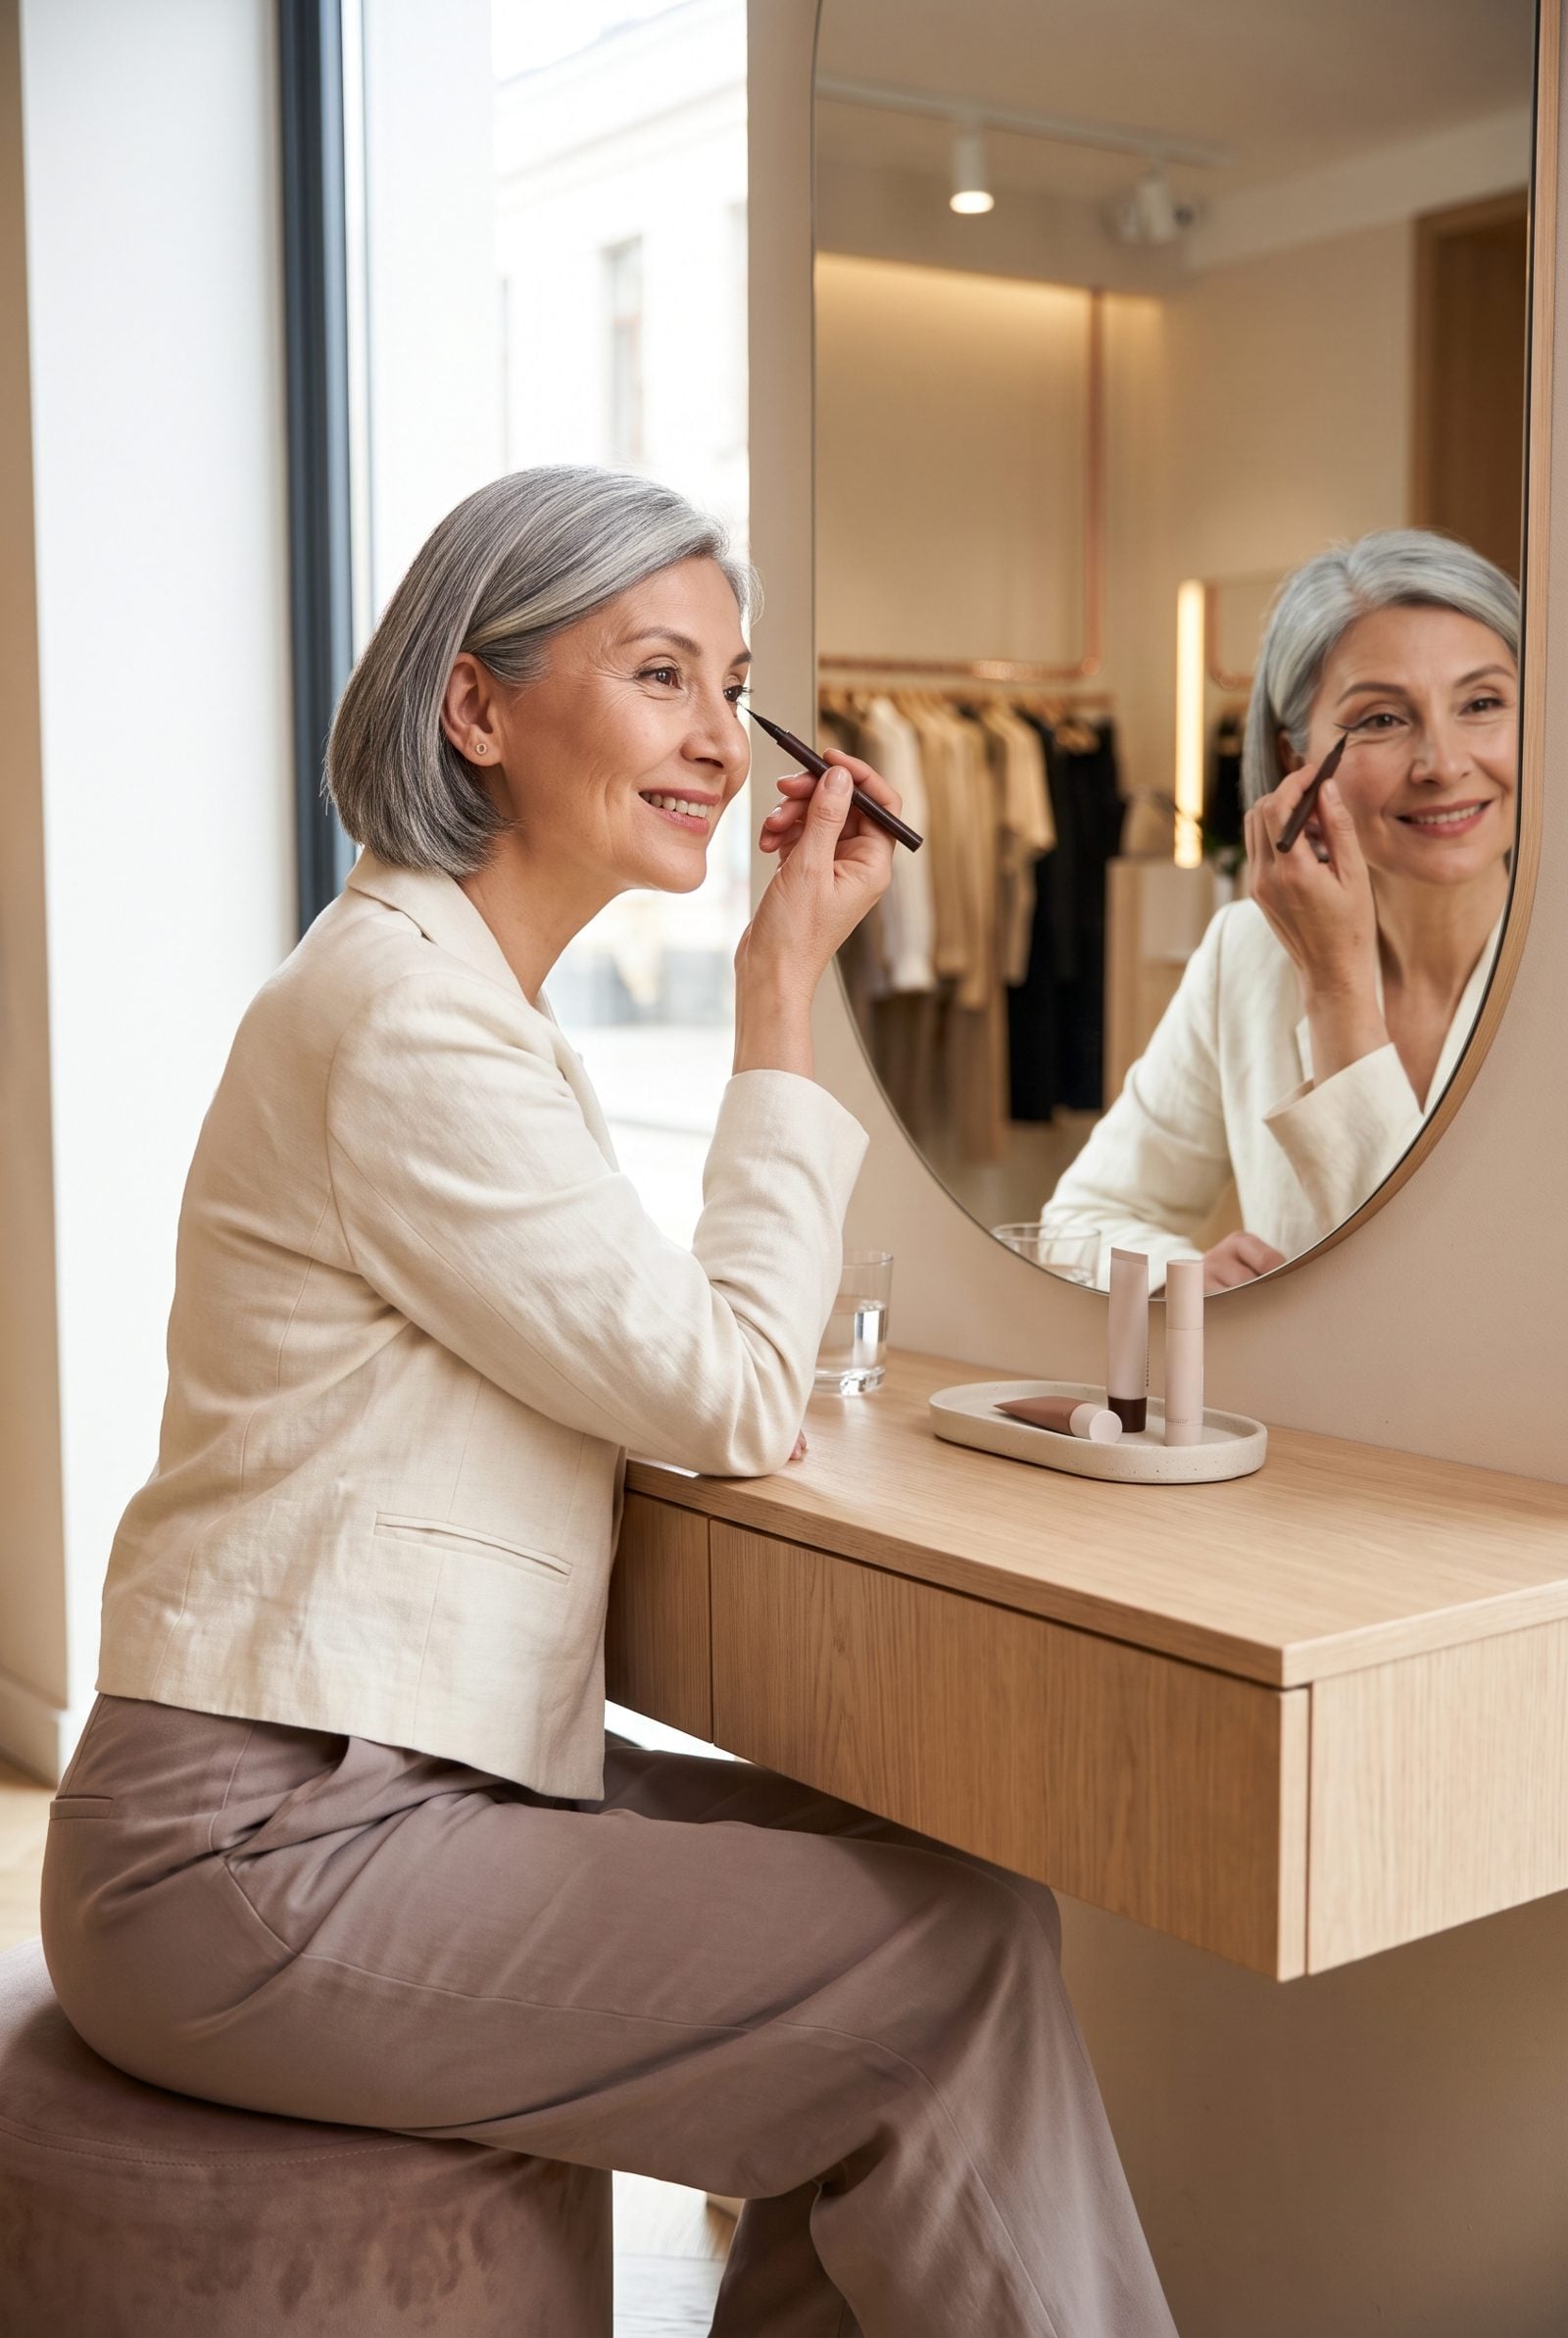
Most liner mistakes happen with the eye stretched flat and the lid pulled smooth. Then the skin snaps back the second you let go, and that neat line you drew turns into a wobble that vanishes into the crease.
Doing it with the eye open fixes the guesswork. You see where the color actually sits at rest, which is the only place anyone else ever sees it. Look straight ahead, draw in short strokes, blink, check. The line lands where you meant it to, first try.
8. Dust a Trace of Translucent Powder Over Oily Lids Before Liner

Liner slides on oily lids. It migrates, smudges upward, and by lunch you’ve got a shadow where the clean line used to be. A whisper of translucent powder gives the pencil or liquid something to grip.
Restraint is everything. You want a trace, not a coat — too much and you get a white, cakey patch that reads harsher after 40, not softer. One tap of the brush, one light pass, done. The liner holds its edge all day and stops bleeding into the crease.
7. Outline Your Lips After the Lipstick, Not Before

Lining first means you’re guessing where the color will land. Half the time the lipstick strays past the line anyway, and now you’ve got two edges competing.
So flip the order. Put the color on first, let it show you exactly where the lip sits, then run the pencil around the final shape to tidy and define. You’re correcting what’s actually there instead of drawing a border and hoping the fill obeys. Faster, too, because you only line once, at the end, where it counts.
6. Press Lip Color On With a Fingertip for a Softer, Longer Stain

Dab the bullet onto your finger and press the color straight onto your lips instead of swiping it from the tube. The warmth of your fingertip melts the pigment into the skin, so it wears like a stain rather than a layer that transfers onto the first cup of coffee.
You also get a softer edge, which flatters a mouth that’s lost a little of its sharp definition over the years. Fuller formulas go lighter this way, and dark shades lose their severity. One pass for a wash of color, a second if you want more.
5. Keep Hand Cream Right Beside the Soap
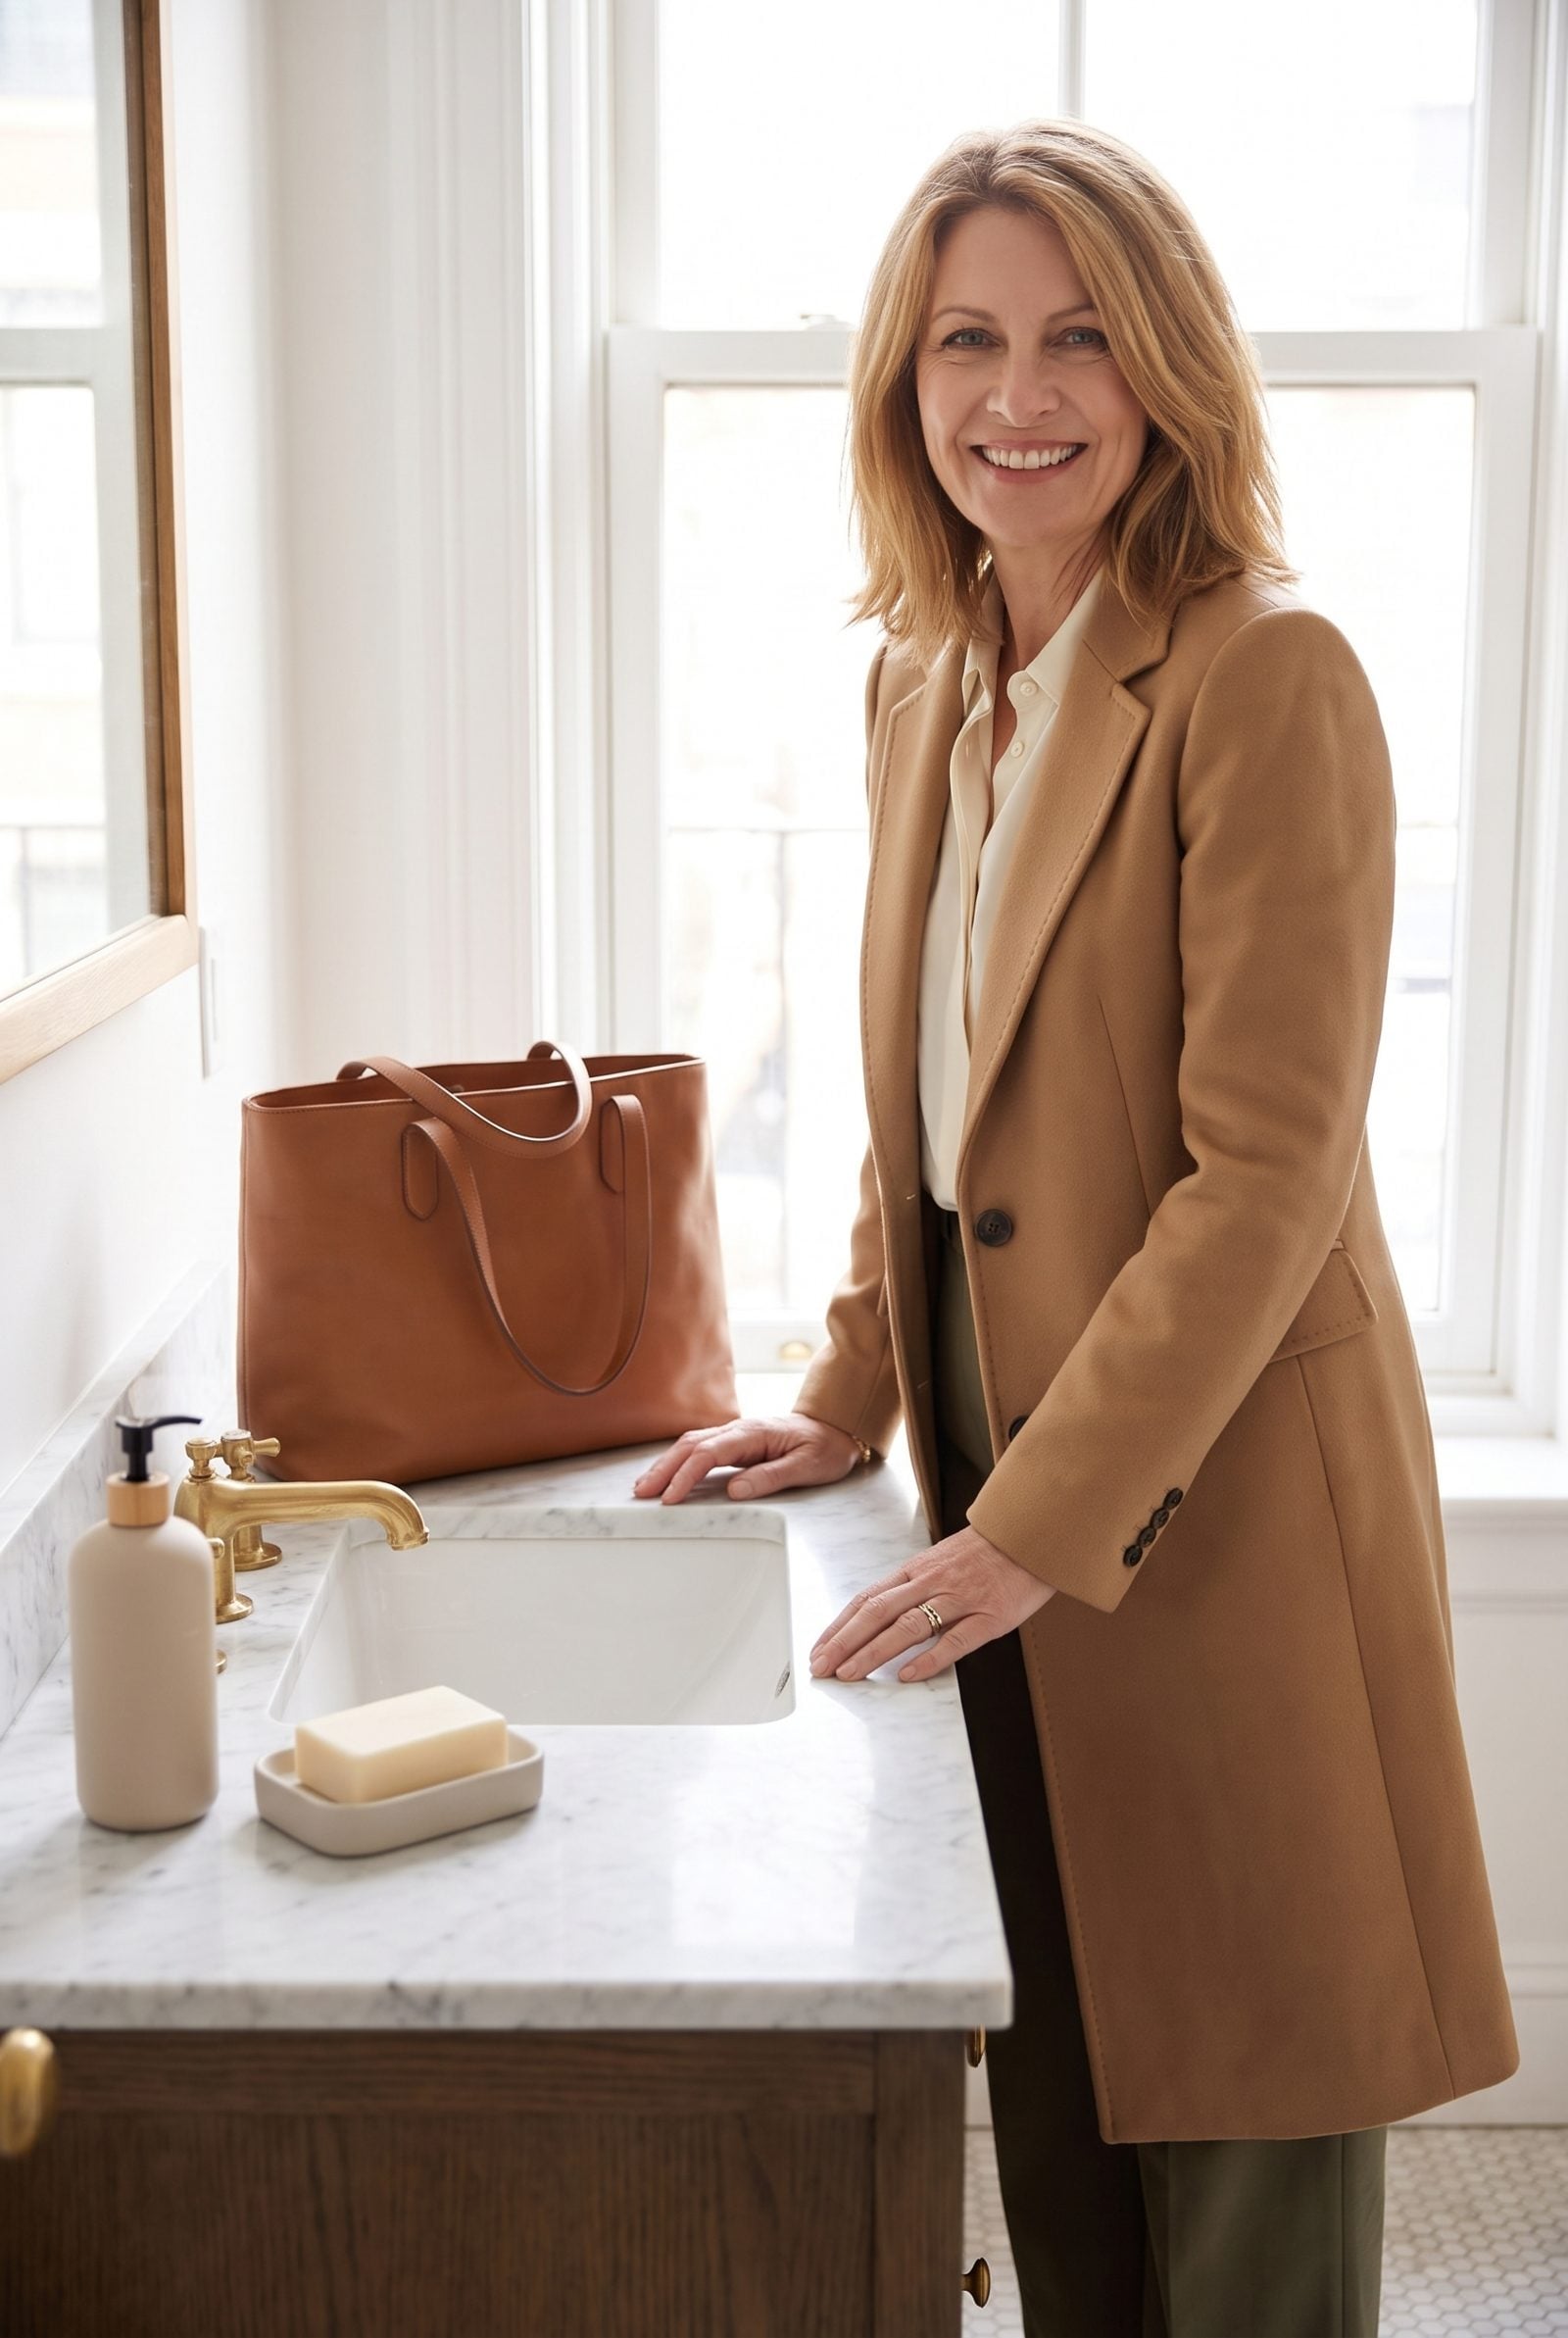
Hand cream lives in a drawer, which is exactly why it never gets used. Out of sight, forgotten — and your hands pay for it, especially the backs, where age shows first and fastest.
Move the tube to the sink, right next to the soap. Now every wash ends with a quick squeeze instead of a drip-dry on a towel, and ten times a day it happens on its own. No new habit to build, no willpower required. Just a tube sitting somewhere you can’t ignore it.
4. Do Your Makeup in a Washable Robe, Not the Day’s Outfit
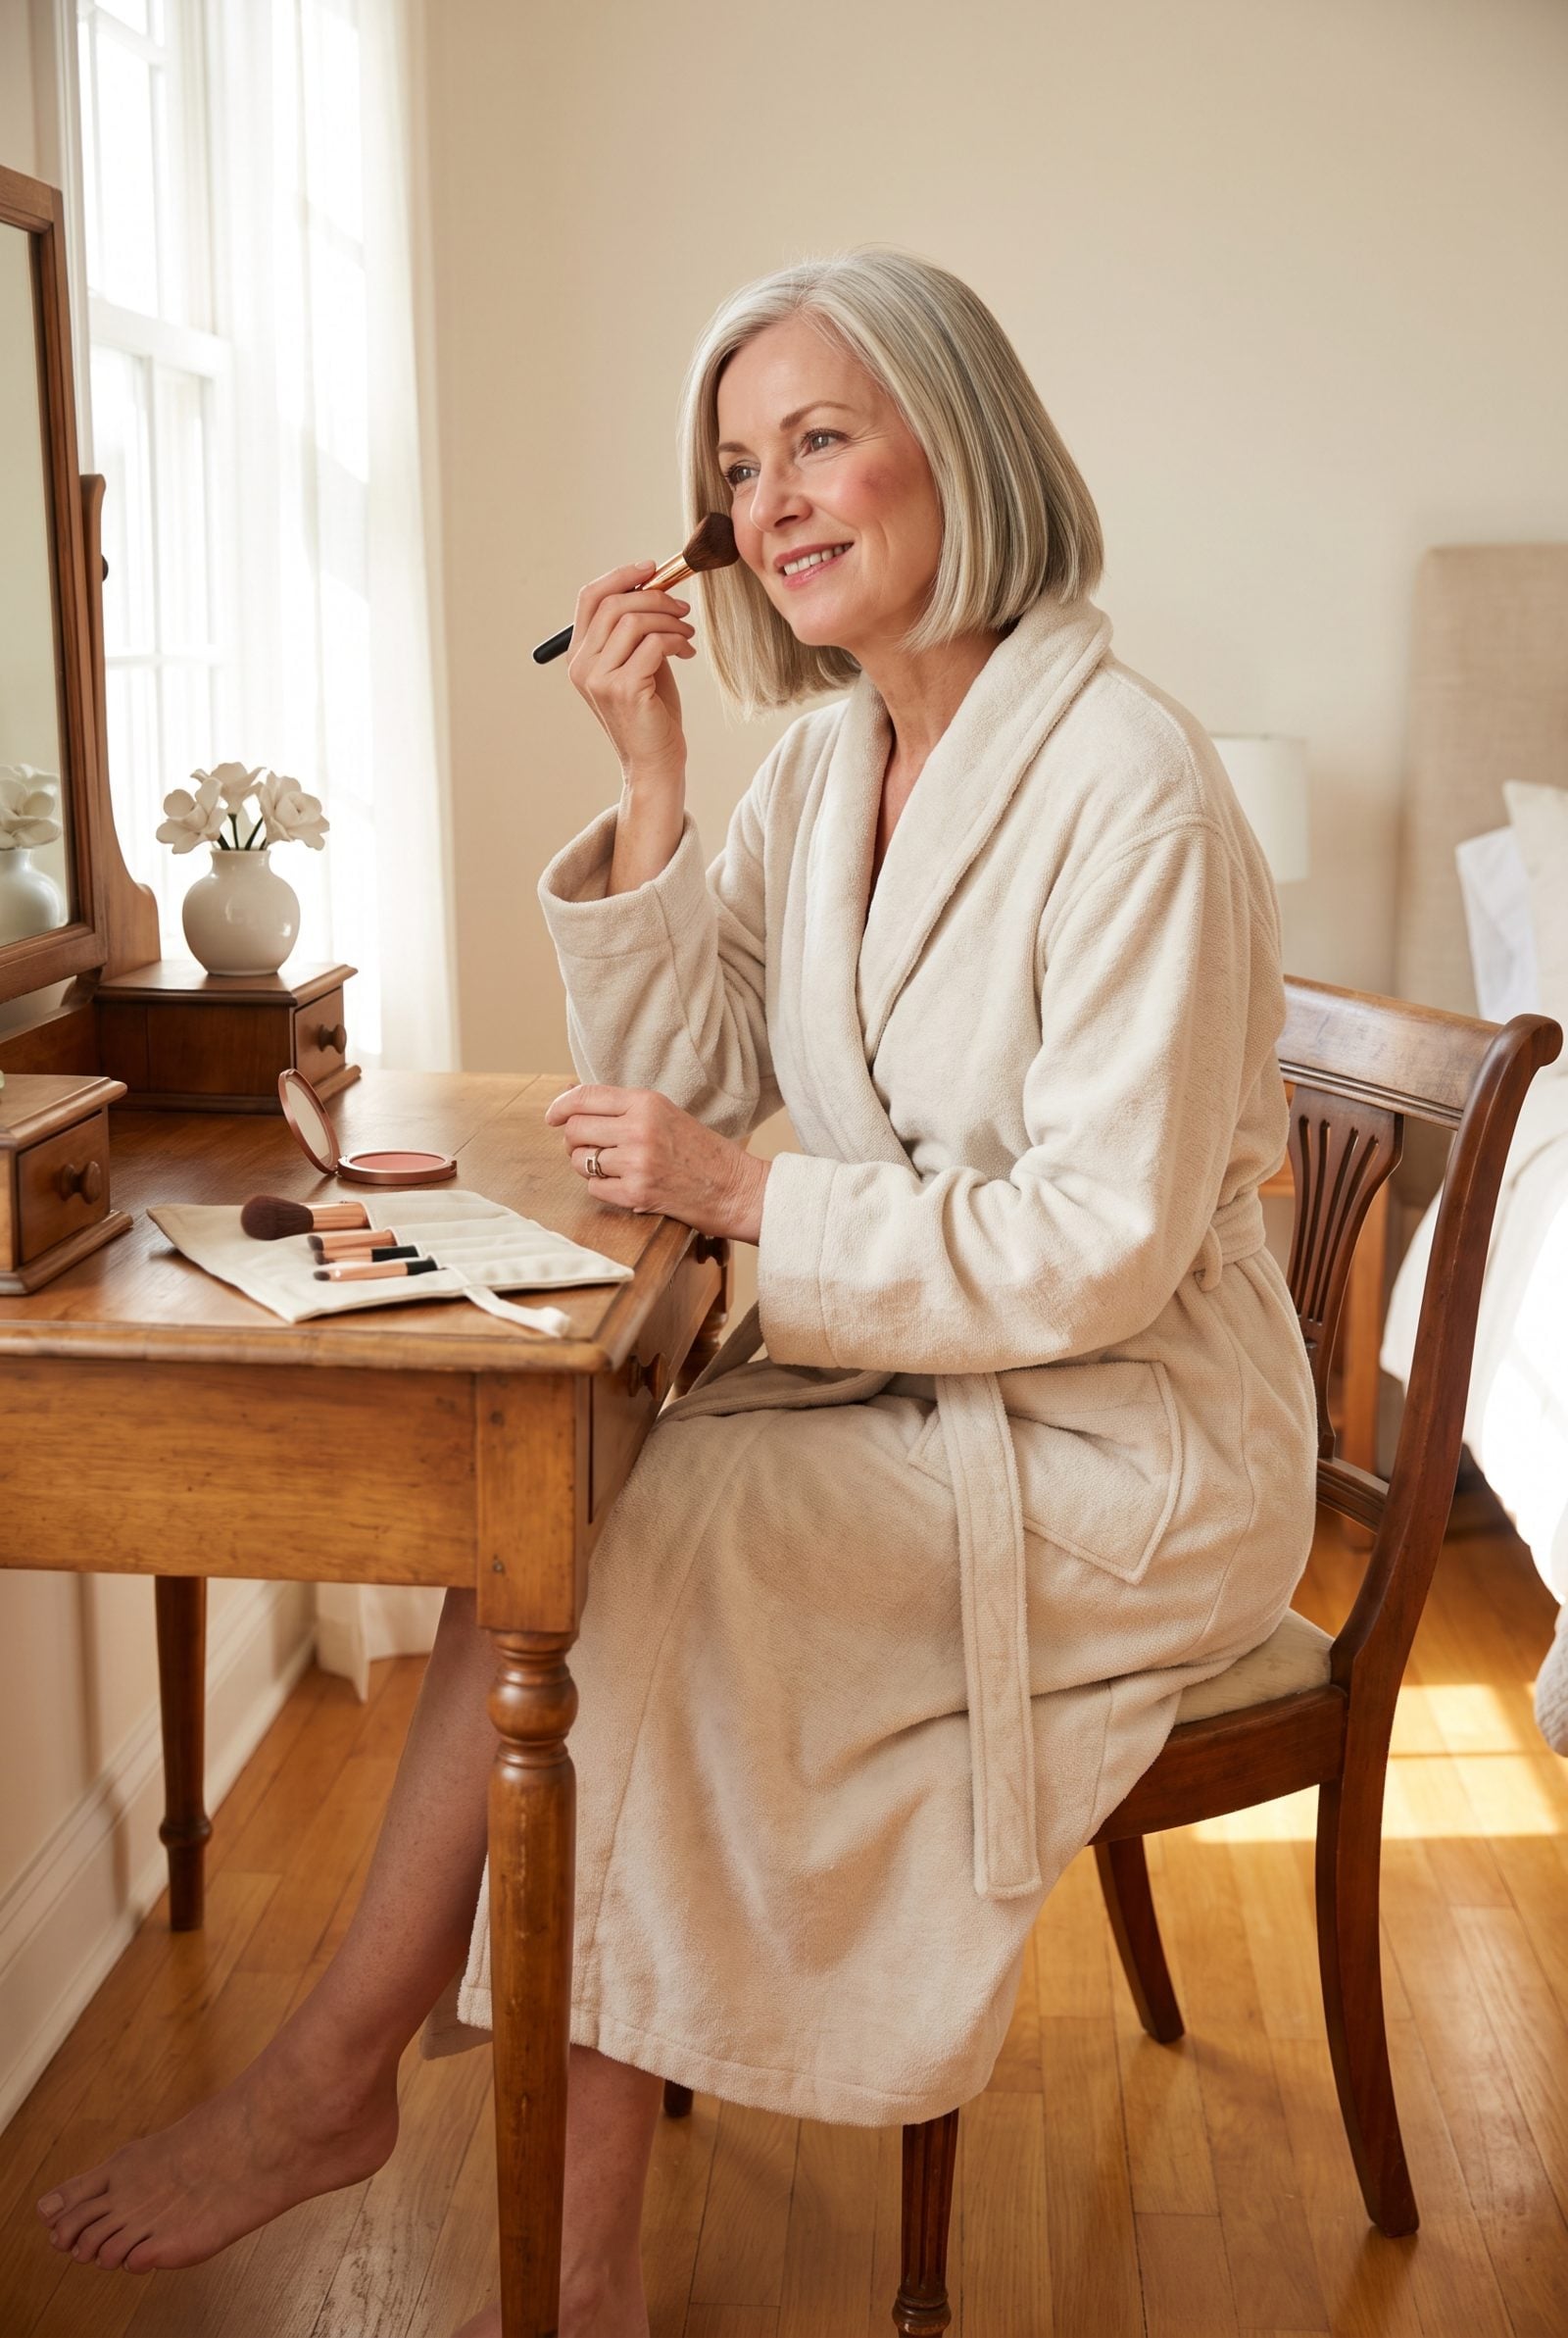
You know the panic. Blouse on, earrings in, then one stray swipe of foundation leaves a beige smear on your collar and the whole thing starts over.
Get fully ready face-first in a robe you don’t mind splashing. Loose powder, mascara flakes, a drip of serum — none of it touches the silk you’re wearing to lunch. Dress last, when your hands are clean and the risk is gone. Sounds too obvious to mention, I know. Plenty of us ignore it for years out of pure habit, and good knitwear pays the price.
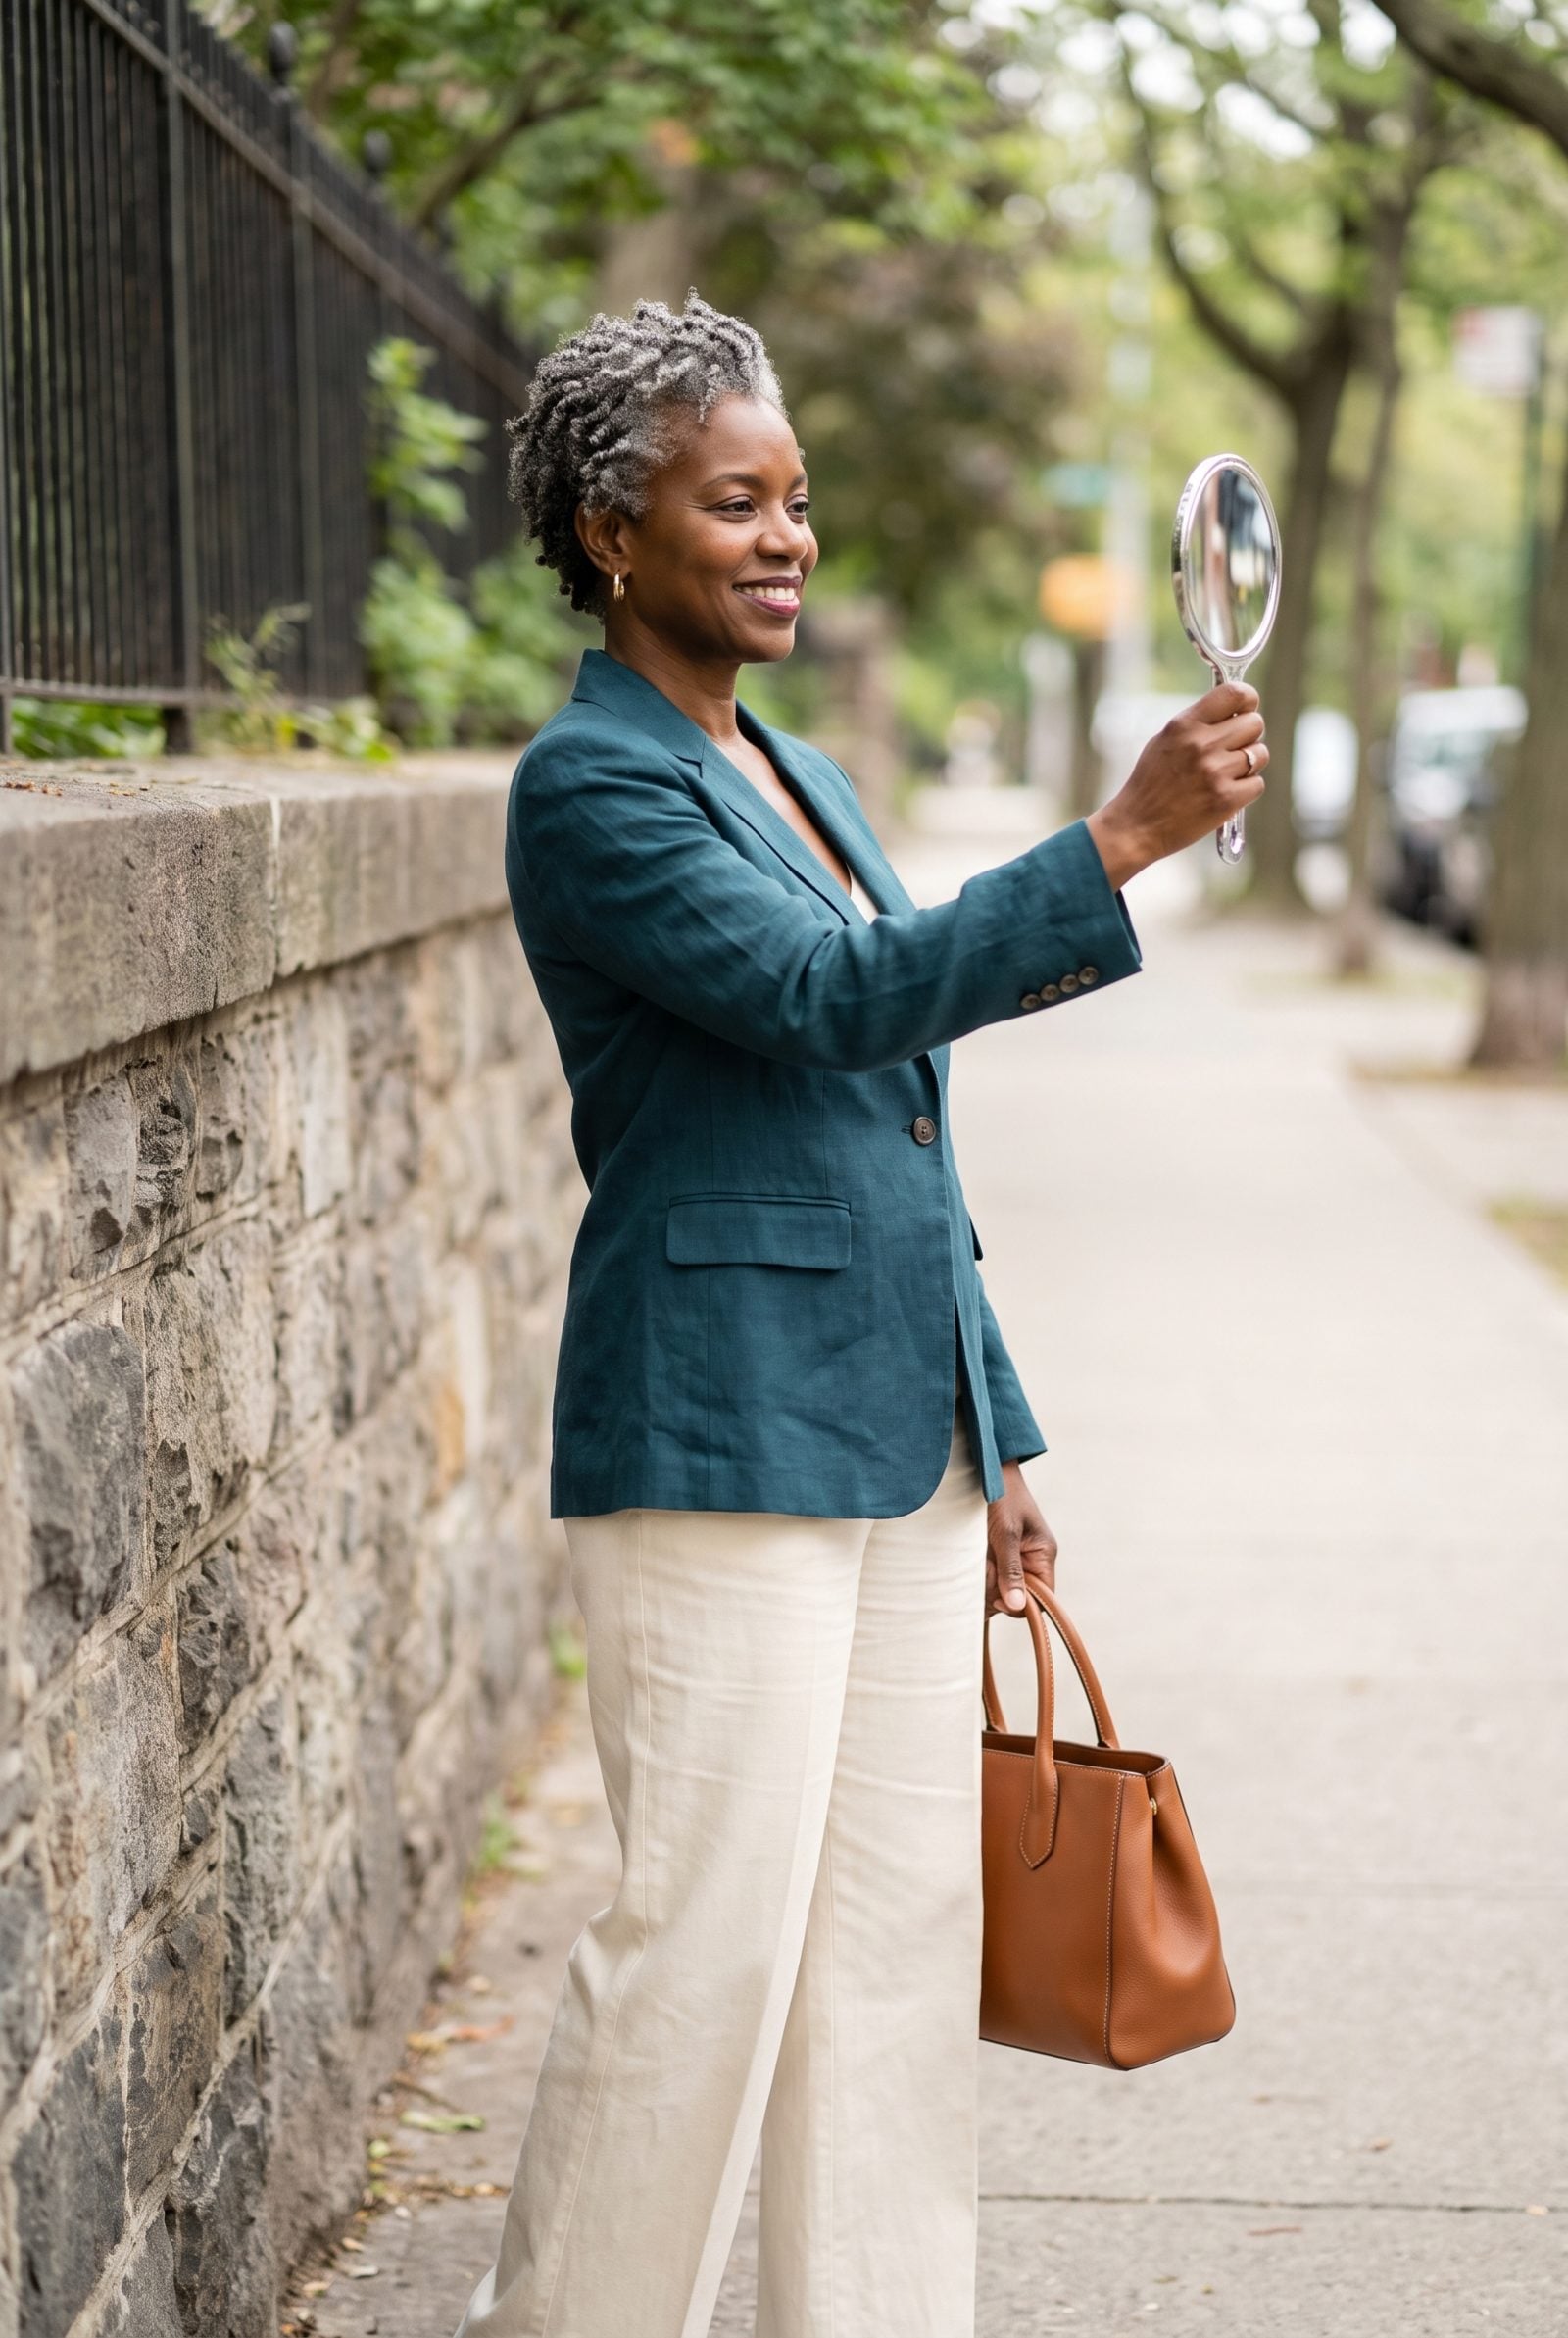
3. Check Your Finished Face in Window Light Before You Walk Out

Bathroom bulbs lie. They flatten everything, hide the harsh line where your foundation stops, and let a stripe of unblended bronzer walk out the door with you.
Daylight is the only honest critic. Carry a hand mirror to the nearest window and look — you’ll catch the jawline that didn’t blend, the powder gone chalky, the concealer sitting a shade too light under the eyes. Thirty seconds, one window, and you leave looking the way you think you look. Nobody’s foundation line has ever survived the parking lot in sunshine.
2. Step Back From the Magnifying Mirror for the Final Look
A magnifying mirror makes you solve problems nobody can see. You overfill the brows, pack on concealer, blend blush into oblivion, all because at ten-times zoom every pore looks like a crater.
But nobody views you from two inches away. Use the magnifier for the fiddly bits — the liner flick, the stray hair — then step back a full arm’s length for the verdict. At real-world distance you’ll find you did too much, every time. The face that looks balanced up close almost always looks overdone across a room.
1. Line Up Your Products Left to Right in Order of Use
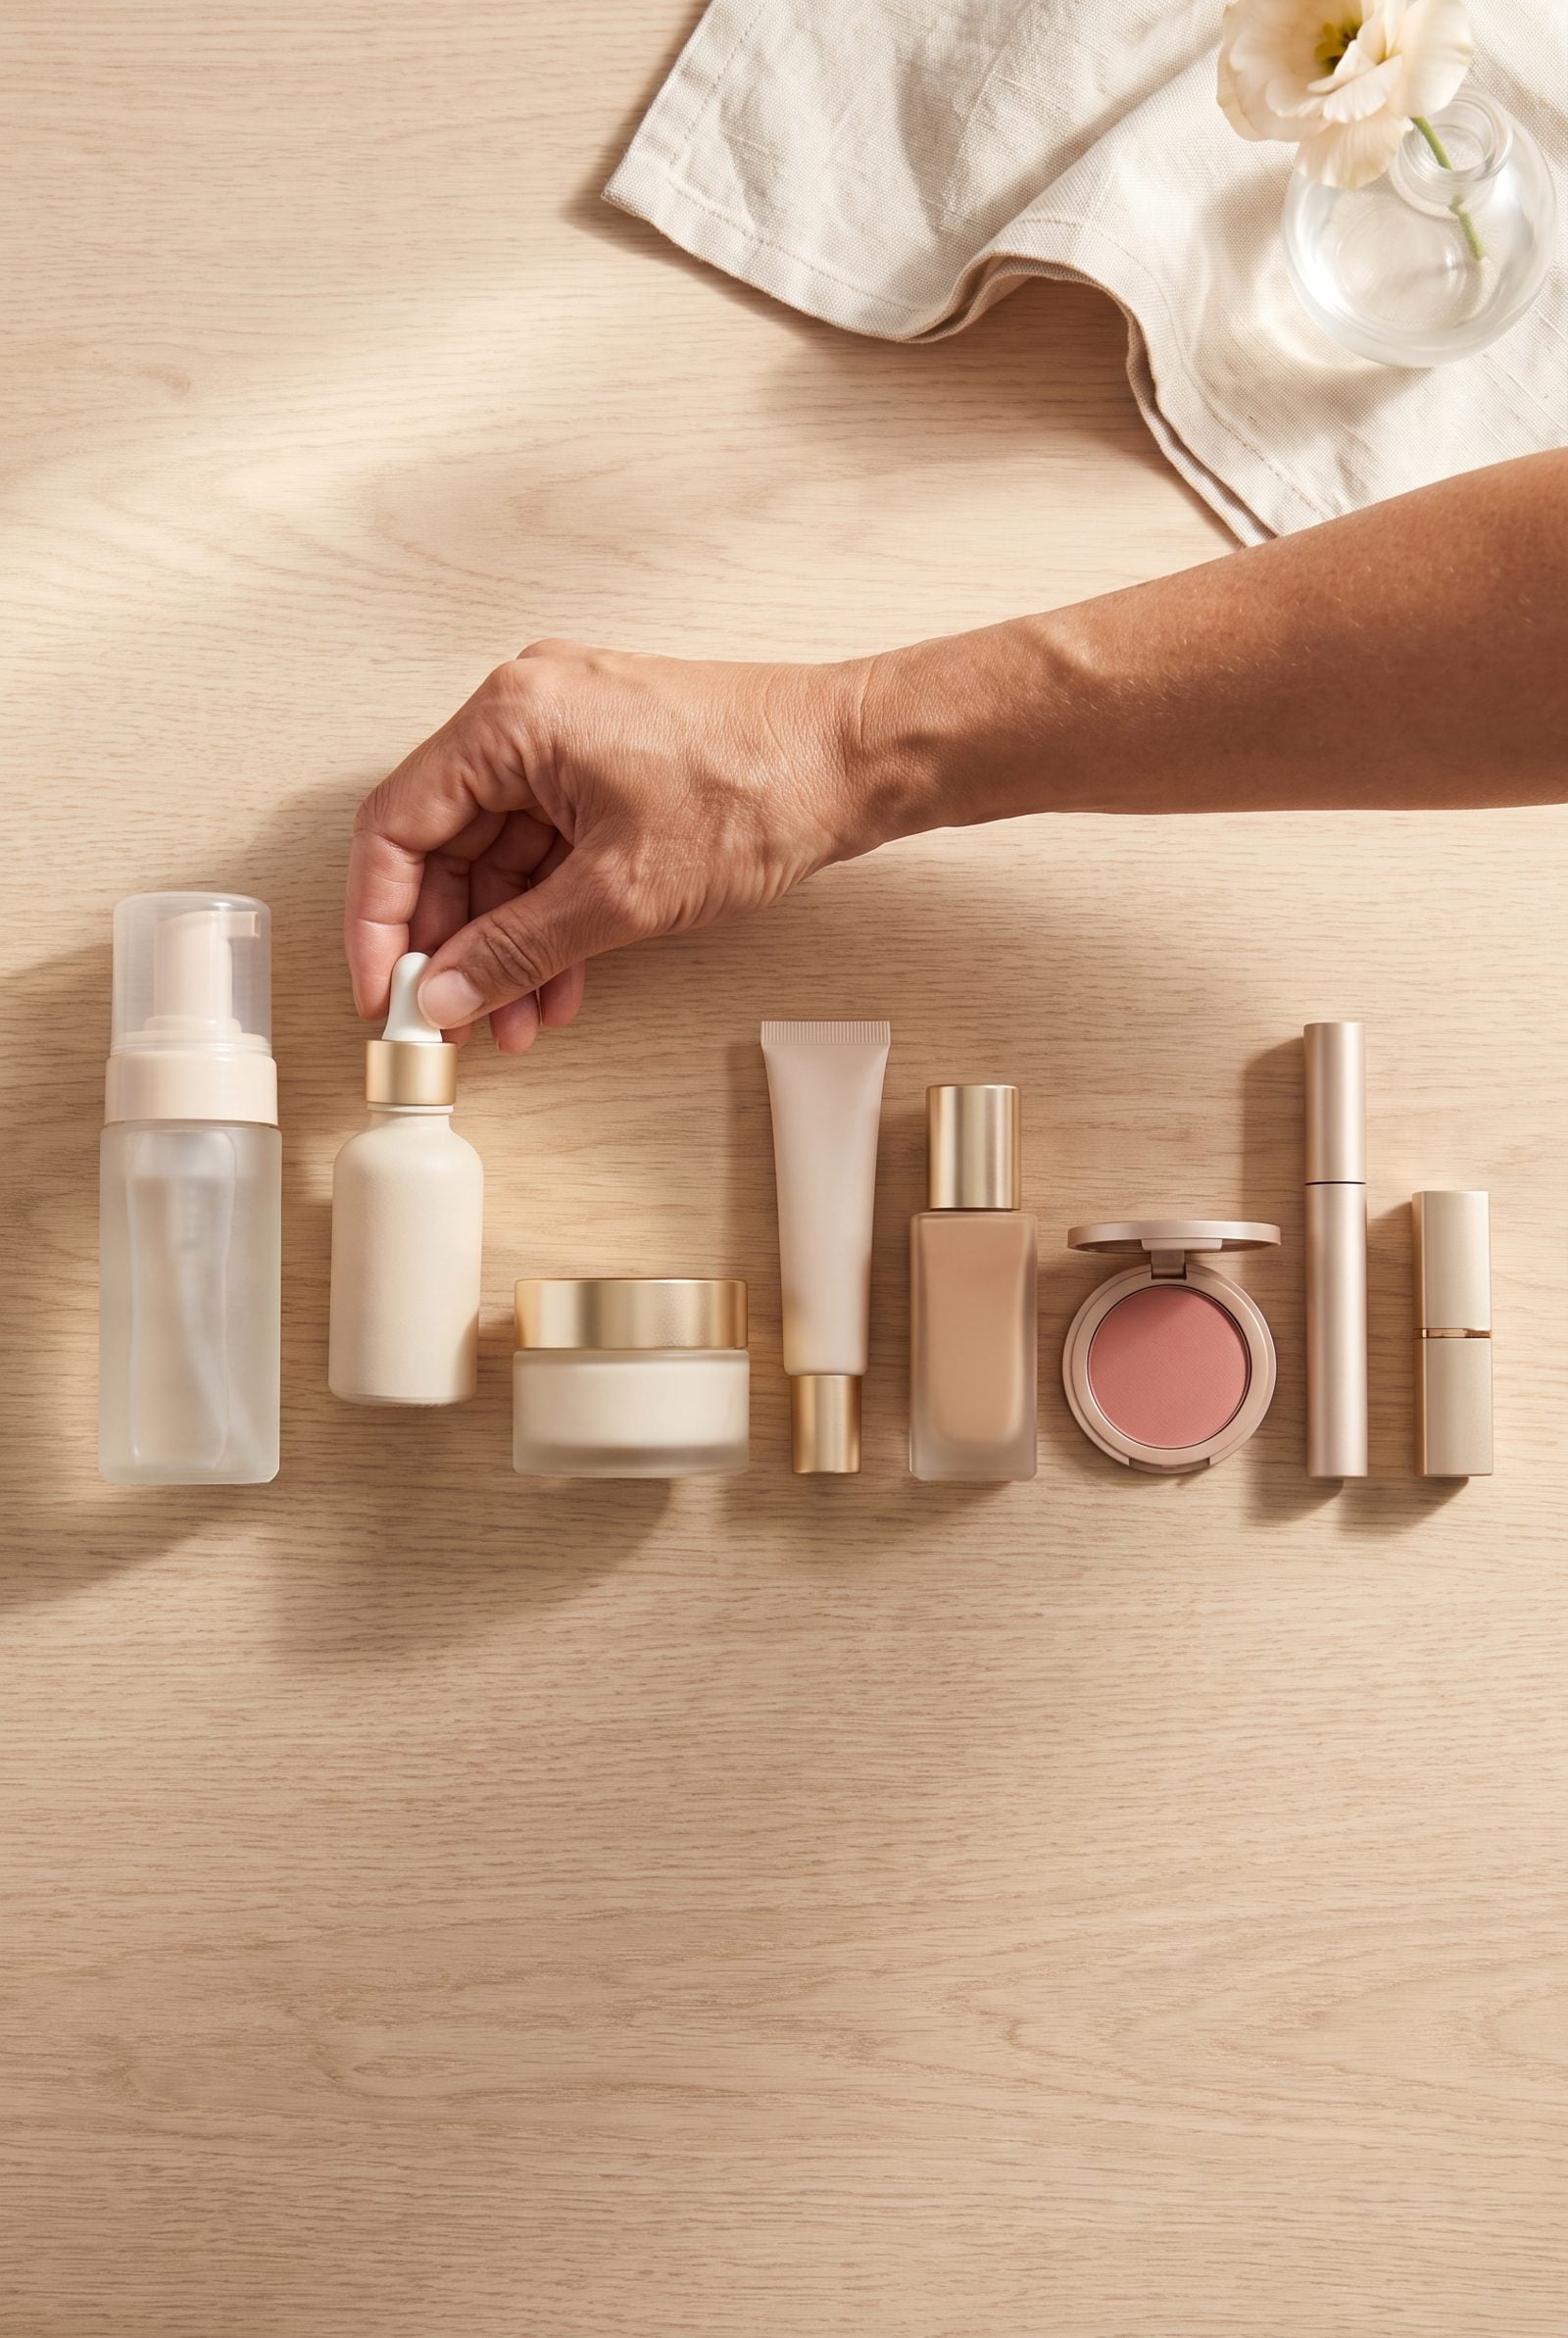
Scatter your products across the counter and every morning becomes a scavenger hunt. You skip the serum, forget the SPF, reach for mascara before you’ve primed, then undo your own work.
Set them in a line, left to right, in the exact order you use them. Cleanser at the start, lipstick at the end, everything between in sequence. Your hand just travels down the row — no decisions, no doubling back, no wondering what comes next. The kind of small system that quietly stops you skipping the steps that actually matter.